You are using an out of date browser. It may not display this or other websites correctly.
You should upgrade or use an alternative browser.
You should upgrade or use an alternative browser.
1968 Campervan conversion
- Thread starter joaonar
- Start date

Help Support Early Bay Forum:
This site may earn a commission from merchant affiliate
links, including eBay, Amazon, and others.

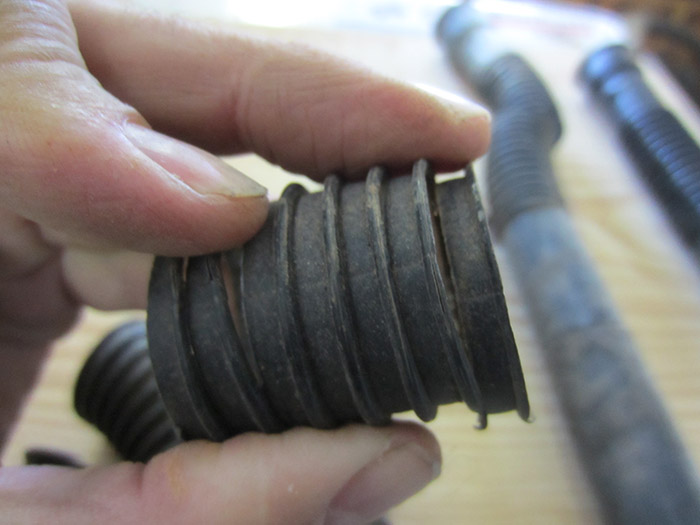
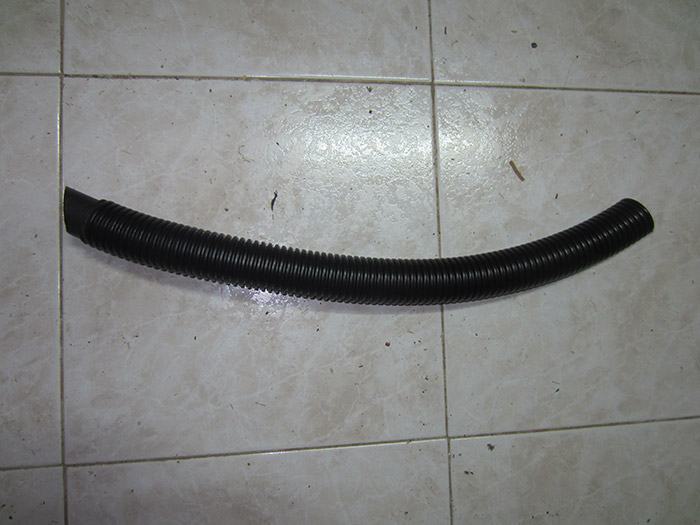
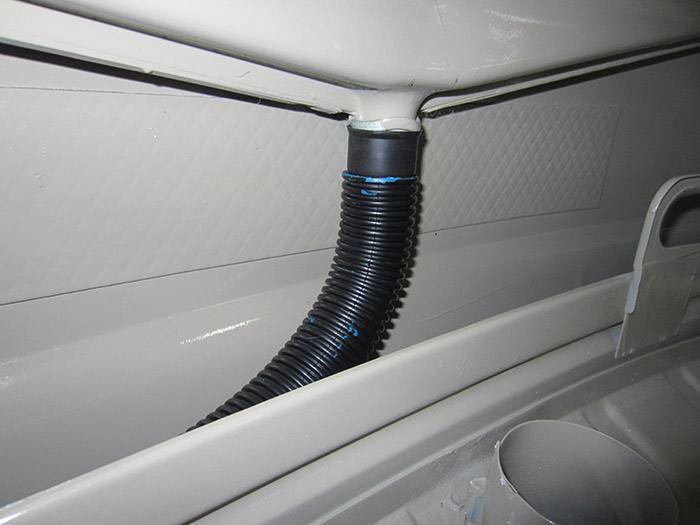
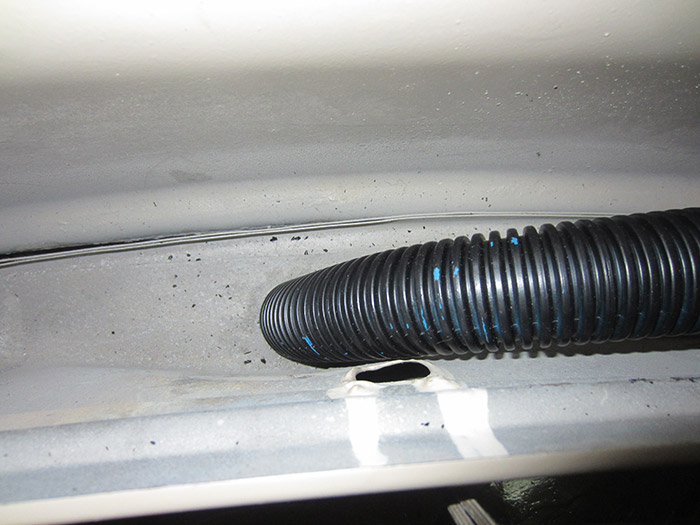
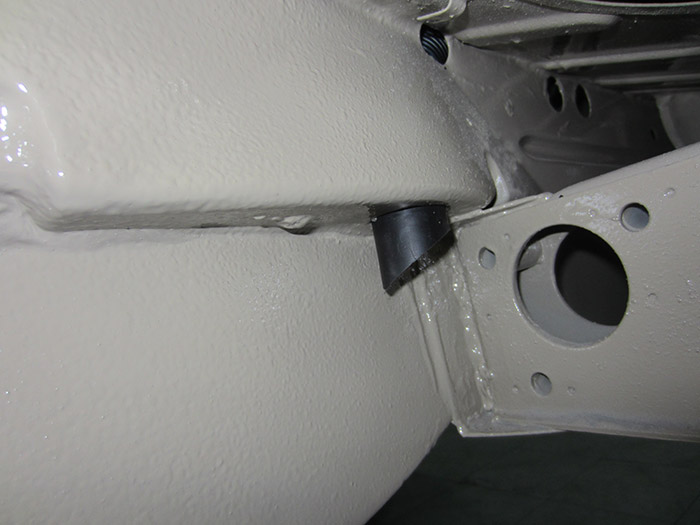
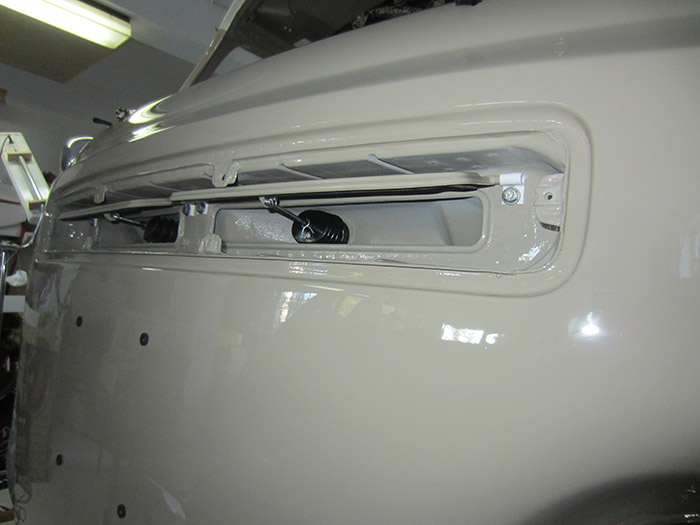
Another part missing: the drain pipe for the fresh air box. Well, it wasn't really missing, it was easily breakable. I bought another one from Bus Depot but this was a dumb idea, because it was as breakable as mine.
So, I found a similar one (originally blue) and paint it black, and used the tips to insert this tube in place:
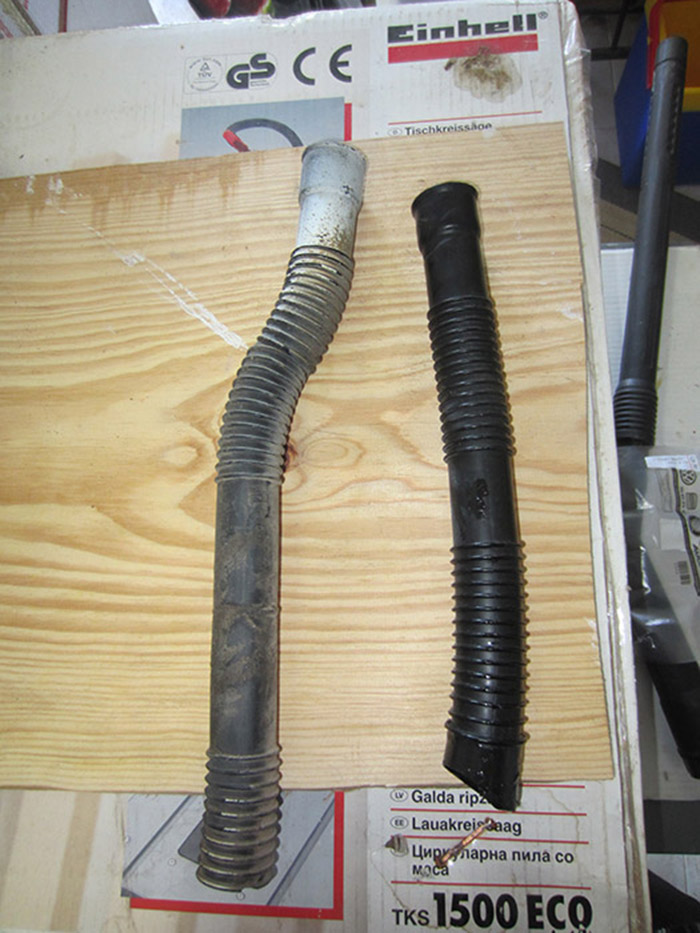
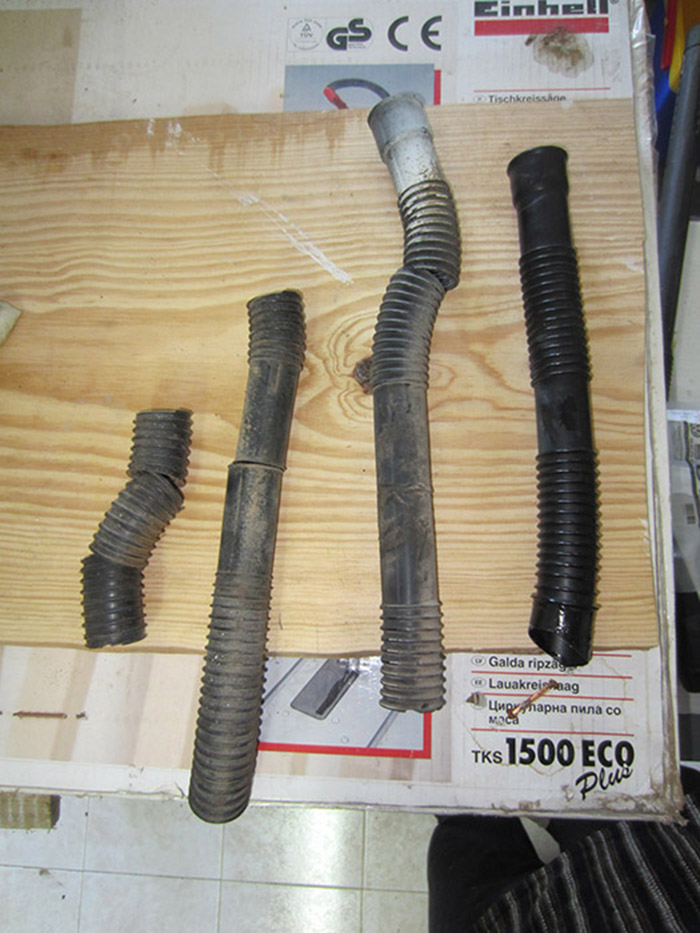
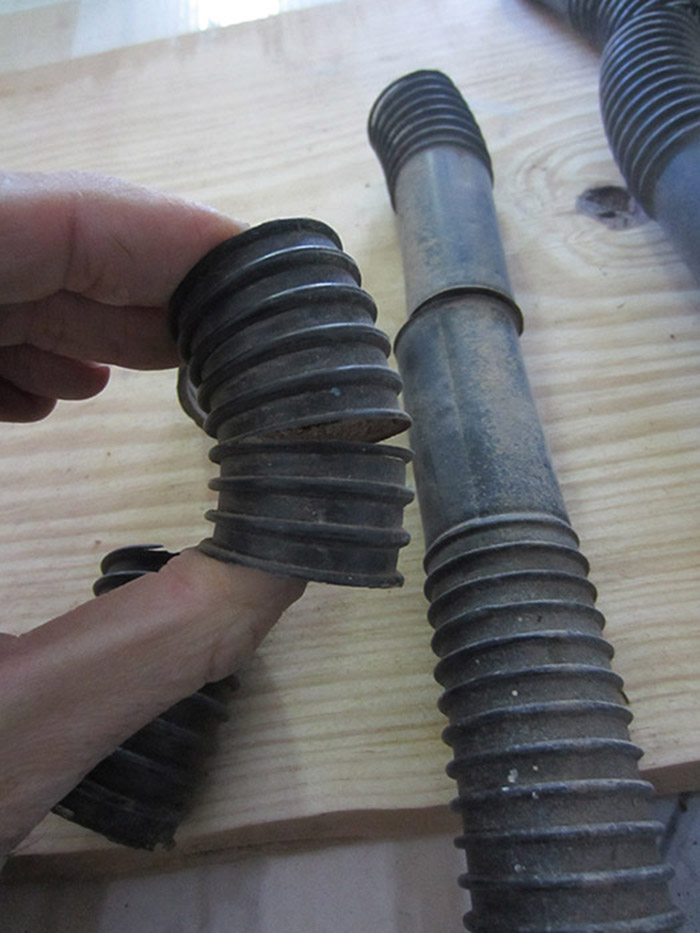
So, I found a similar one (originally blue) and paint it black, and used the tips to insert this tube in place:
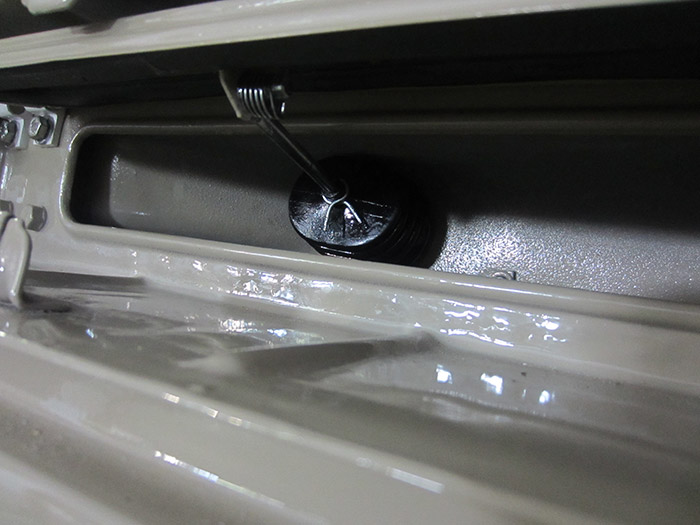
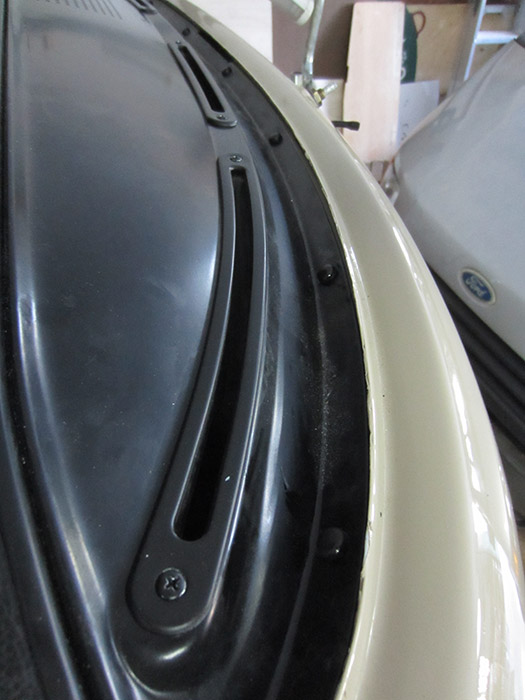
I was missing a clip to close the front grille area so I bought a couple and gave them the same treatment: zinc coated them and varnished afterwards.
and, since I was going to use the varnish again on the clips, I decided that it was better to use it on all zinc coated and polished parts I was going to use:
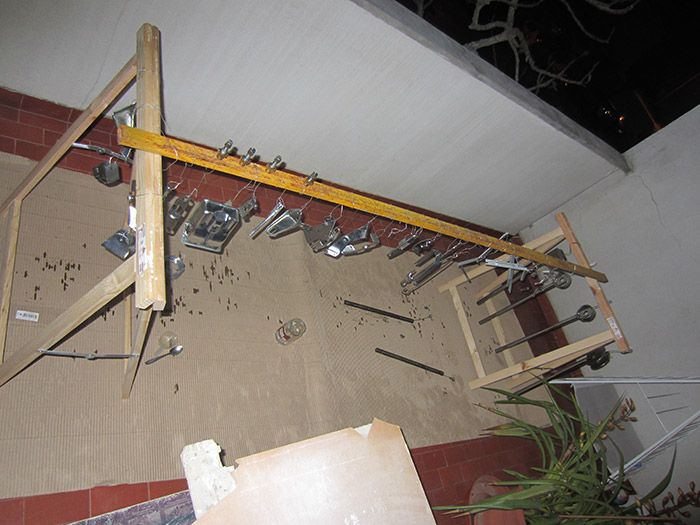
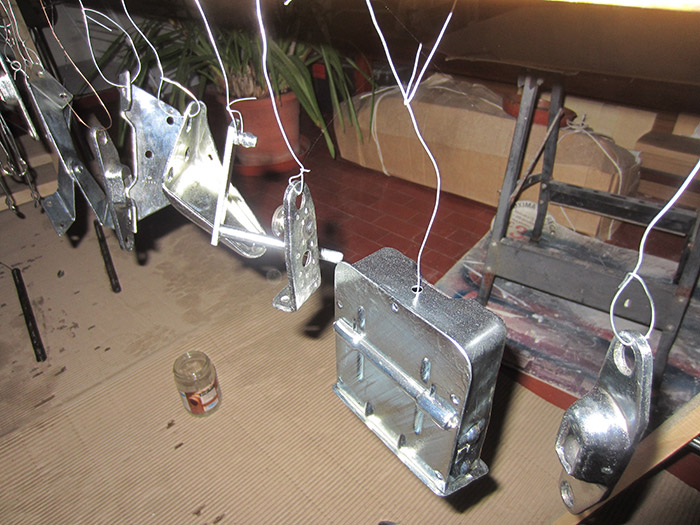
and, since I was going to use the varnish again on the clips, I decided that it was better to use it on all zinc coated and polished parts I was going to use:
meanwhile I broke a foot and was unable to drive for a few months.
When I got it fully functional I went to Viseu again and did something more on the bus.
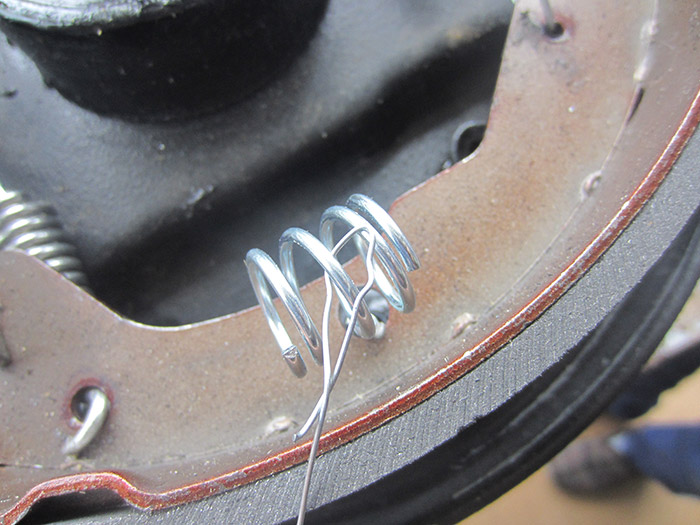
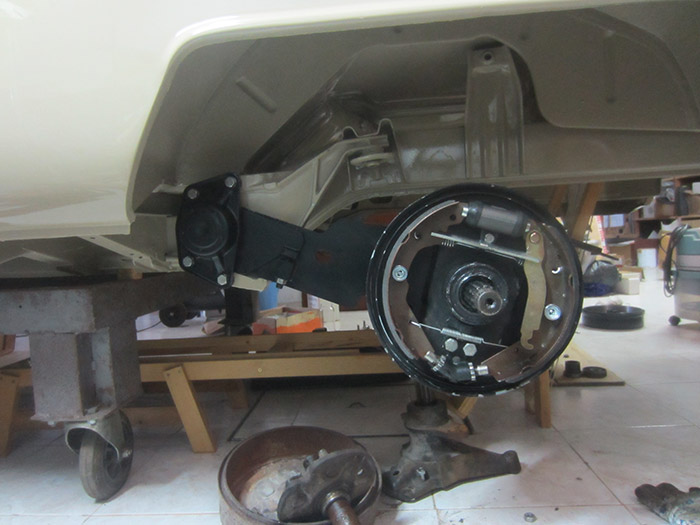
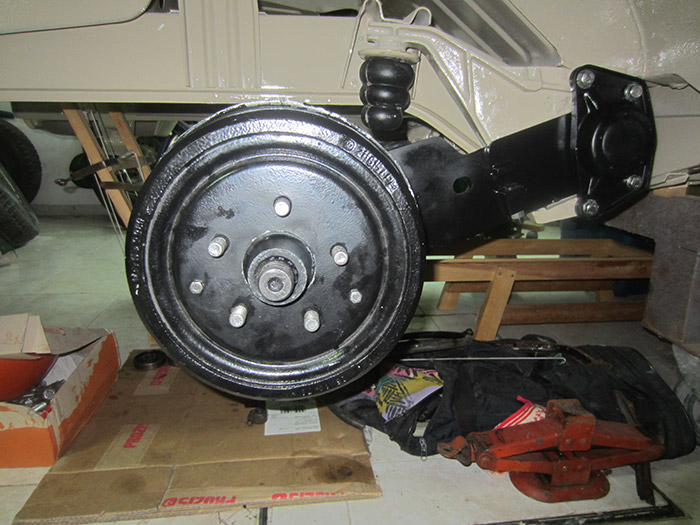
I was able to mount both of my rear rear brakes and do some modifications:

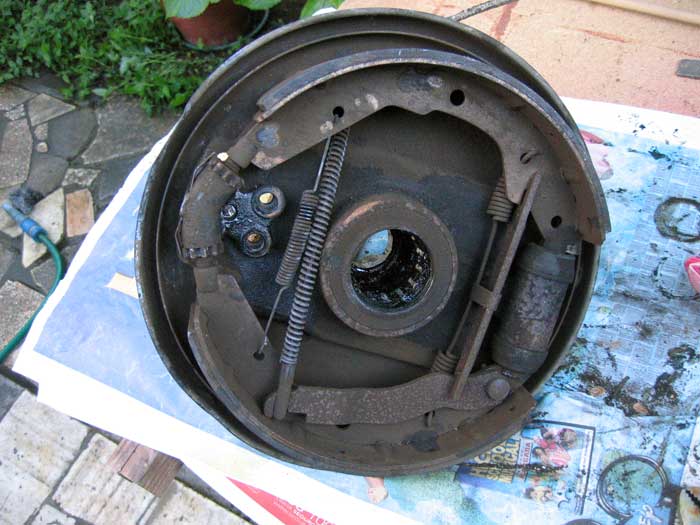
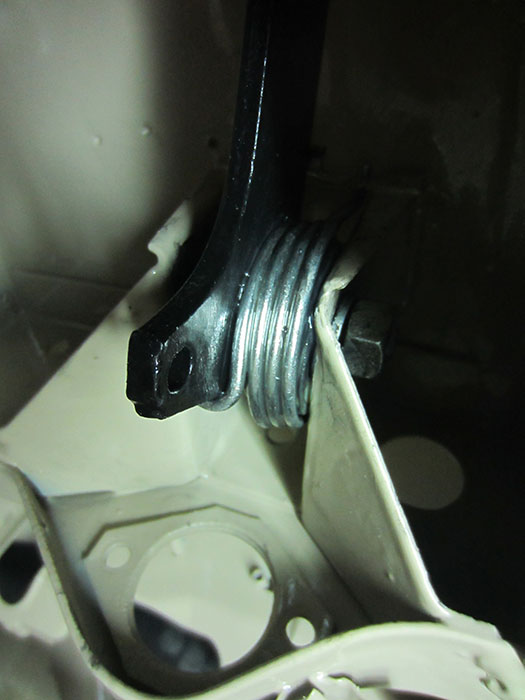
I decided to use this set (at least for now) instead of the original ones. They came from a '78 latebay and there are quite a few differences between my original ones, one being the lack of these springs. I guess this springs help the stability of the brake pads while braking.
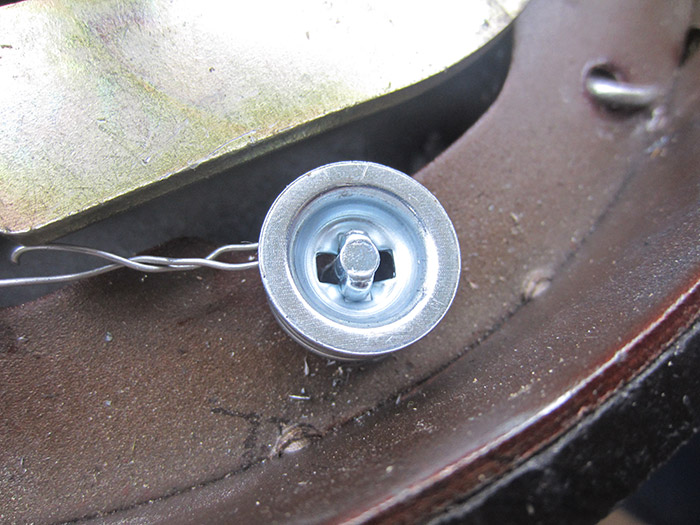
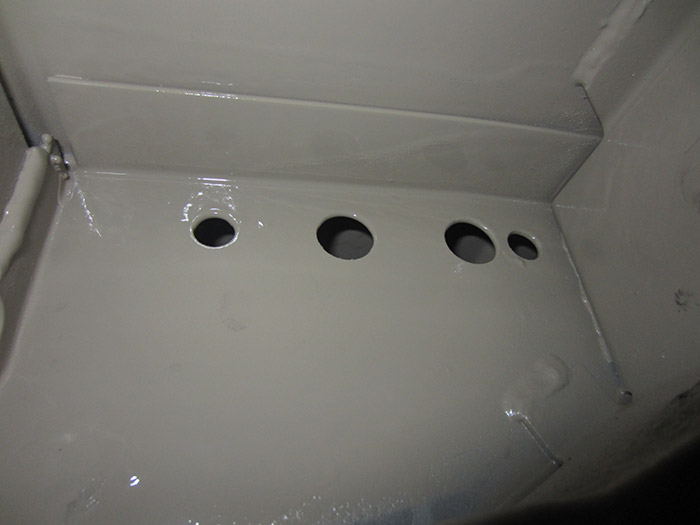
... and there are no holes on the rear back plates:
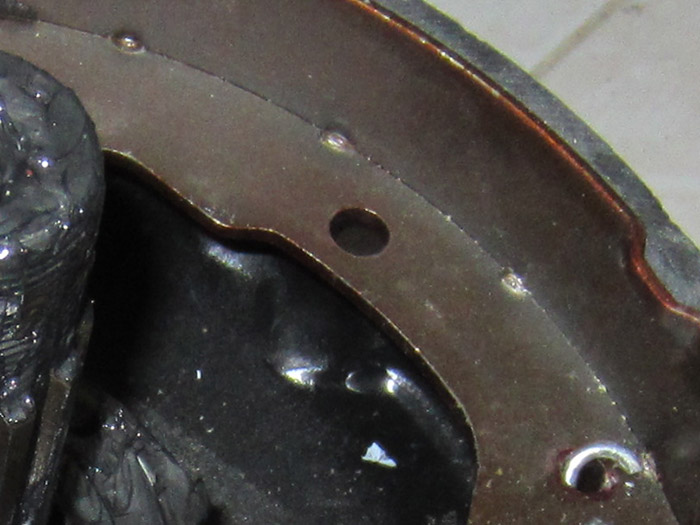
.... as it can be seen on this picture I took before I disassemble them:
When I got it fully functional I went to Viseu again and did something more on the bus.
I was able to mount both of my rear rear brakes and do some modifications:
I decided to use this set (at least for now) instead of the original ones. They came from a '78 latebay and there are quite a few differences between my original ones, one being the lack of these springs. I guess this springs help the stability of the brake pads while braking.
... and there are no holes on the rear back plates:
.... as it can be seen on this picture I took before I disassemble them:
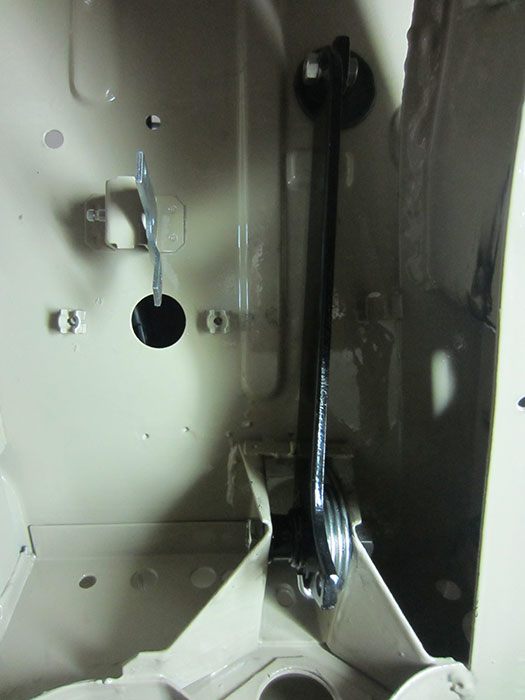
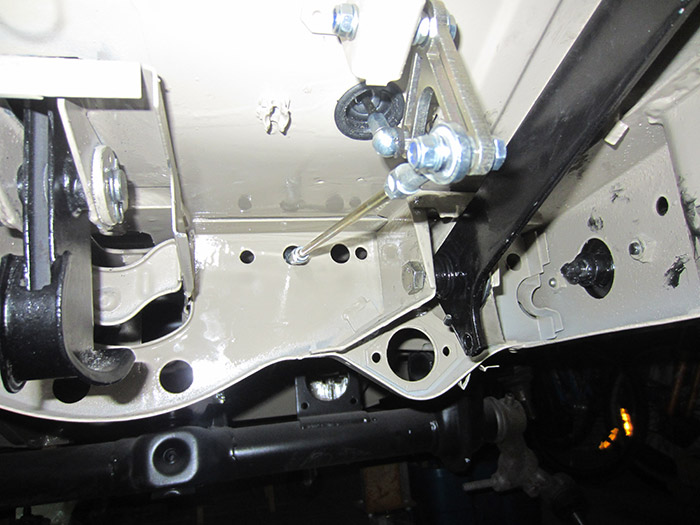
So, I drilled the holes needed on the back plates and use all the parts that came in the rear brakes refurbish kit:
... and with the original rear brake drum (for now):
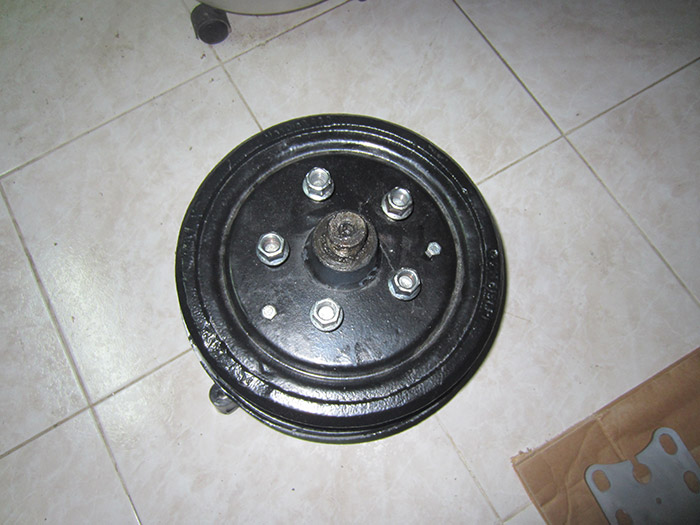
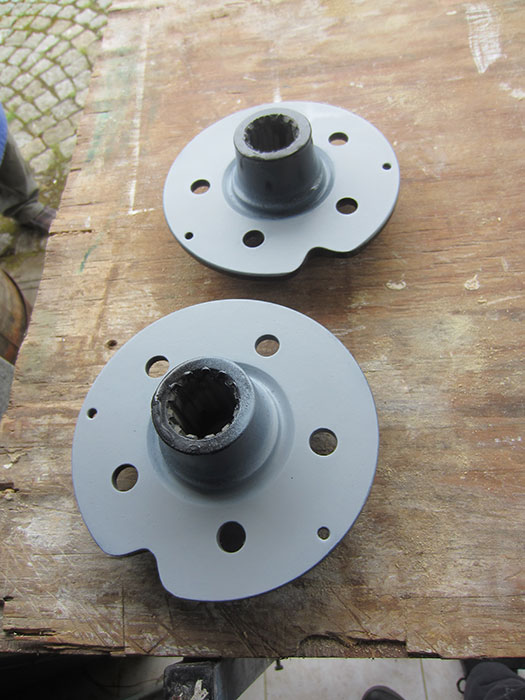
... but to be able to mount the brake drums, I had to remove all the paint from the hubs and paint it back again, but this time wisely:
... and with the original rear brake drum (for now):
... but to be able to mount the brake drums, I had to remove all the paint from the hubs and paint it back again, but this time wisely:
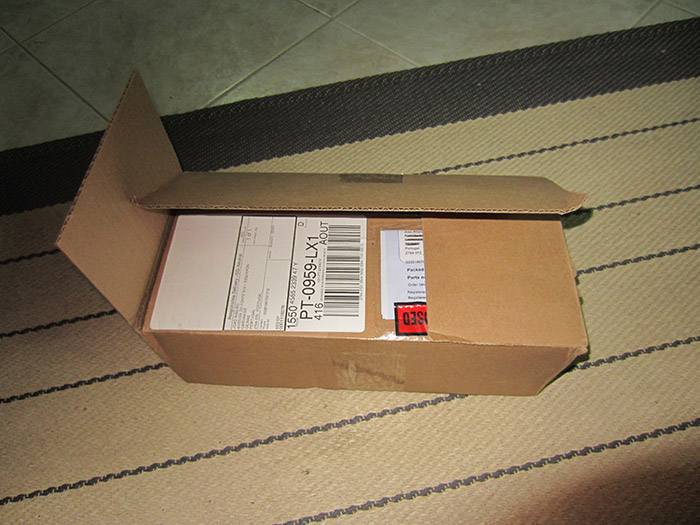
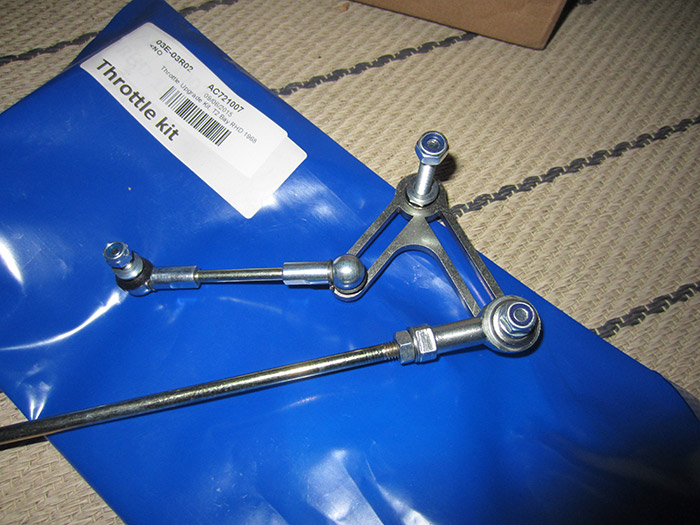
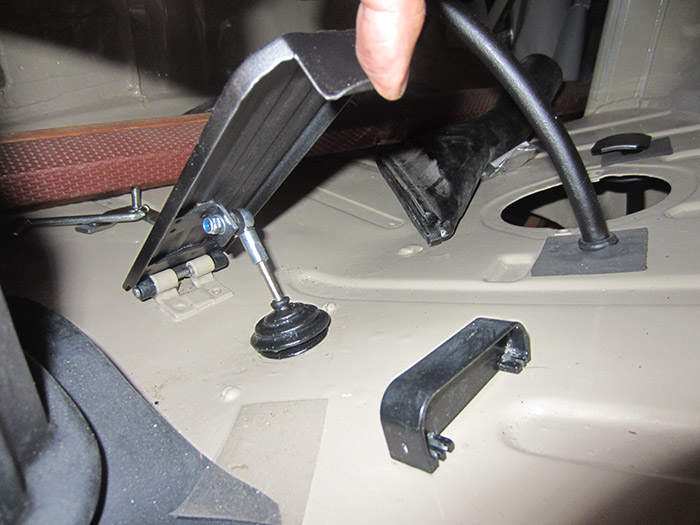
I also wanted to mount my throttle pedal but I couldn't find the original spring that should stay behind the pedal to make it go up, when not pressured. So I upgraded it with a throttle kit from Buttys Bits but I made a mistake and ordered it for the wrong side:

.... and (mistakenly) in place:
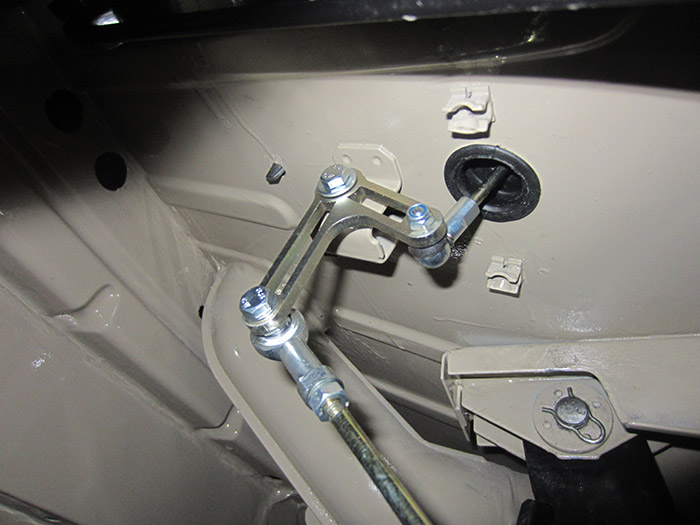
.... and (mistakenly) in place:
(and before I knew this was the wrong part
 )...
)..."... and now I wonder: in which hole does this part go into? :roll: "
"I presume that, in the end, it will be something like this :? : "
"... but I guess the best thing to do is ask how to assemble it .... :mrgreen:"
This how it looks on the inside:
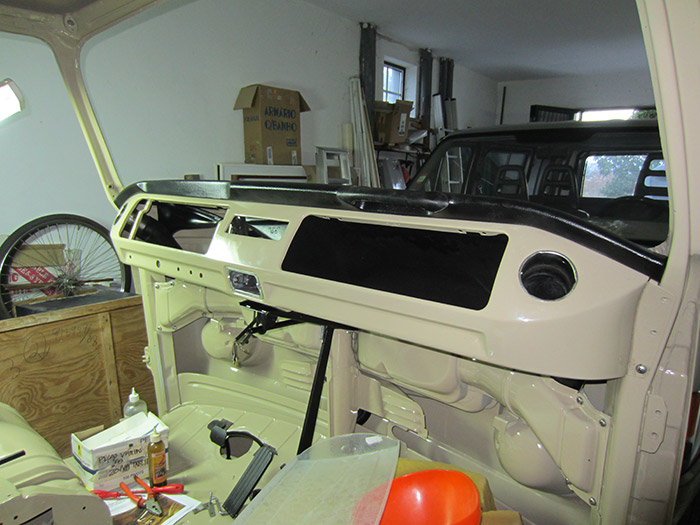
But since I had doubts about how to use the upgrade kit, I decided to leave it for another day and move into another task and change the padded dash top for the other one I had.
It had some rust so I decided to clean it, used a 2k primer and paint it, before assembling it in my dashboard:
I also mount on my dashboard a new plastic glove box:
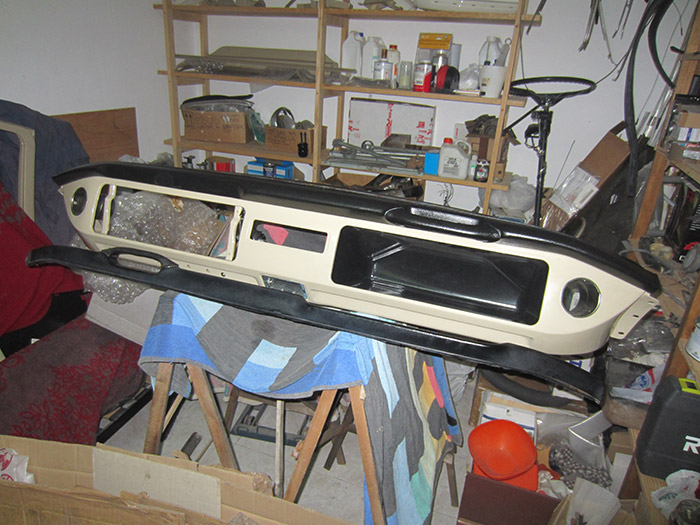
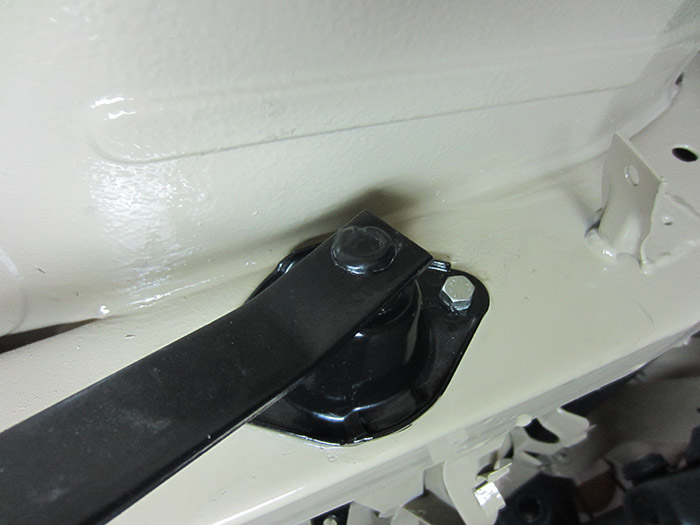
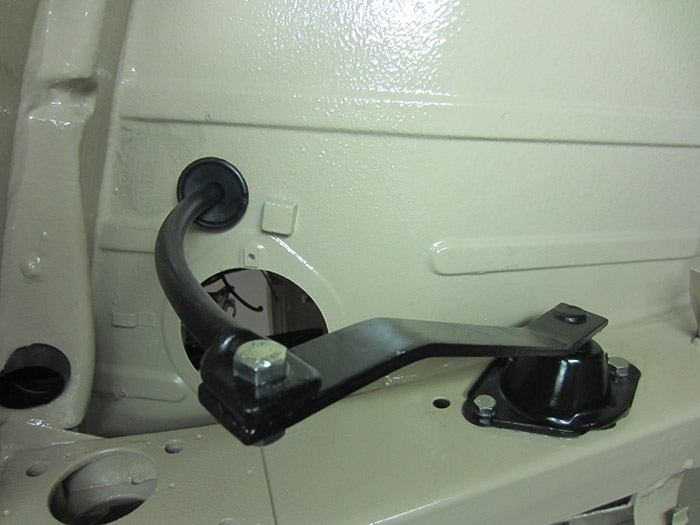
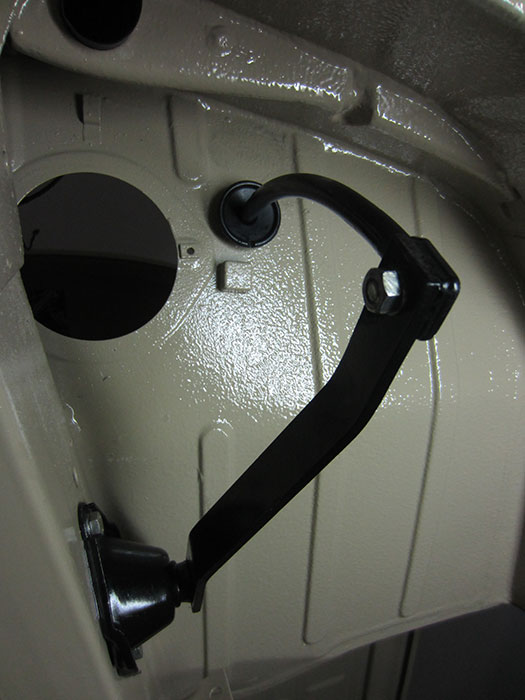
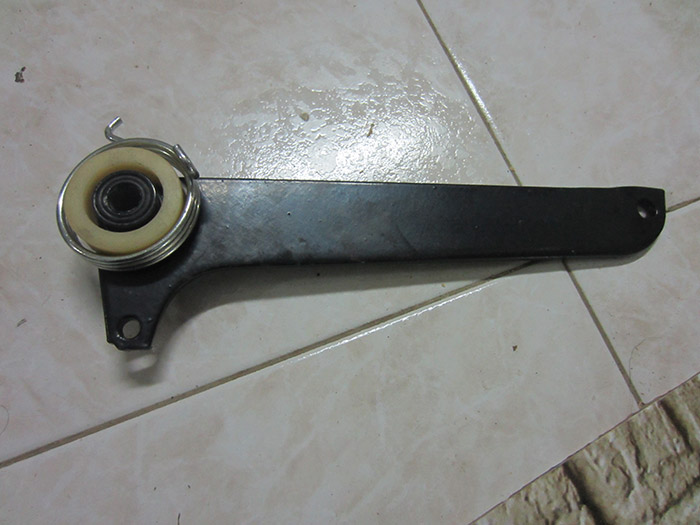
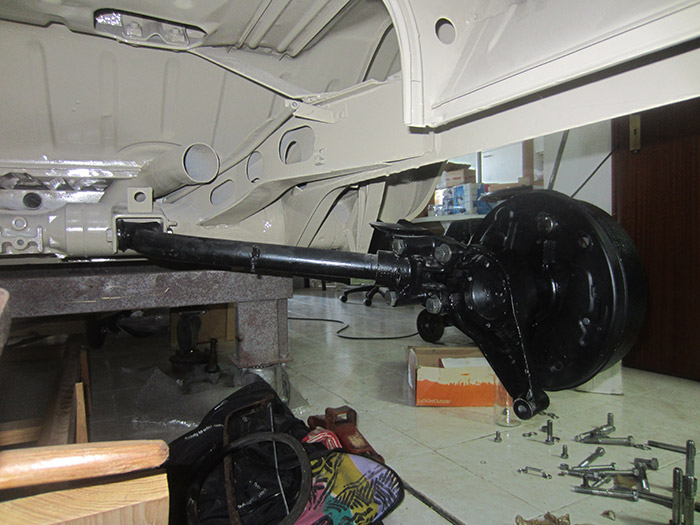
A few weeks later, I was able to assemble almost all my rear suspension:
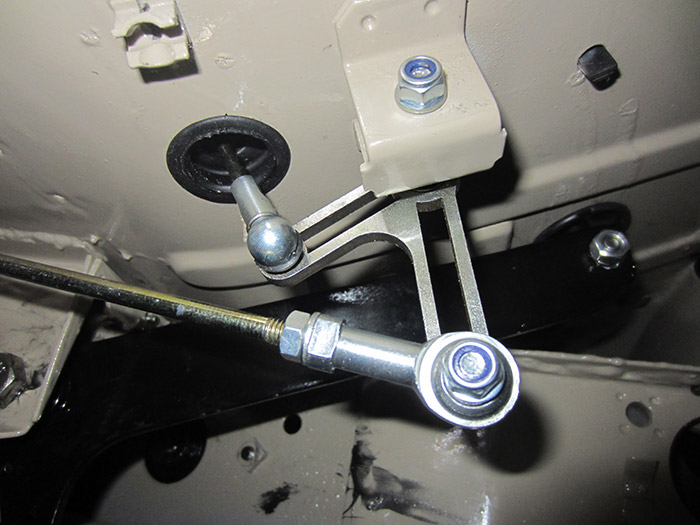
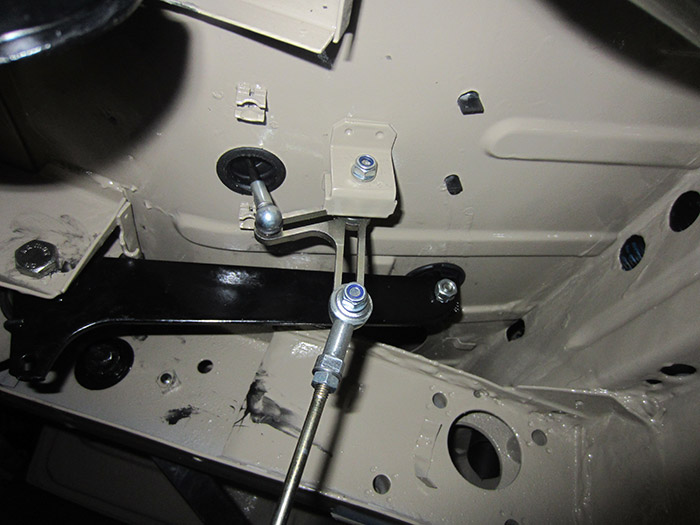
... in the meantime, Simon from Butty Bits, sent me the right parts for my throttle kit. I changed them for some of the parts I had and now it works fine.
So, when I bought it by mistake and assembled it, it was looking like this:
... but with the right parts it looks like this:
... in the meantime, Simon from Butty Bits, sent me the right parts for my throttle kit. I changed them for some of the parts I had and now it works fine.
So, when I bought it by mistake and assembled it, it was looking like this:
... but with the right parts it looks like this:
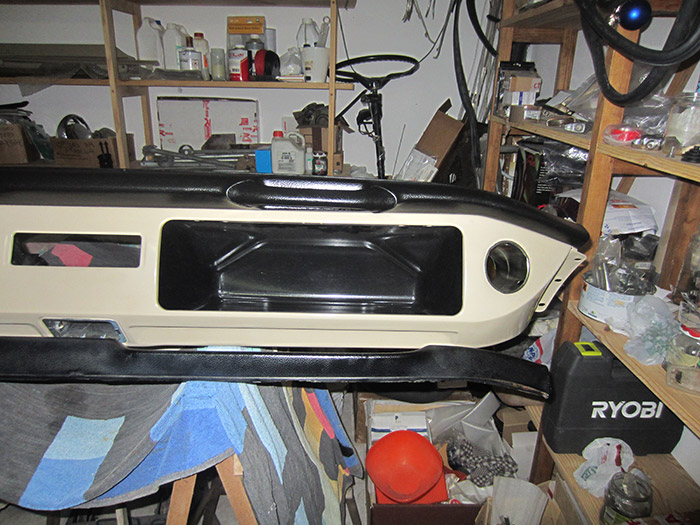
The dashboard is in place:
... and with all bolts and my glove box lid:
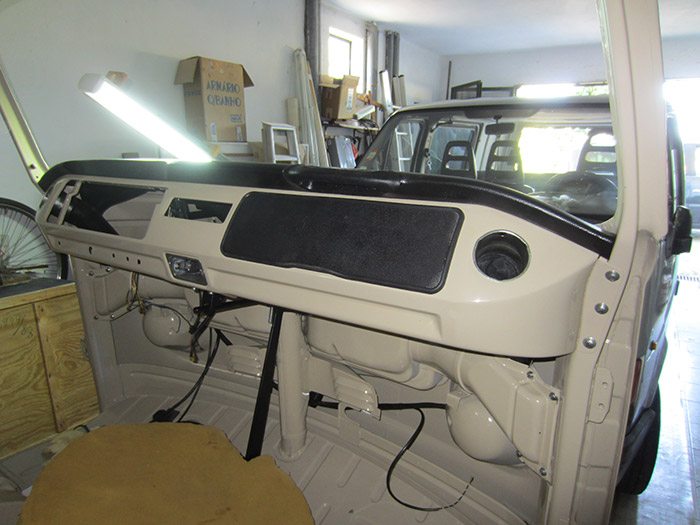
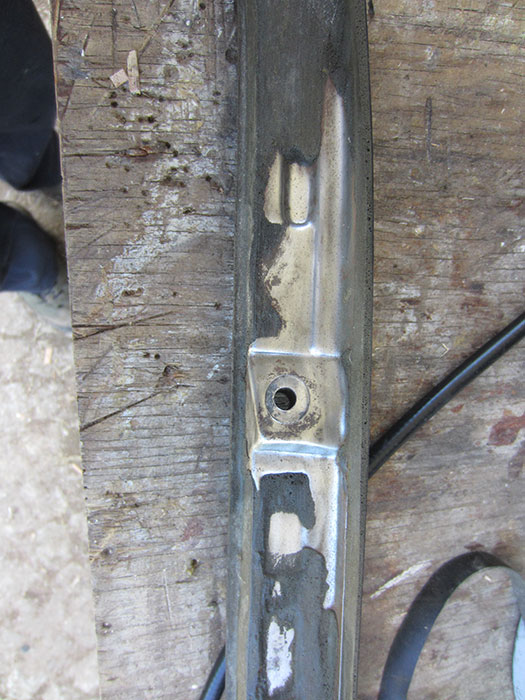
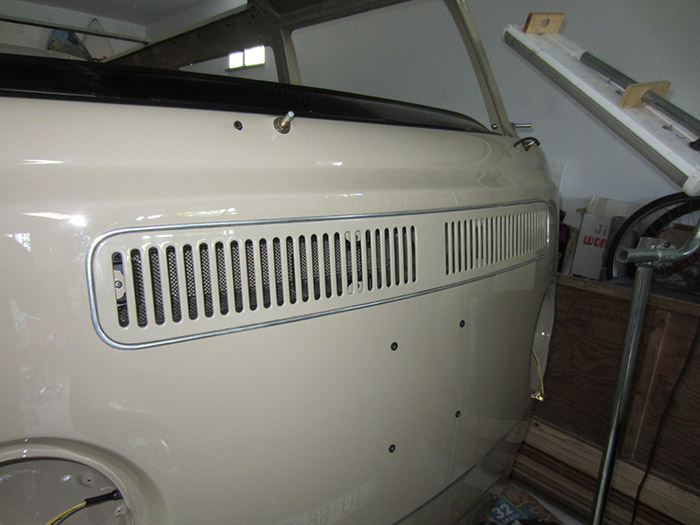
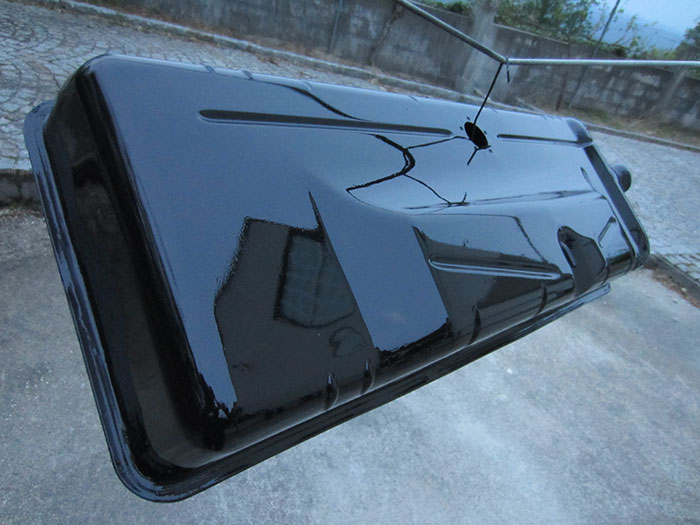
.... and before it got bent by accident, I decided to put in place my deluxe front grille trim:
... I also began to assemble my wiring loom:
... and with all bolts and my glove box lid:
.... and before it got bent by accident, I decided to put in place my deluxe front grille trim:
... I also began to assemble my wiring loom:
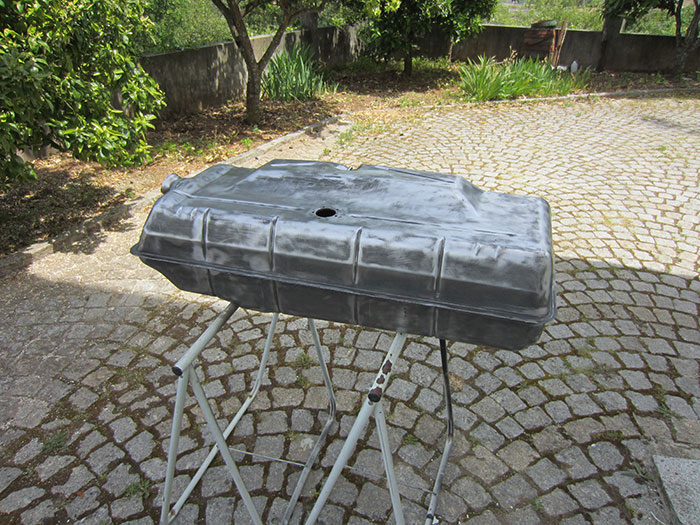
While I was there, I did something else. I went for my gas tank and found out that it had some rust on the outside. Obviously I wasn't going to let it go inside the bus so I cleaned it from all rust and took all the old paint and afterwards I gave it a new look. I decided to use some POR-15 paint I still had, and sprayed it. However, I didn't do anything on the inside, so that's a task I'm still missing although I've already have a 2K special resin to cover that area.
Will do it the next time I go there....
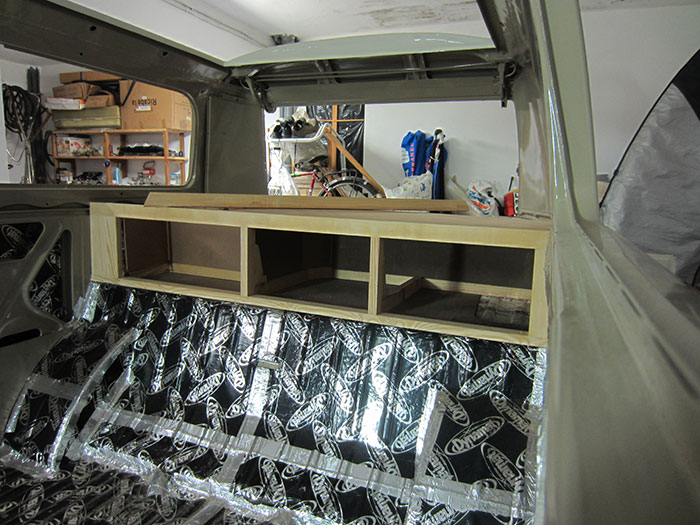
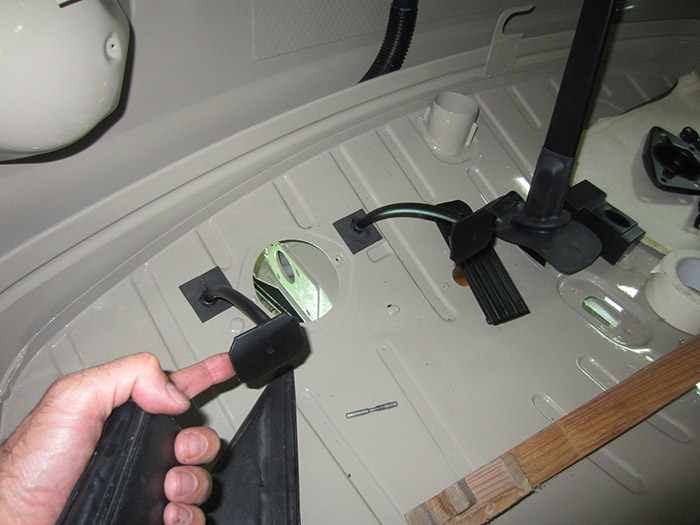
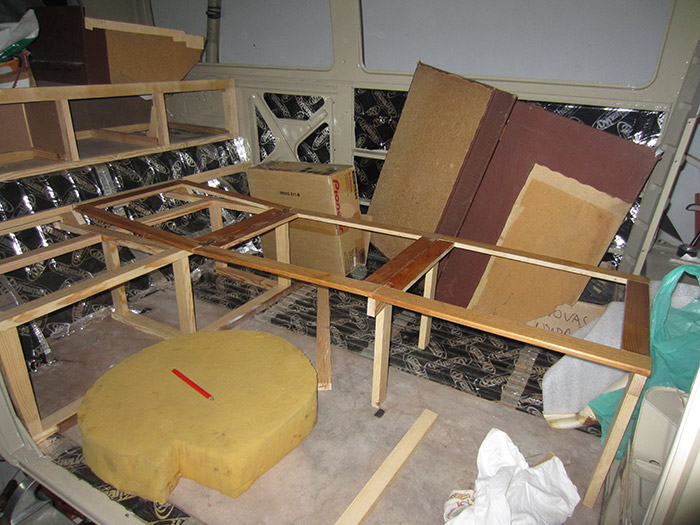
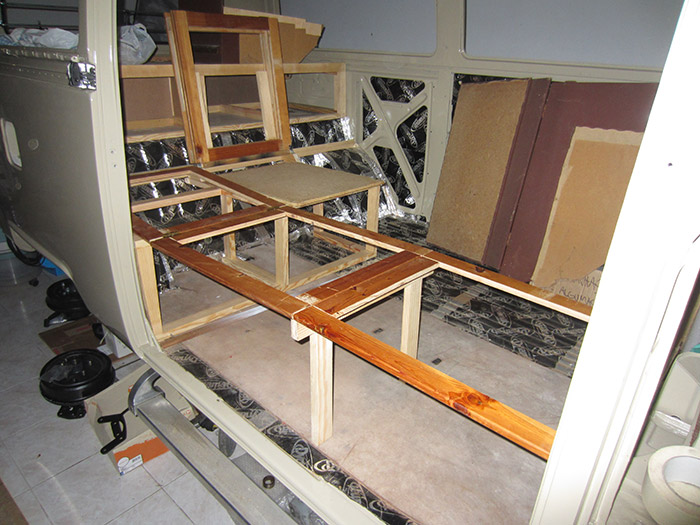
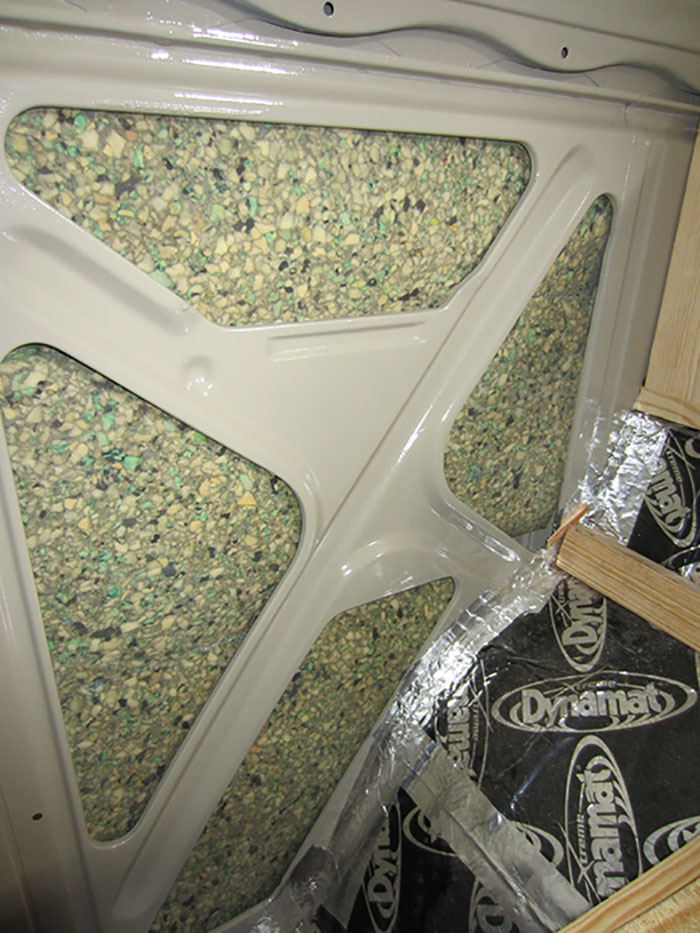
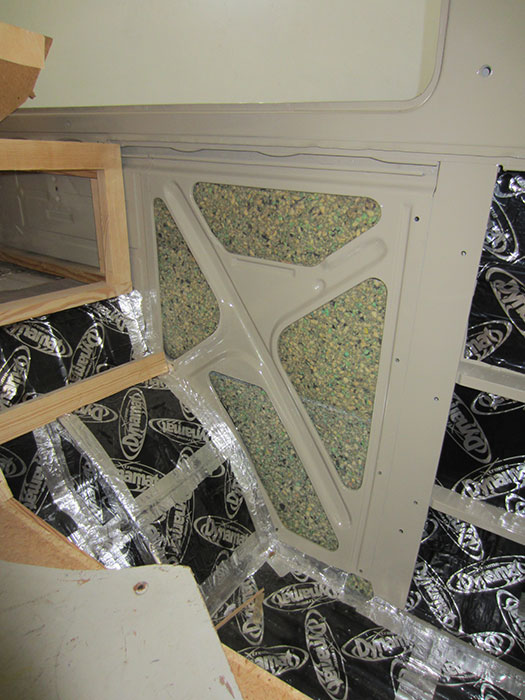
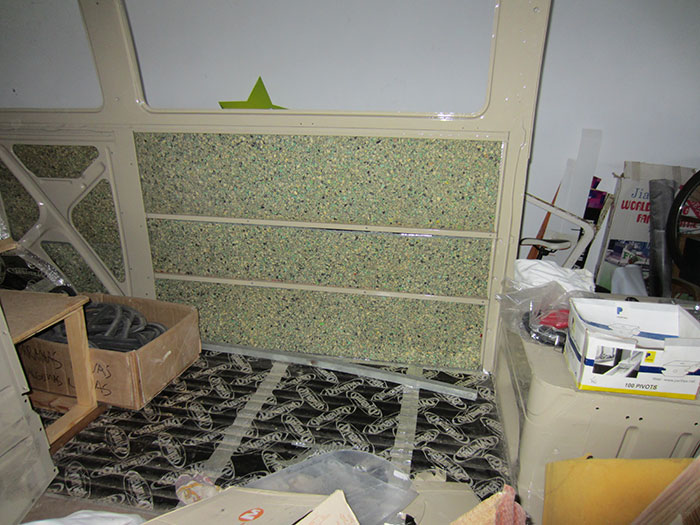
Other task I did was to finally cut and apply all the isolation materials I had on top of the Dynamat:

... and on top of that, a layer of this one:
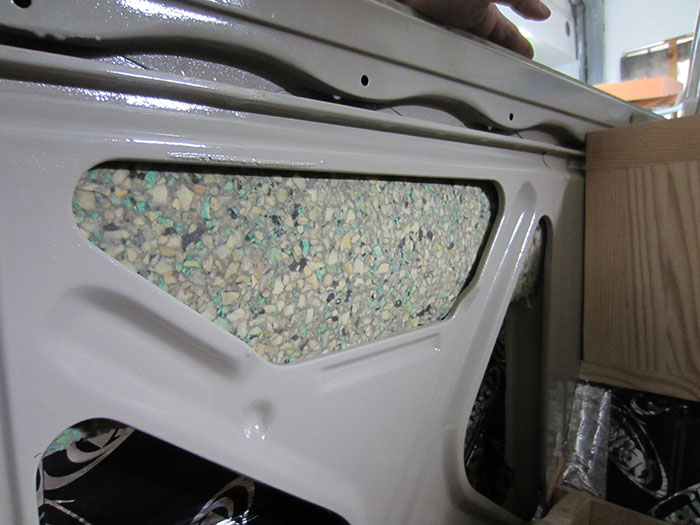
In the end, the only area missing was the sliding door:
Will do it the next time I go there....
Other task I did was to finally cut and apply all the isolation materials I had on top of the Dynamat:
... and on top of that, a layer of this one:
In the end, the only area missing was the sliding door:
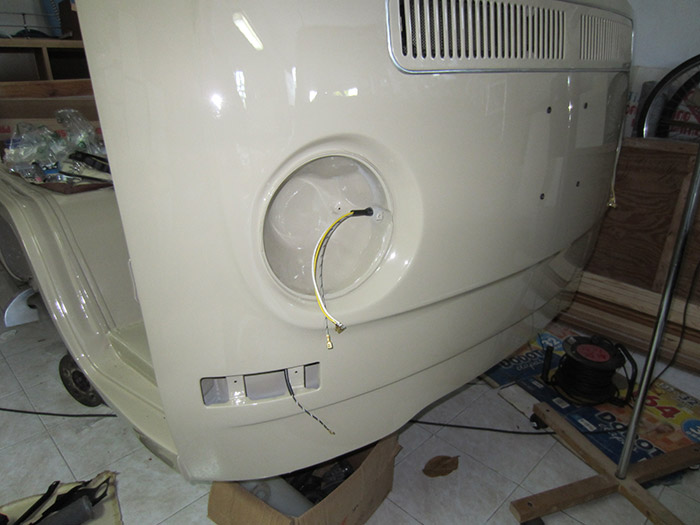
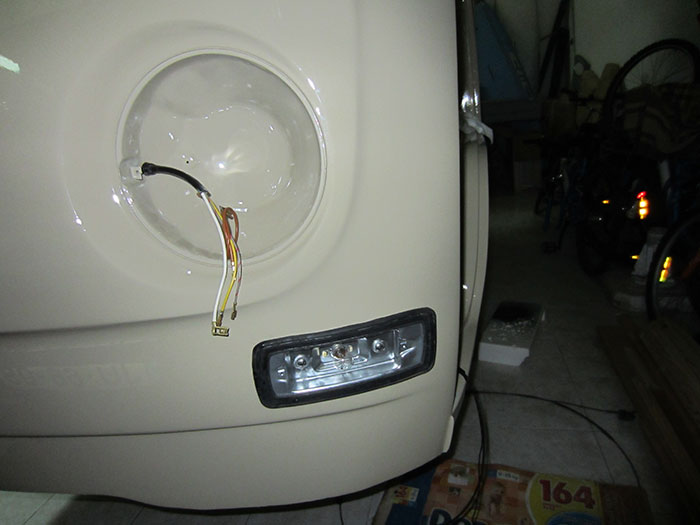
since it had already the wiring for all the front lights in place I decided it was time to add the turn signals. However, the bulb holders were loosing some kind of paint and had some rust. Once again, I decided to clean them all. To protect them I used a 2k primer and a spray of paint that gives a chrome alike finish.
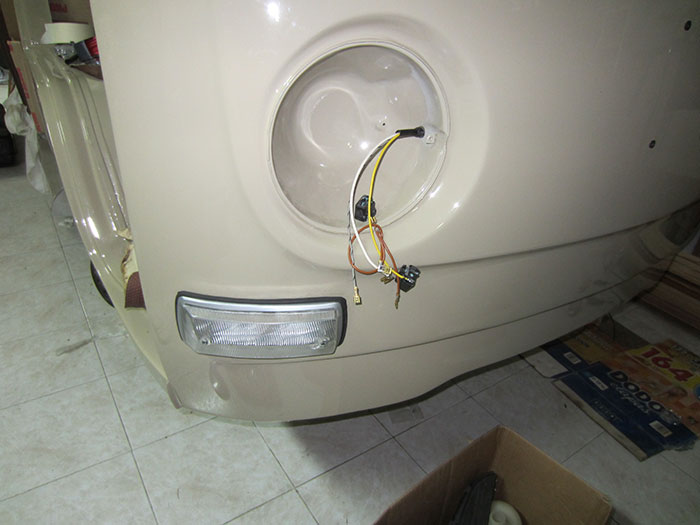
p.s.: Not the best idea... as it has been proved later on...
p.s.: Not the best idea... as it has been proved later on...
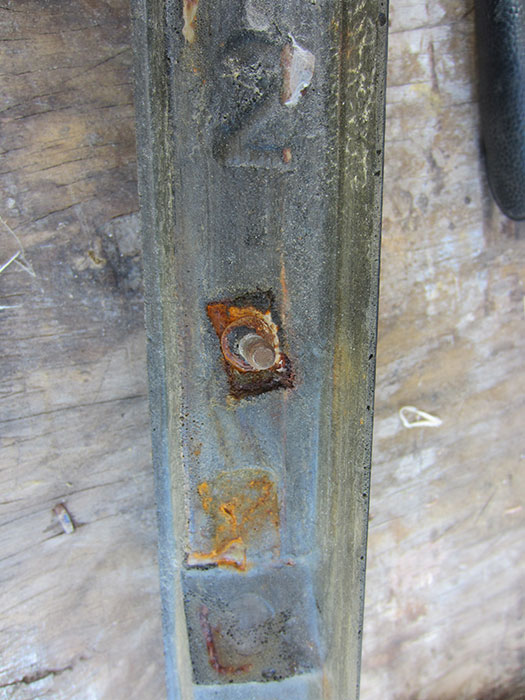
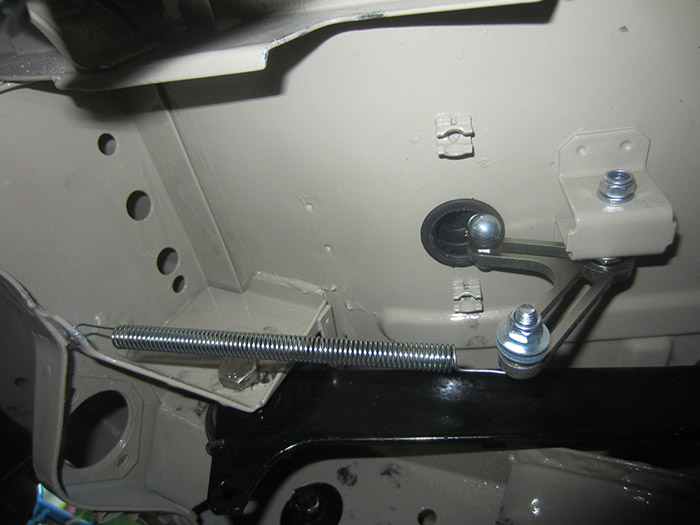
While I was still there, I wanted to had assembled the steering column but it's not as simple as it looks. Besides, it was missing a few parts, like a pair of small screws that went MIA during these years. I bet I will find all the missing parts, when (and if) the bus gets back to the road :mrgreen: .
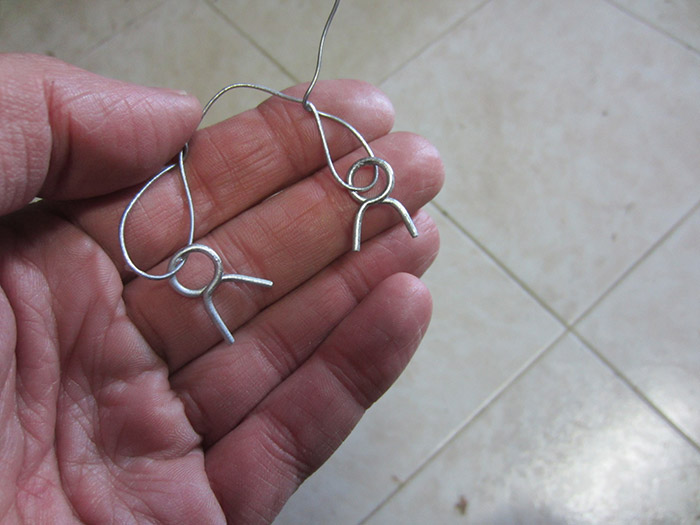
I also found that my indicator switch had a couple of wires broken.
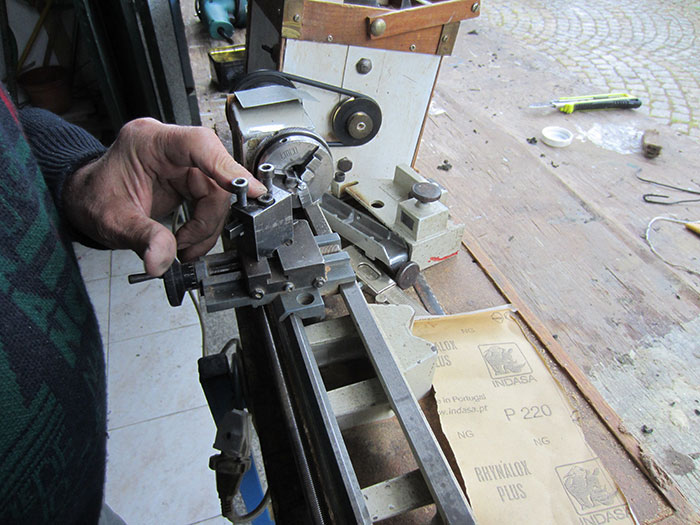
...so, first thing to do was to solder the broken electric wires. Afterwards, I decided to make a pair of new screws:
I also found that my indicator switch had a couple of wires broken.
...so, first thing to do was to solder the broken electric wires. Afterwards, I decided to make a pair of new screws:
some months later, i went back there and did something more.
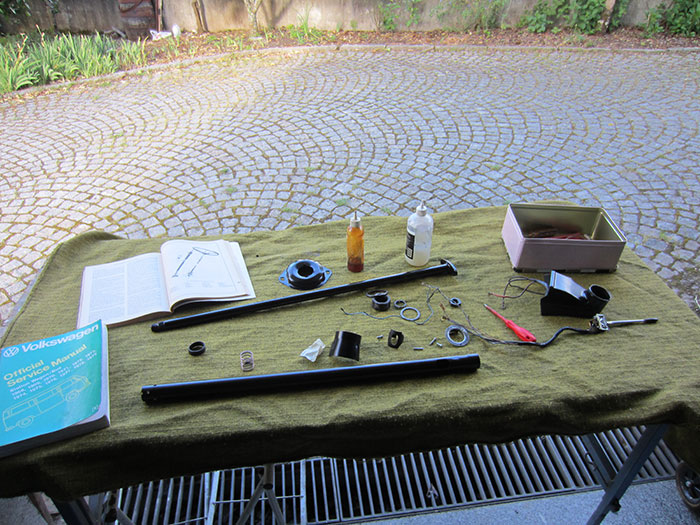
First, I managed to assemble the steering column. It wasn't an easy task, because I was missing a seal that goes between the column and the ignition switch housing. I lost a couple of days finding the best way to secure the housing in place, since the method used to do this, really isn't the best one. Finally, with a few pieces of heat shrinking tubes, I was able to lock the housing in a tight manner.
With the column almost complete, I mounted it in place. I also started to work on my wiring loom, but just gave some very small steps forward:
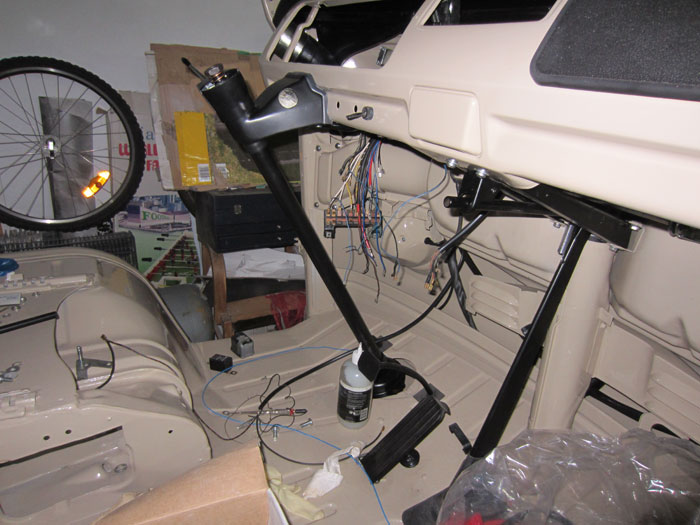
Similar threads
- Locked
Parts For Sale
now sold: 1600 engine for sale (august 2023)
- Replies
- 8
- Views
- 910
Vehicle For Sale
1971 T2a Double Cab Pick Up
- Replies
- 0
- Views
- 550
- Replies
- 0
- Views
- 1K
Vehicle For Sale
1969 VW T2 Early bay - UK RHD - £13,750 ono
- Replies
- 2
- Views
- 1K