My 68 Single Cab.

Early Bay Forum

Help Support Early Bay Forum:

This site may earn a commission from merchant affiliate links, including eBay, Amazon, and others.

oldbuser

Well-known member
Joined
Sep 9, 2015
Messages
62
Reaction score
0
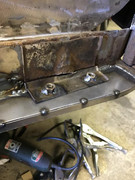
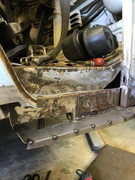
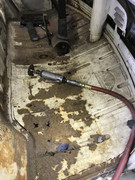
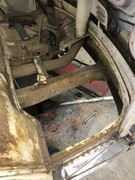
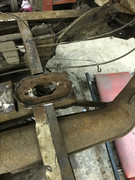
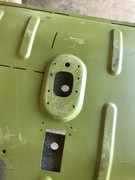
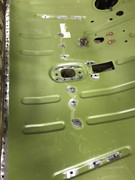
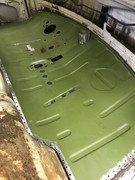
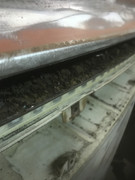
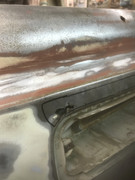
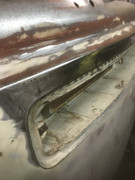
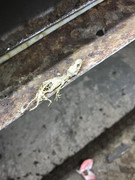
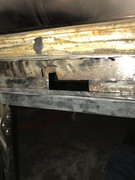
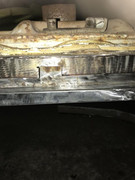
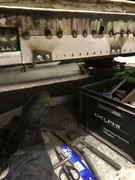
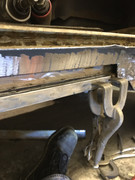
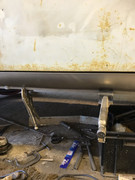
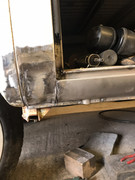
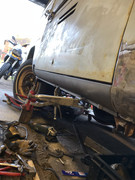
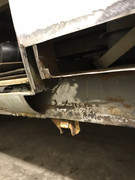
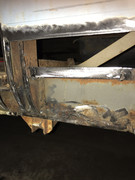
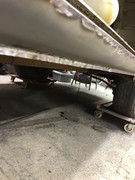
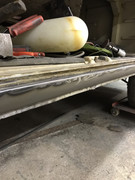
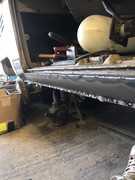
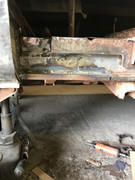
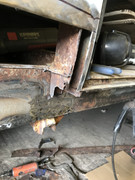
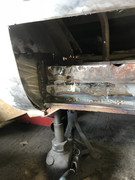
Thought I would post up my progress with my 1968 Single Cab. Some will Remember this as the truck Graham from Midlands Early Bay was selling last year.


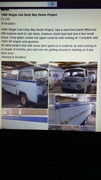
Well I have always been a pick up guy having owned a couple of American trucks, F100 and Model A. I also briefly had a 1967 Split pick up but had to sell when I moved house! (Big regret).

Anyway I did not have the funds to buy the truck off Graham. Then it came up for sale again so I grabbed it.
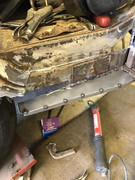
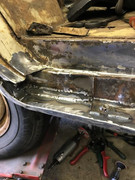
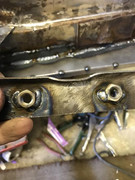
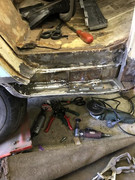
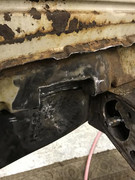
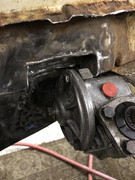
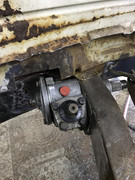
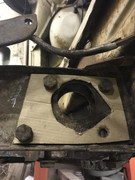
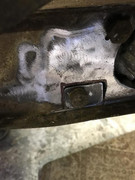
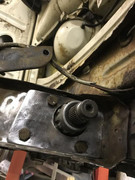
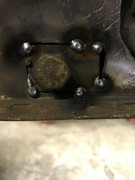
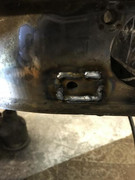
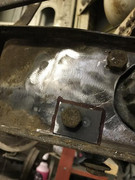
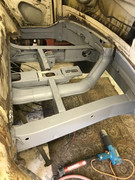
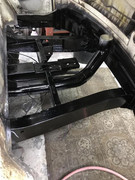
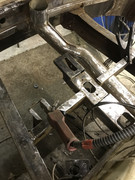
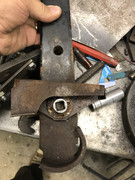
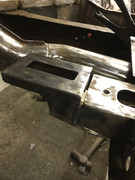
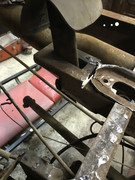
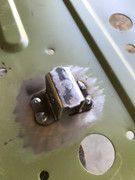
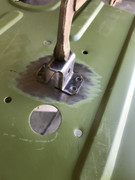
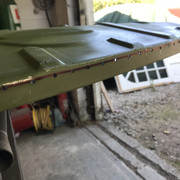
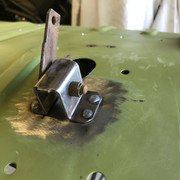
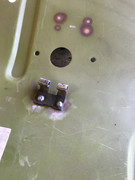
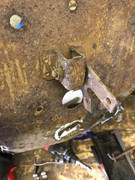
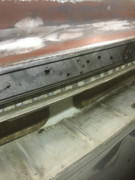
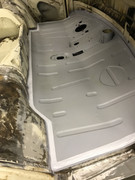
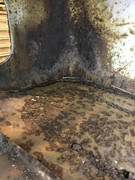
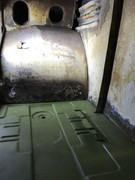
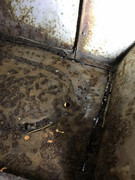
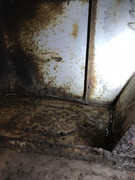
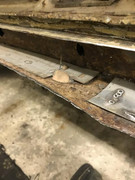
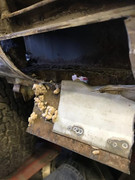
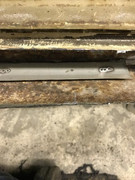
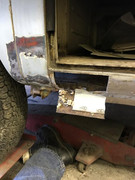
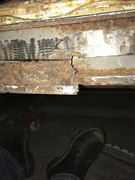
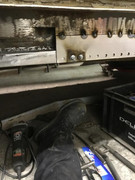
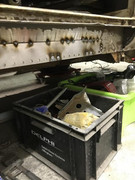
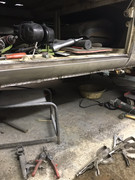
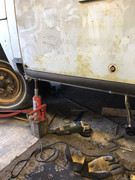
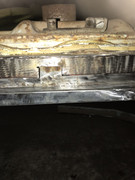
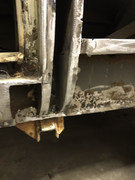
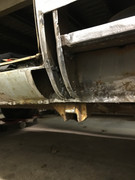
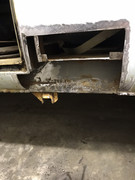
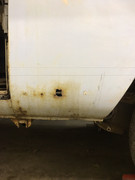
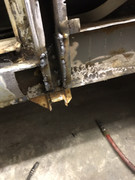
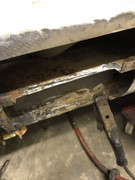
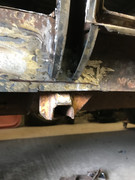
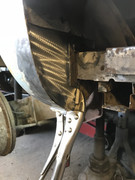
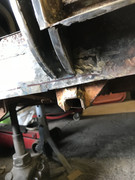
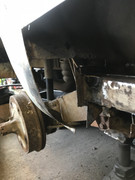
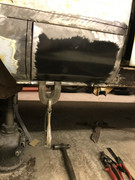
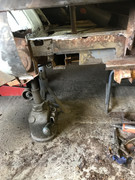
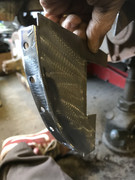
And so the build began.
 
First off I removed the engine to get at the battery tray and also the opposite side tray.


As this was a dry state import I was pleased to find the rear quarters were solid so it was just a matter of cutting out the trays and welding in the new. I must say the Klassic Fab panels are a good fit.

 
I then moved on to the drivers side sill. This had been ‘repaired’ in the past.


I also found a hitchhiker hiding inside!


I then went round to the passenger side. Pretty much the same but not quite as bad. I was able to get away with welding the new sill across its up edge rather than plug welding to the inner floor. ( if that makes sense!).


Looking like you know what you are doing with the repairs - very nice work.
Will keep an eye on your thread and good luck :)
 
Moved onto the door steps next. I wanted to keep as much original metal as possible so resisted just cutting the complete steps off.


As I was now at the front I thought I would sort the cab floor.
I cut the whole floor out then thought I would check the steering box. As to be expected there was a load of play in it. As I had read on here that the swap to the later box was fairly straightforward I decided to go down that route.
Getting the old drop arm (pitman arm) off the old box involved making a puller.


Fitting the late steering box involved a little more than just moving one mounting hole. I had to notch the panel above the bottom panel.


Then enlarge the hole where the box goes through the chassis and move one bottom mounting hole.


I also made a plate to mount on the inside edge of the chassis rail to spread the mounting load after opening up the hole through which the box fitted.


When this was done all that was left to do was to paint everything. First a coat of epoxy primer then some chassis enamel.


Great thread and repairs ... looking forward to reading more updates [emoji106]


Sent from my iPhone using Tapatalk
 
I realised to fit my new cab floor I would need to remove the handbrake lever. What a job! The pivot pin at the bottom would not move. Has anyone ever been able to get it out? My solution was to cut off the bracket that holds the handbrake at the bottom and remove the pin in the vice. That was still a tough job, how I regret getting rid of my oxyacetylene kit, a bit of heat would have soon shifted it. Anyway I got the pin out in the end. I then welded the bracket back in place.


Then it was on to fitting the floor panel. I punched holes all round the edge so that it could be plug welded in place. I also ground the (new) paint off the areas of the chassis where I needed to weld.
I also had to transfer the throttle peddle fittings to the new panel.


It’s been a while but I have been busy. Here are a few updates. Got the cab floor done then repaired the front panel.


Latest posts

Top