Progress Pics - Dormobile X-Over

Early Bay Forum

Help Support Early Bay Forum:

This site may earn a commission from merchant affiliate links, including eBay, Amazon, and others.
graysummers said:
If you want pan protection.....Bolt the full pans on. Then you can remove periodically and check underneath’s qualities as you need. Good luck with that bolt. Sounds like a YouTube advice hunt. People who have worked it out with oddity mish mash Heath Robinson involvement and developed special techniques.
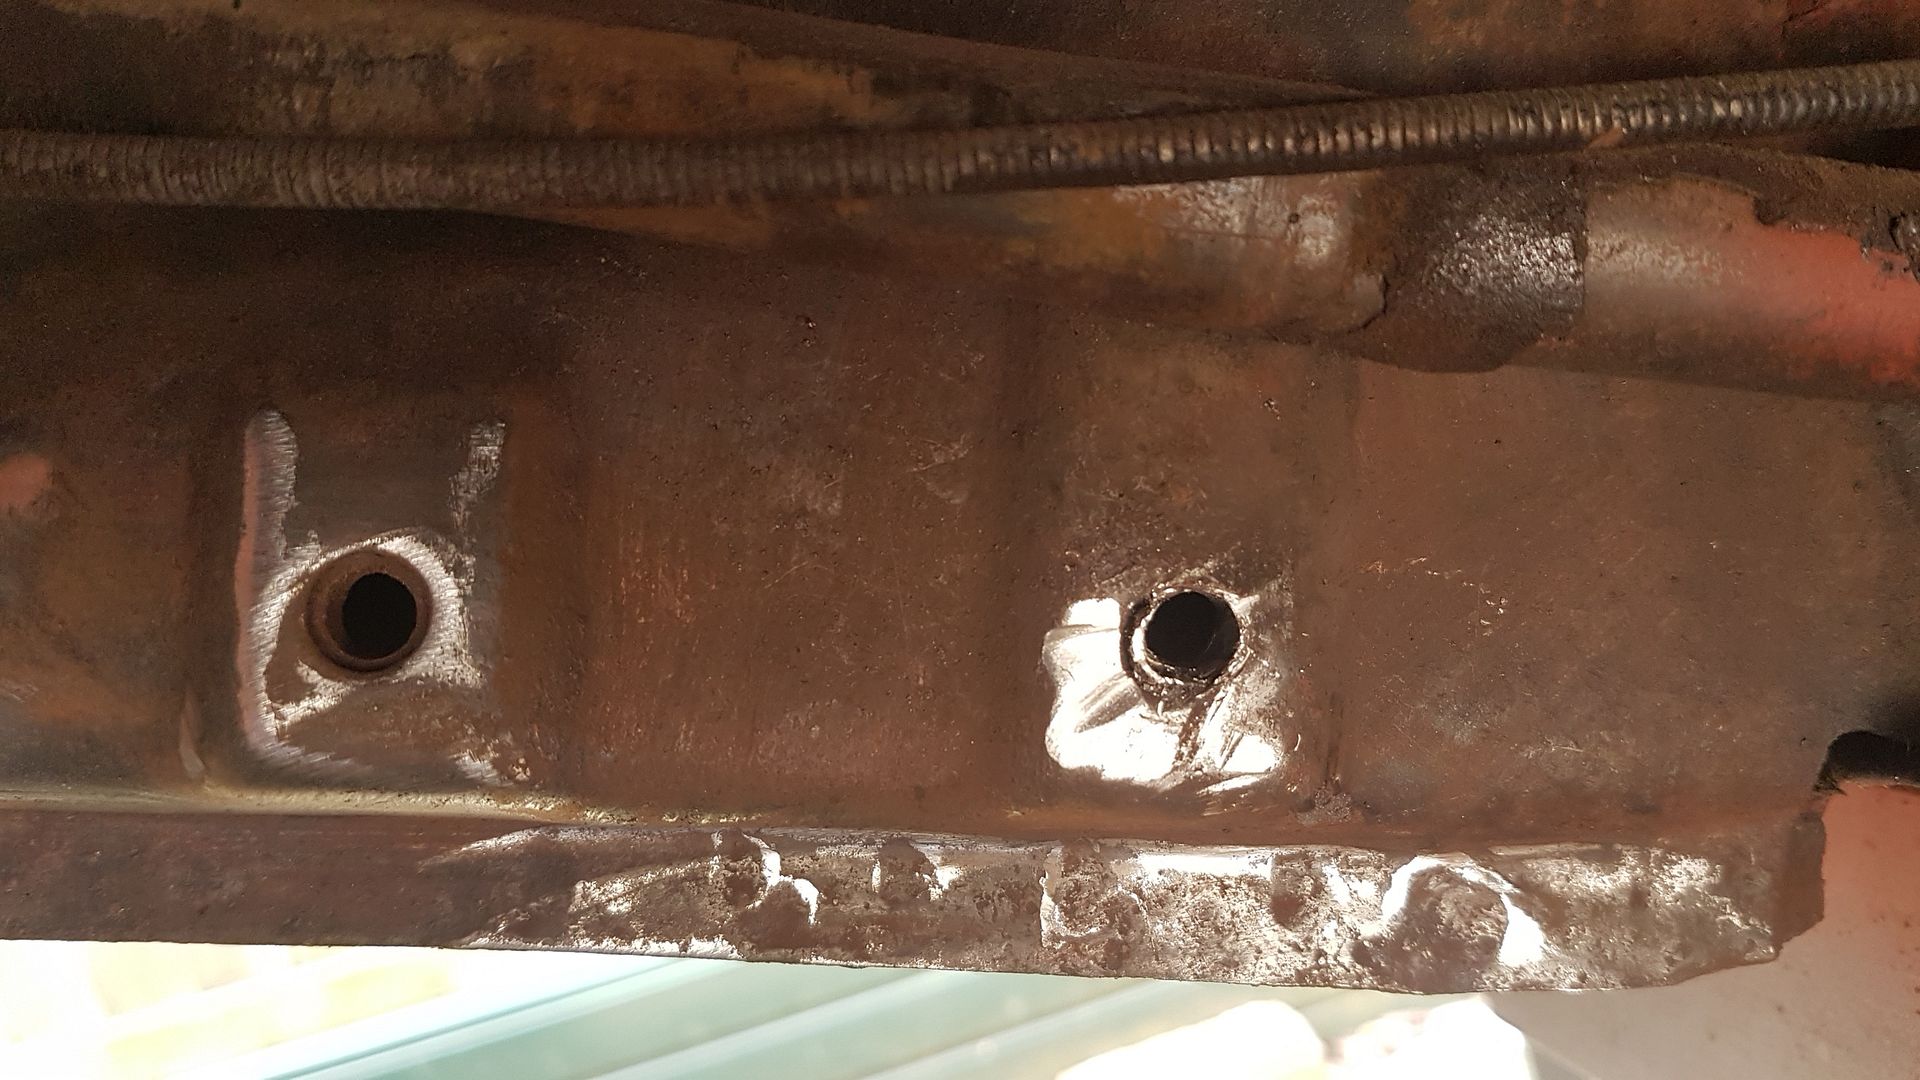
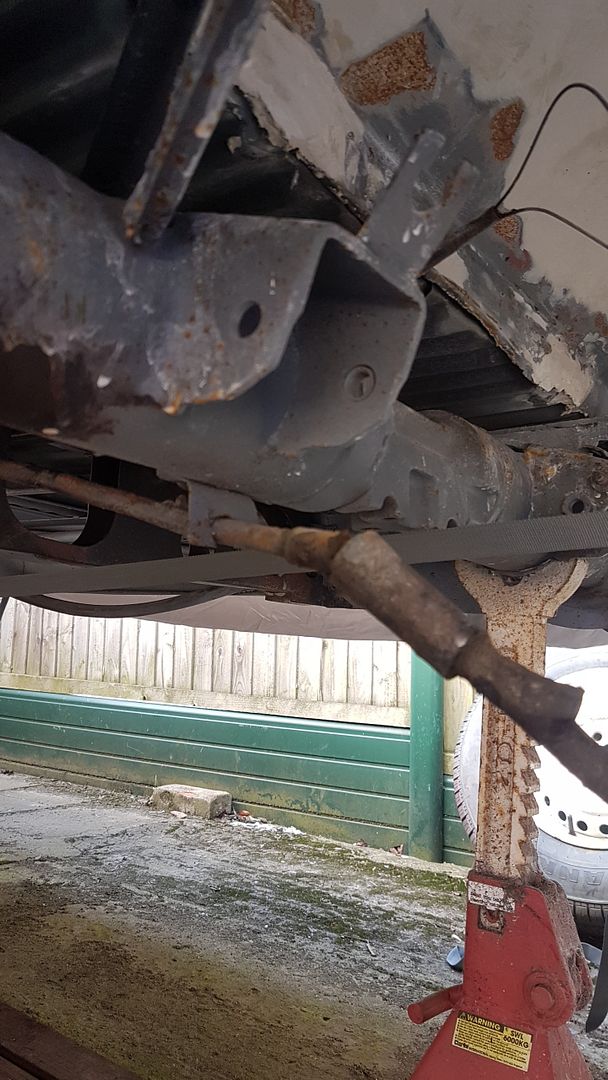
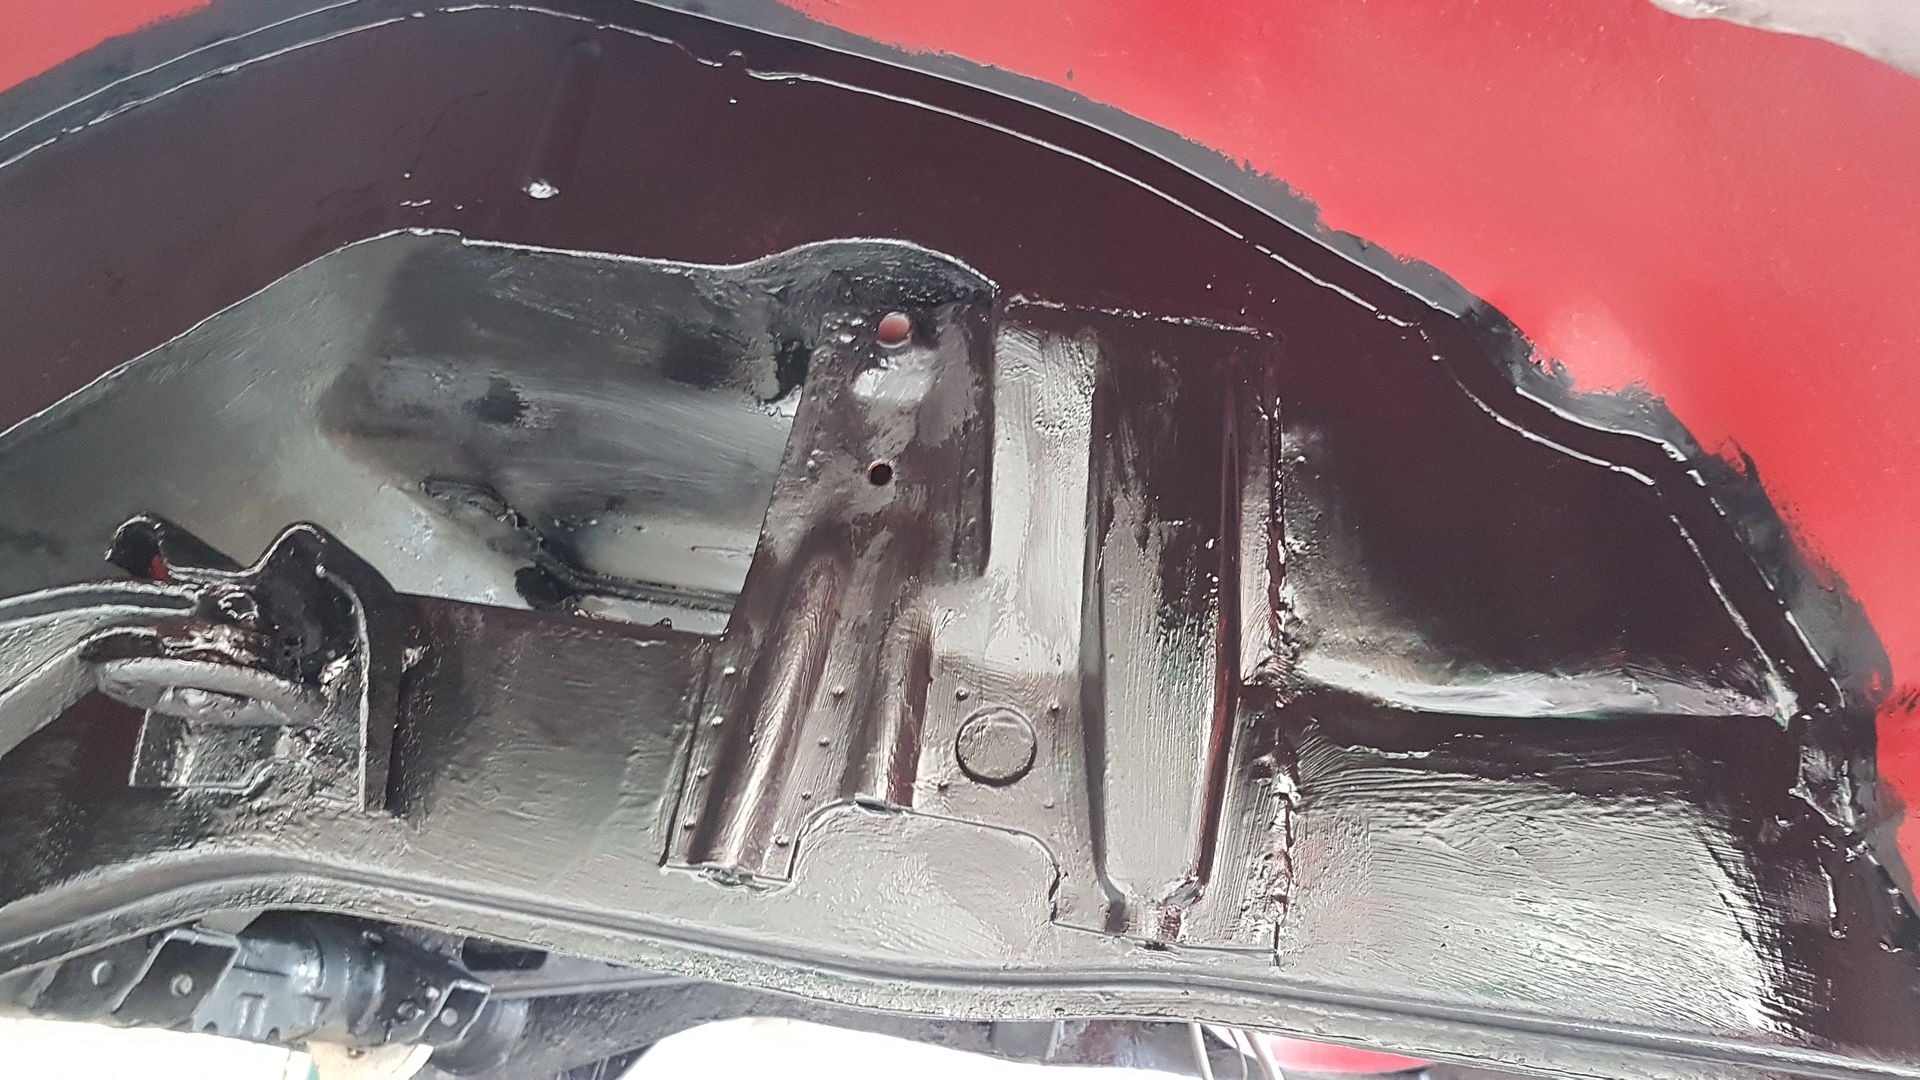
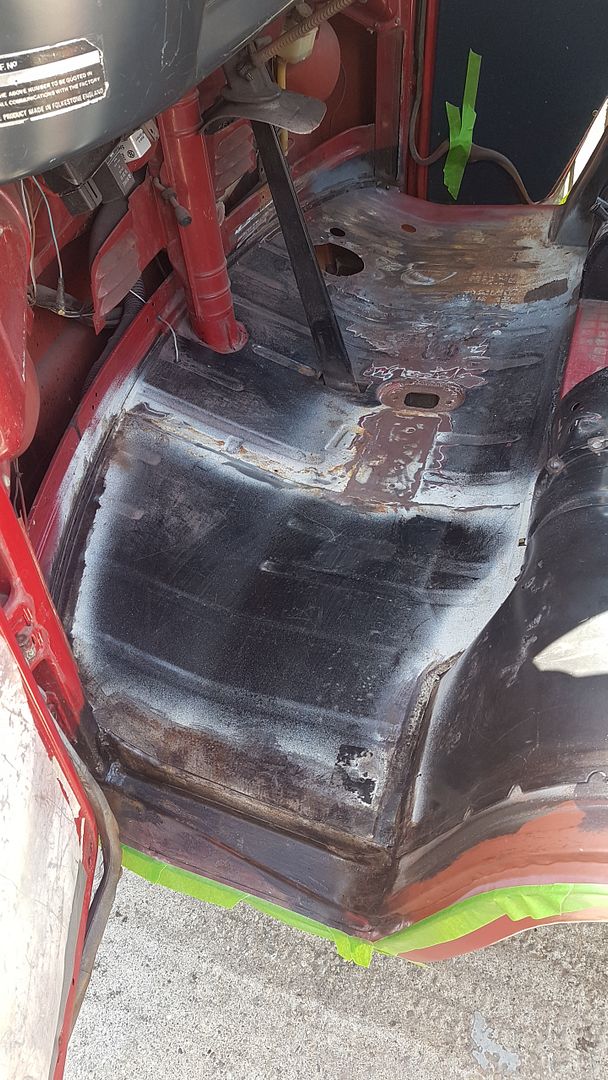
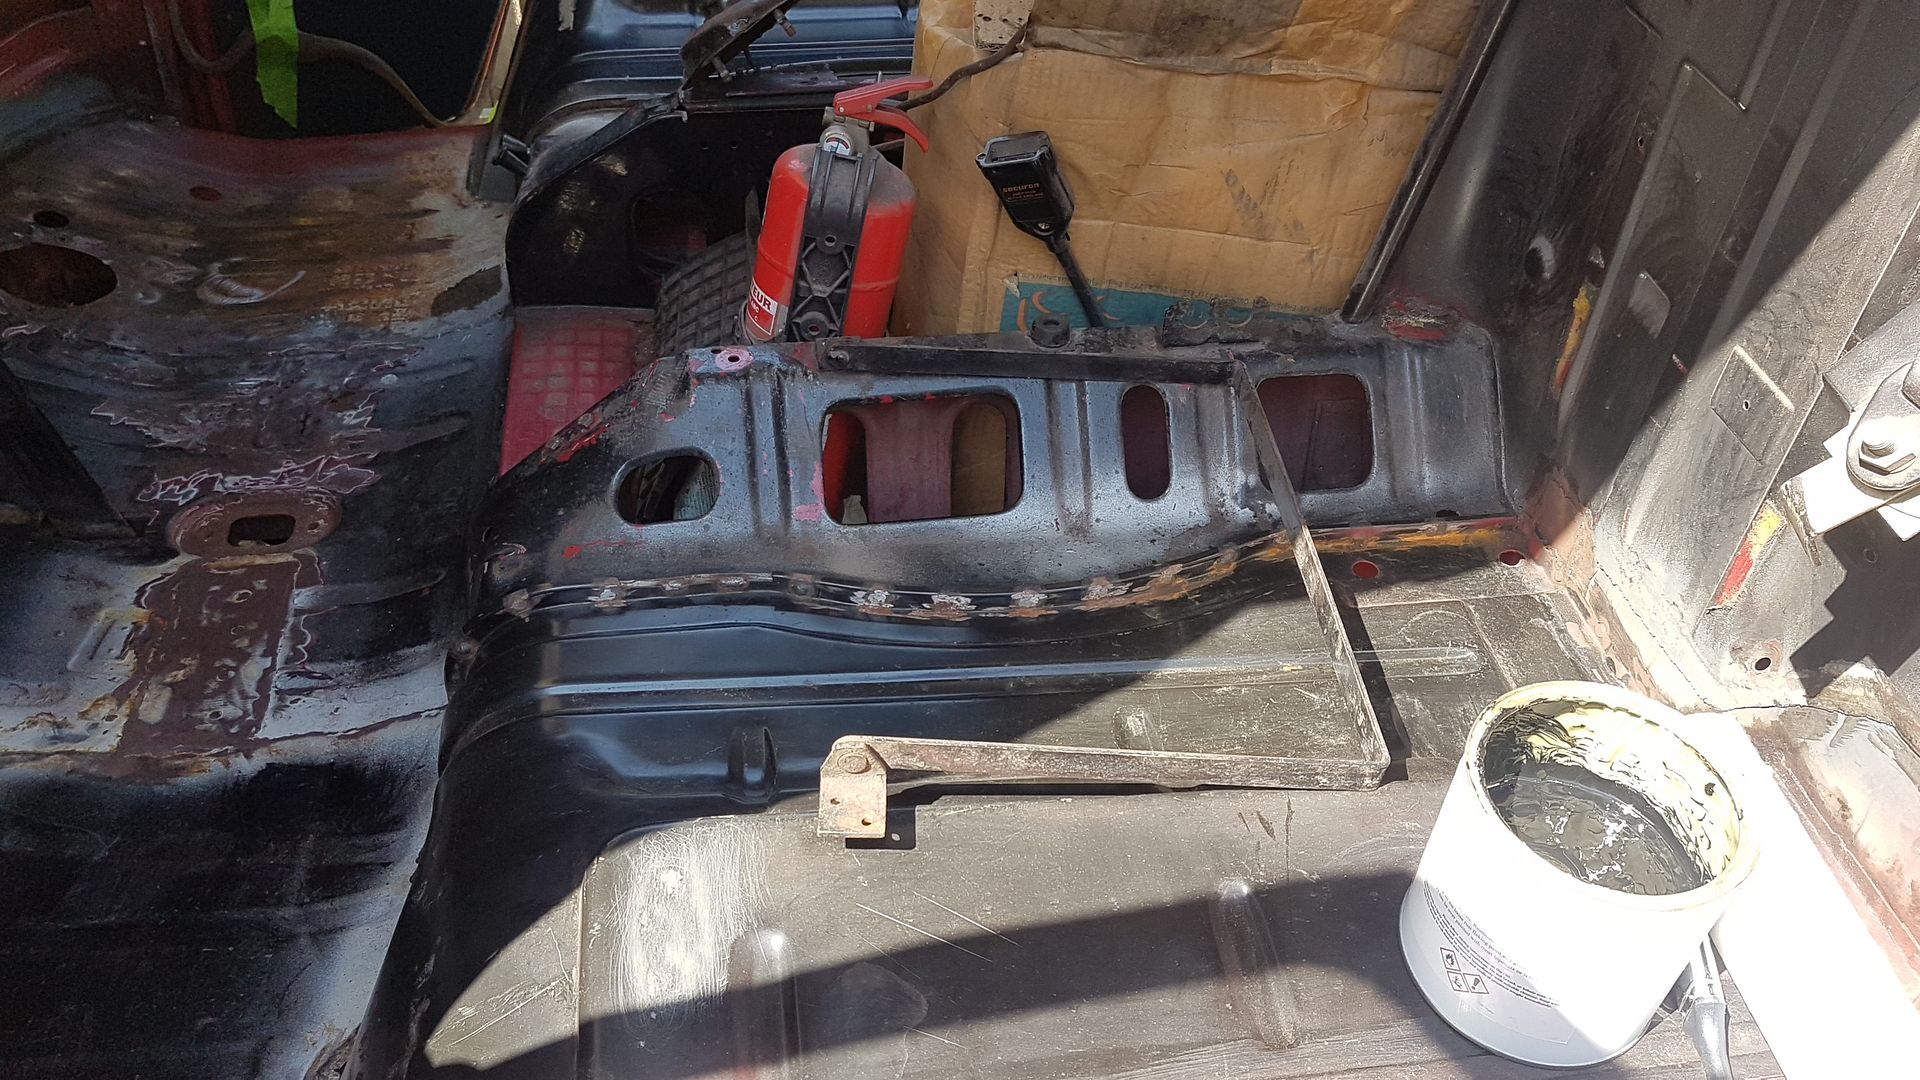
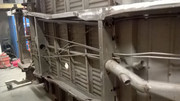
The centre pan is usually welded in, but I am sure you could bolt it instead.
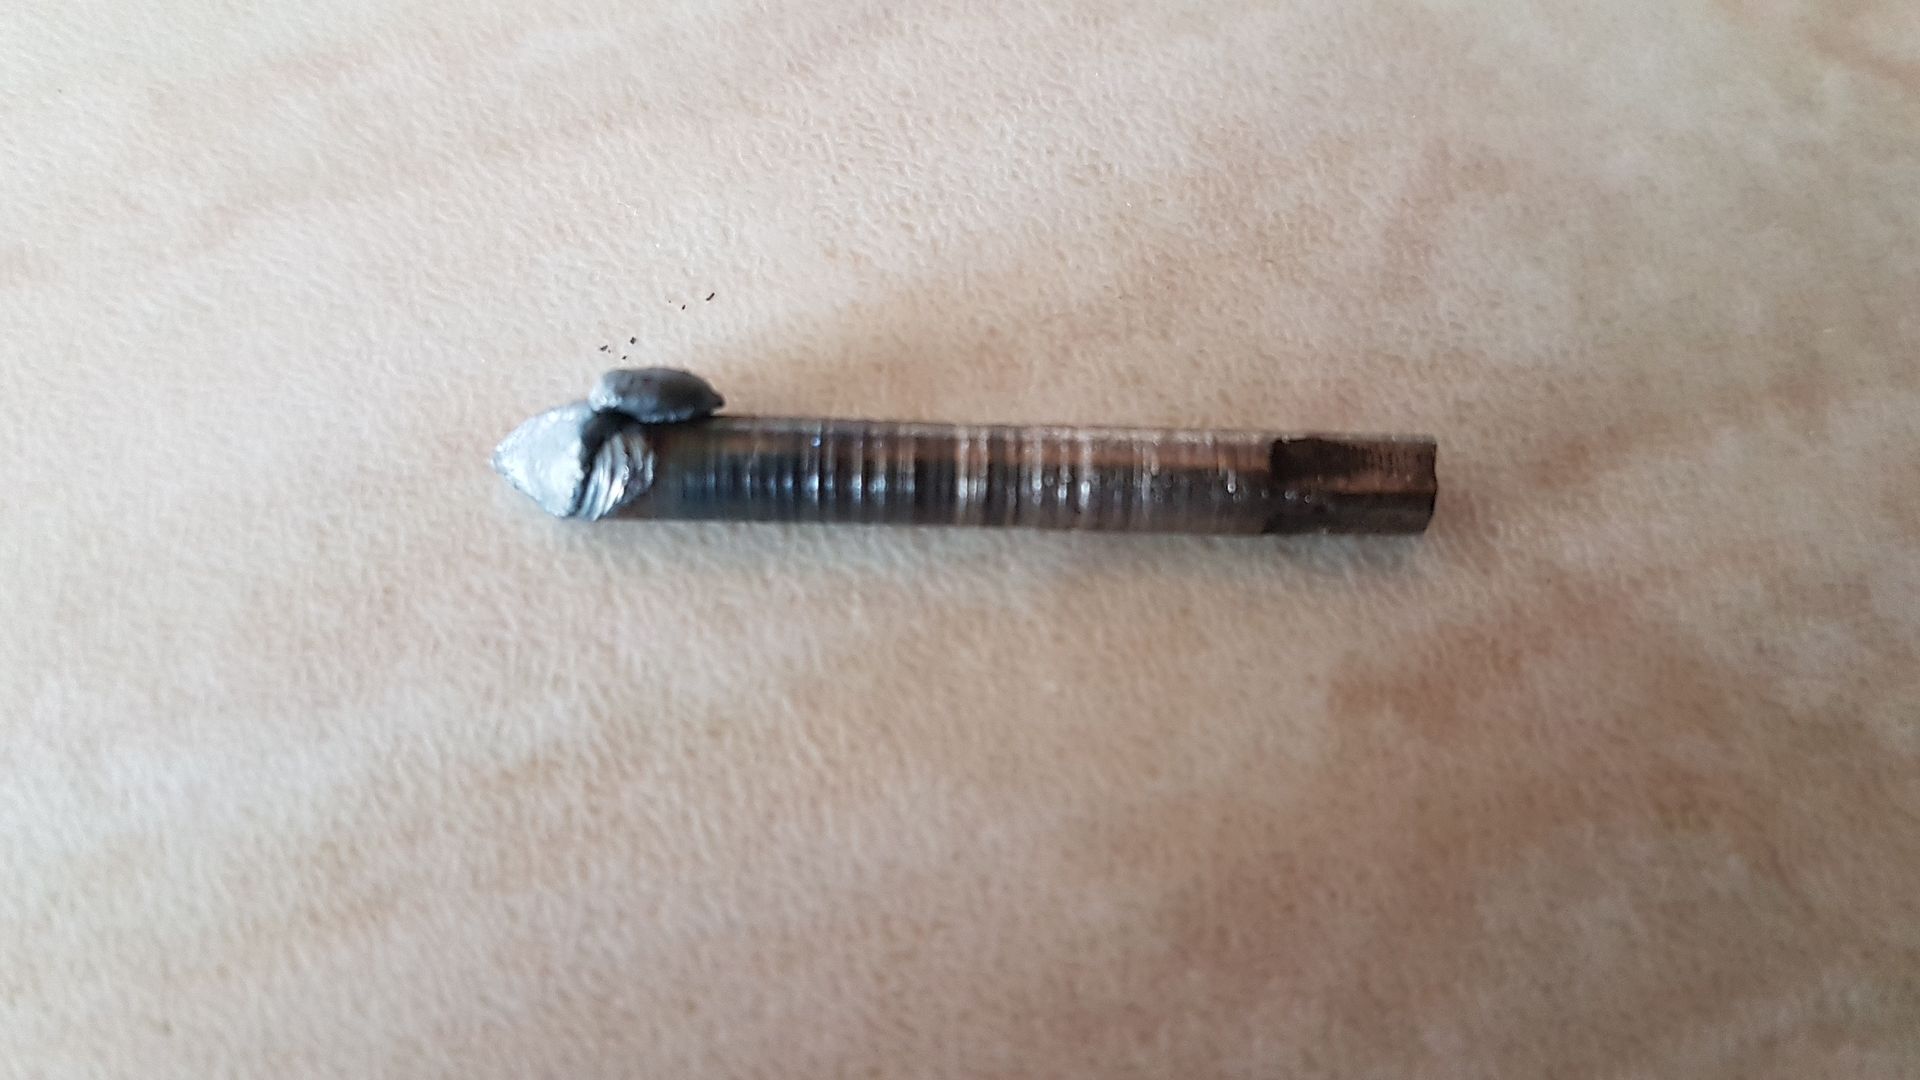
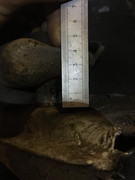
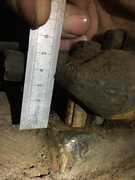
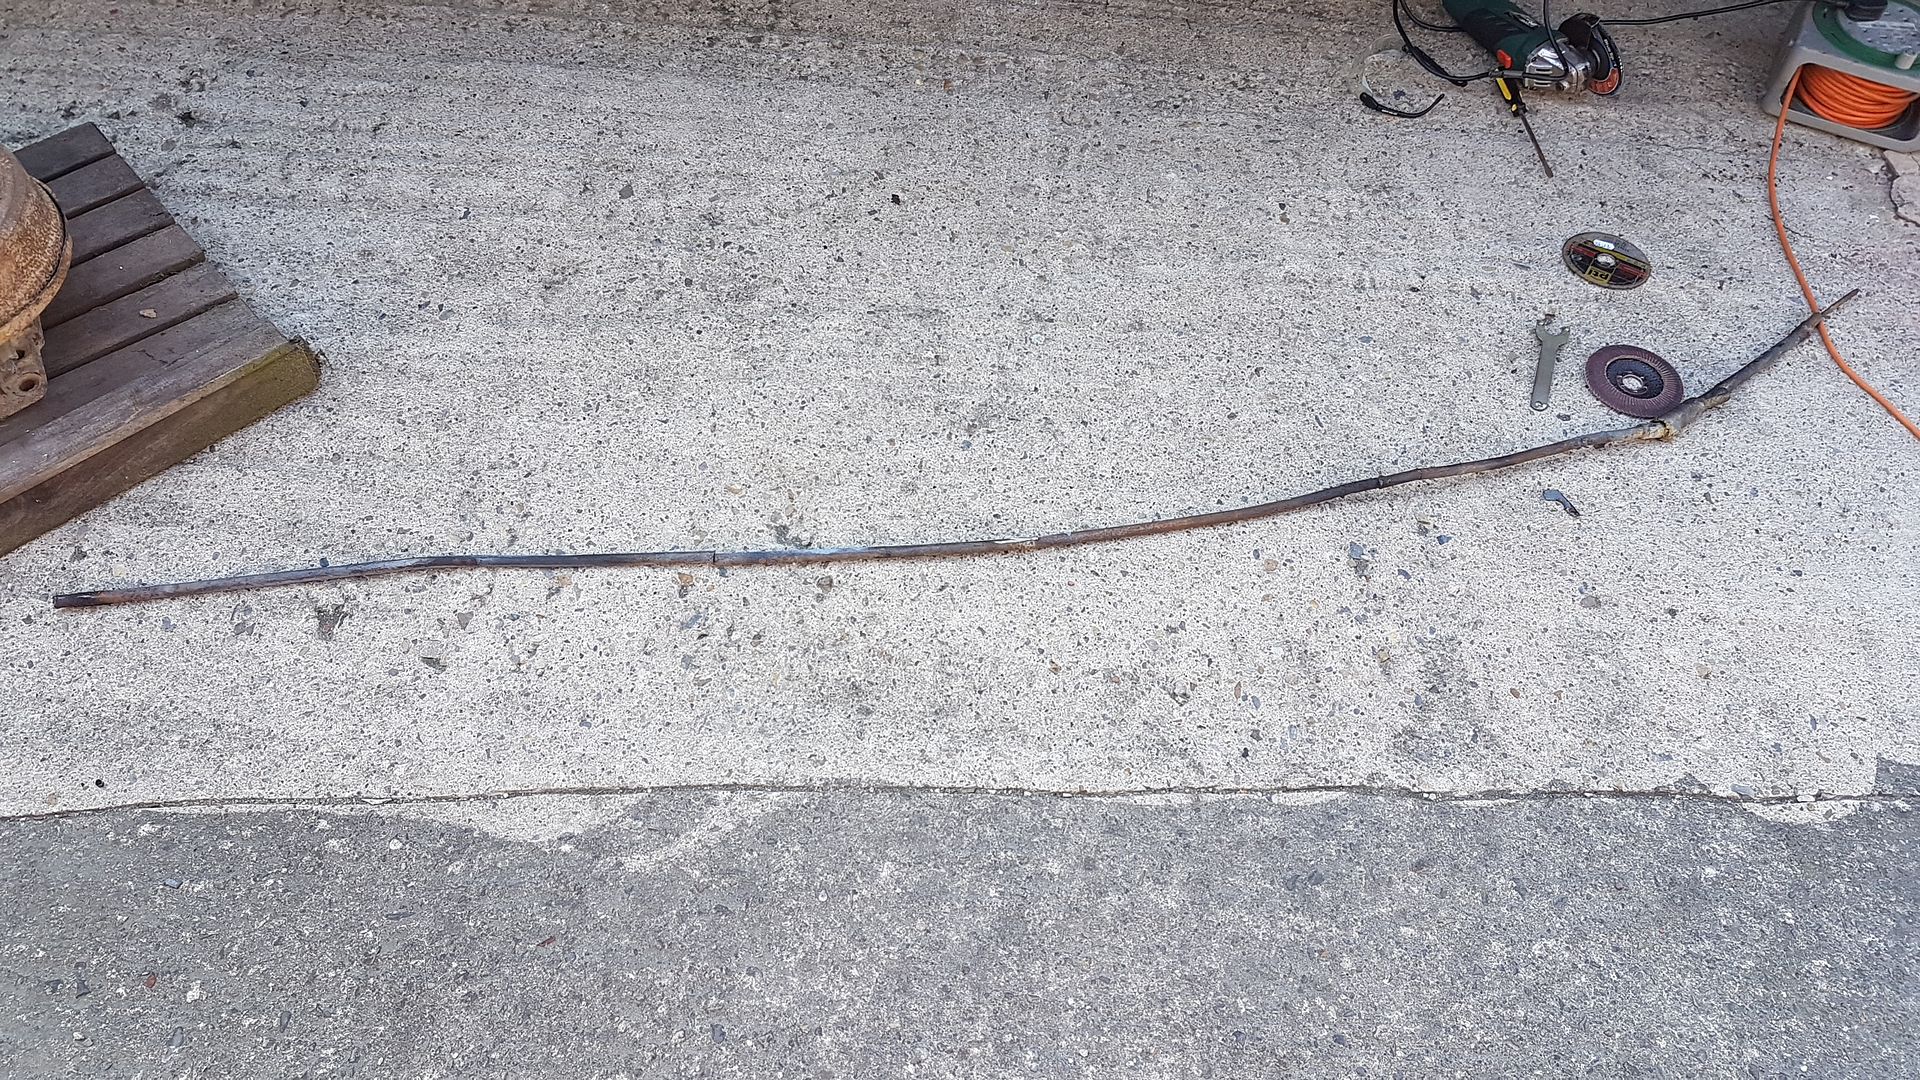
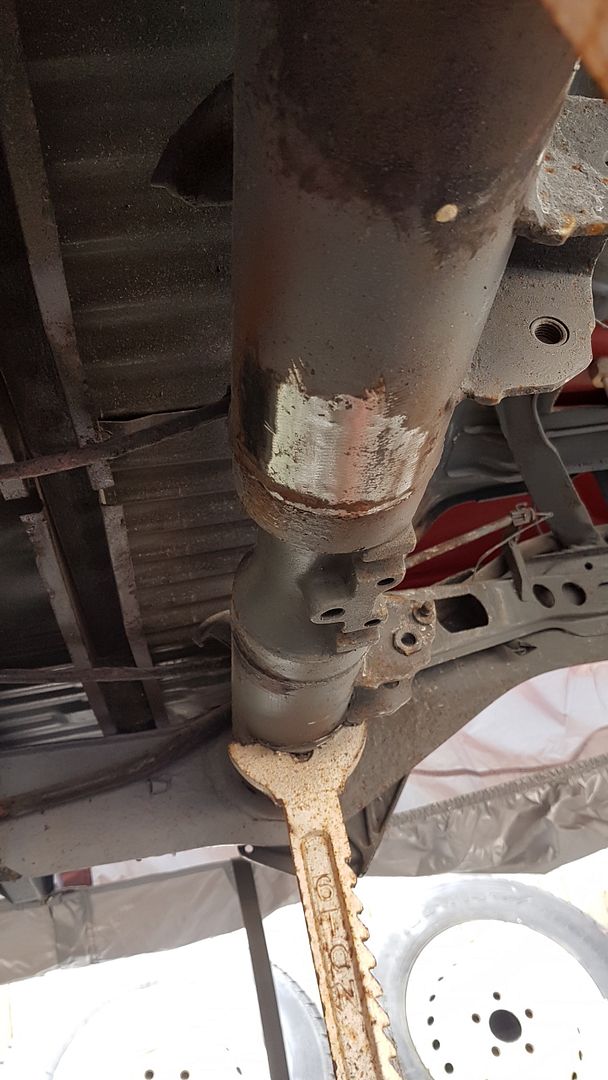
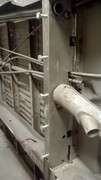
Regarding the bolt, thanks. Will have another look tonight and see what I can do.
 
Bolts were suggested by Paul. He said it would help to get the pans off and give opportunity to give it a good clean, check and paint/wax re-protect as needed. I think these are the bolt points. I’ve got other photos of some more mount holes on the outer edges. My two outer pans are in place but I haven’t bought the central one yet.


29.04.2018

So, had another look at removing the remains of the bolt and thought I would weld the remains of the bolt extractor - guess what, the weld melted the stud extractor :)

20180429_123518_zpsuqix6pwk.jpg


So ground down the remains of the weld and had another go with the drill.
Managed to drill it out so will need to be retapped.

20180429_140341_zpsk1iuiecy.jpg


Questions - what size are the bolts used (think they are M8).
Also, the bolts will go through a couple of spacers, anyone know how long these need to be?
 
Cheers - can wait.
I know the bolts are M8, just the depth of the spacers - think around 35 mil or so.
 
Not sure mine is original then as the rearmost spacer is 16mm, front 20mmm, bolts roughly 50-52mm to the chassis face and spacer OD 15mm.


That's brilliant - many thanks.
Will look through my bits of scrap metal and see if I have anything that will do the job.
I had to cut mine to get the thing off but being offset like that would not surprise me :)
 
Can’t believe it but actually found some time to do a bit of van work !!!

Decided to remove the tube that the clutch cable runs through as it is passed its best.
Below is the end where the cable would connect to the clutch mechanism in the bell end.

20180506_145633_zpstraxoili.jpg


20180506_145645_zps6mzqcbpf.jpg


And here’s the bugger removed.

20180506_154429_zpsd5avv43v.jpg


Removed the remains of the bracket from the rear suspension tube that hold the clutch tube in place ready for me to knock a new one up - just need to get the tube first…..

20180506_154450_zpsamsqhkxq.jpg


Not a lot done today but better than nothing - will see if I can get an hour or two tomorrow and see what else I can do.
 
Are you going with copying the original bracket design or are you going to do an improved Andy version to hold the tubing in place? I suppose it’s all about alignment, easier welding of the bracket without a tube in the way and catching hold of the tubing within the bracket to keep it rock steady and stop it from moving or dropping. Can’t work out the rear of the bracket and if it has some sort of attachment or connector to the clutch cable tubing. That’s why I’m no engineer. Wouldn’t know where to begin. Good fortune. Looking very tidy.
 
graysummers said:
Are you going with copying the original bracket design or are you going to do an improved Andy version to hold the tubing in place? I suppose it’s all about alignment, easier welding of the bracket without a tube in the way and catching hold of the tubing within the bracket to keep it rock steady and stop it from moving or dropping. Can’t work out the rear of the bracket and if it has some sort of attachment or connector to the clutch cable tubing. That’s why I’m no engineer. Wouldn’t know where to begin. Good fortune. Looking very tidy.
It will be similar - the tube I believe is just welded to it so nothing exciting - just need to get a tube. I know Schofields do one but at £22 is a bit steep so so what I can find
 
15.05.2018

Carried on with the painting this evening - using the last of Epoxy 121 to paint the remainder rear chassis - also did the two rear trays - see pics (not brill as light was fading).

20180515_191021_zpsiapbc4hf.jpg


20180515_191041_zpswcfco8ck.jpg


20180515_191115_zpsdexrj8zg.jpg


20180515_191132_zpsbkjet2fg.jpg


20180515_191000_zps2vflaozg.jpg


20180515_191009_zpsvlepmxhk.jpg


Cheers
 
graysummers said:
Yay! Sunshine Superman. Weather brings out good vibes and motivation. All that Vitamin D. D for Determined. Looking really good.
Amazing what a bit of sun can do :) Especially when you have to work outside!
 
19.05.2018

Sunny day and a few hours to waste.
Discovered I had some of the Epoxy paint left so decided to tackle the cab floor and tubs.

Before pictures:

20180519_120232_zpsmgxdvtur.jpg


20180519_120241_zpskdo2f2pv.jpg


And after:

20180519_140327_zpsbfhp2xad.jpg


20180519_140422_zps6rrbdxih.jpg


20180519_140425_zps5ic8dh2x.jpg


20180519_140524_zpsdqns5bob.jpg


20180519_140529_zpsdtznkib9.jpg


Also sprinkled some paint on to the nearside front chassis area:

20180519_140625_zpsbdmlk5kx.jpg


Cheers.
 
Top