68 Seattle Import | 10 years and counting

Early Bay Forum

Help Support Early Bay Forum:

This site may earn a commission from merchant affiliate links, including eBay, Amazon, and others.
campbell45 said:
What a story so far with your Early bay, I like her even more after being lowered.

Thanks, me too!

I love it lowered, I think it looks much better, it certainly drives better but is still practical.
 
A lot of changes in 2013, but none of them huge, just more about getting it the way I want it. First up was a tacho from aspro on here. These are modern tachos with a housing and face that make them look like they belong in the dash. I fitted this up and changed all the bulbs in the dash at the same time. It does look great, and although wiring one in is a bit of a pain, it has been great and still performs perfectly.

HGYHsjn.jpg


Next up was a sun canopy. We never wanted a full awning/tent or anything like that, but a simple canopy to provide some protection from the sun or rain was required. I managed to find a retro-styled one online on special offer so picked one of them up:

Qn59iNU.jpg


And to complement this, a refurb of the poptop was long overdue. The original had worn through in many places, was mouldy and the netting had a lot more holes than it should have. So I entrusted this to Leon at Concept Poptops, and he did an amazing job, looking better than new and allowing us to use the pop properly for the first time since we had got the van:

bgV9n13.jpg
 
My slight obsessiveness had got the better of me, and running the original 14" wheels on the rear and 15s on the front could be tolerated no longer! So, I picked up a couple more Split wheels and had them powdercoated white. Commercial Continentals fitted and away we went.

As previously mentioned, both the engine lid and tailgate had been looking increasingly ropey, so I managed to pick up a rust-free engine lid and tailgate and had them re-painted to match the Lotus White.

eq9dyWH.jpg


So after all of these updates, more camping trips around Dorset plus a third trip to VDUB Island for the hat-trick. The new poptop and canopy proved to be great additions, especially for the 4 nights at VDUB Island where one day in particular was a complete wash out with quite a bit of time being spent indoors. At over 6 foot the additional headroom was great for me :)
 
So, 2014 rolled around and I decided a leisure battery with some interior lighting and charging points were missing from the setup. I picked up a battery, split-charging relay and some suitable interior spots and various sockets and switches. I'm OK with wiring and electrics and enjoyed getting this installed. For now this provides some interior lighting and the opportunity to charge our phones, which is enough. We aren't really into having too many home comforts, like a TV, but one day I might get around to extending it to power a cool box and even charging via the hook-up :)

I used a Durite voltage sensing relay mounted next to the new Numax 90Ah leisure battery:

f63m28h.jpg


I placed the fusebox inside the wardrobe:

79b3xdp.jpg


A couple of light switches, a power socket and a battery tester on the outside of the wardrobe:

LySGieu.jpg


An LED light above the table:

k1c3M2F.jpg


And two LED spots above the bed:

ptIrHsG.jpg
 
I'm quite fortunate living where I live, and one of the events which is hosted on Poole Quay each year are car displays on a Friday evening. Each week through the summer holidays hosts a different marque or style of car, American, TVR, Mini etc. I like to go along to most of them as I'm happy looking at all sorts of cars, but one of these Fridays is reserved for aircooled VWs. For 2014, the weather wasn't brilliant, but I decided to take the van along. It's great to park up and chat with other owners and having the public ask questions about them ("how much is it worth?" usually being the first question :|)

16hYGyJ.jpg


CarG4WQ.jpg


OH2vByg.jpg
 
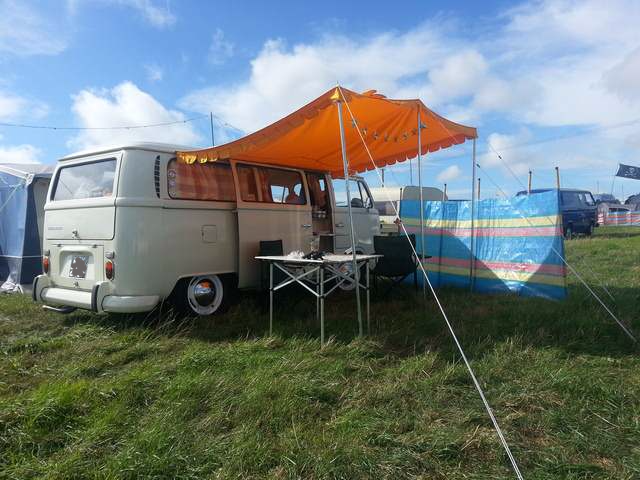
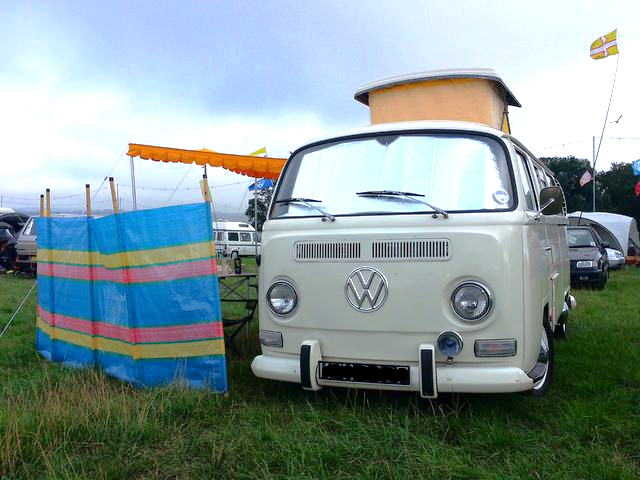
I'd always been planning some sort of further engine upgrade and when my better half started complaining about our rate of ascent up the hills of Devon and Cornwall, I took that as approval for going ahead with it :). Initially I was going to get my existing 1600 Mexican upgraded with 90.5 B&Ps and full flow oil and run a 1776cc along with all of the existing setup.

I spoke to various people, one of whom was Dan Simpson, and after a second chat with him I decided I would slowly amass the parts for an all-new motor which Dan would put together and I could leave the van on the road with the existing 1600 until it came time to build up with the ancillaries. This would also allow for balancing of the crank assembly and the addition of a few more choice components.

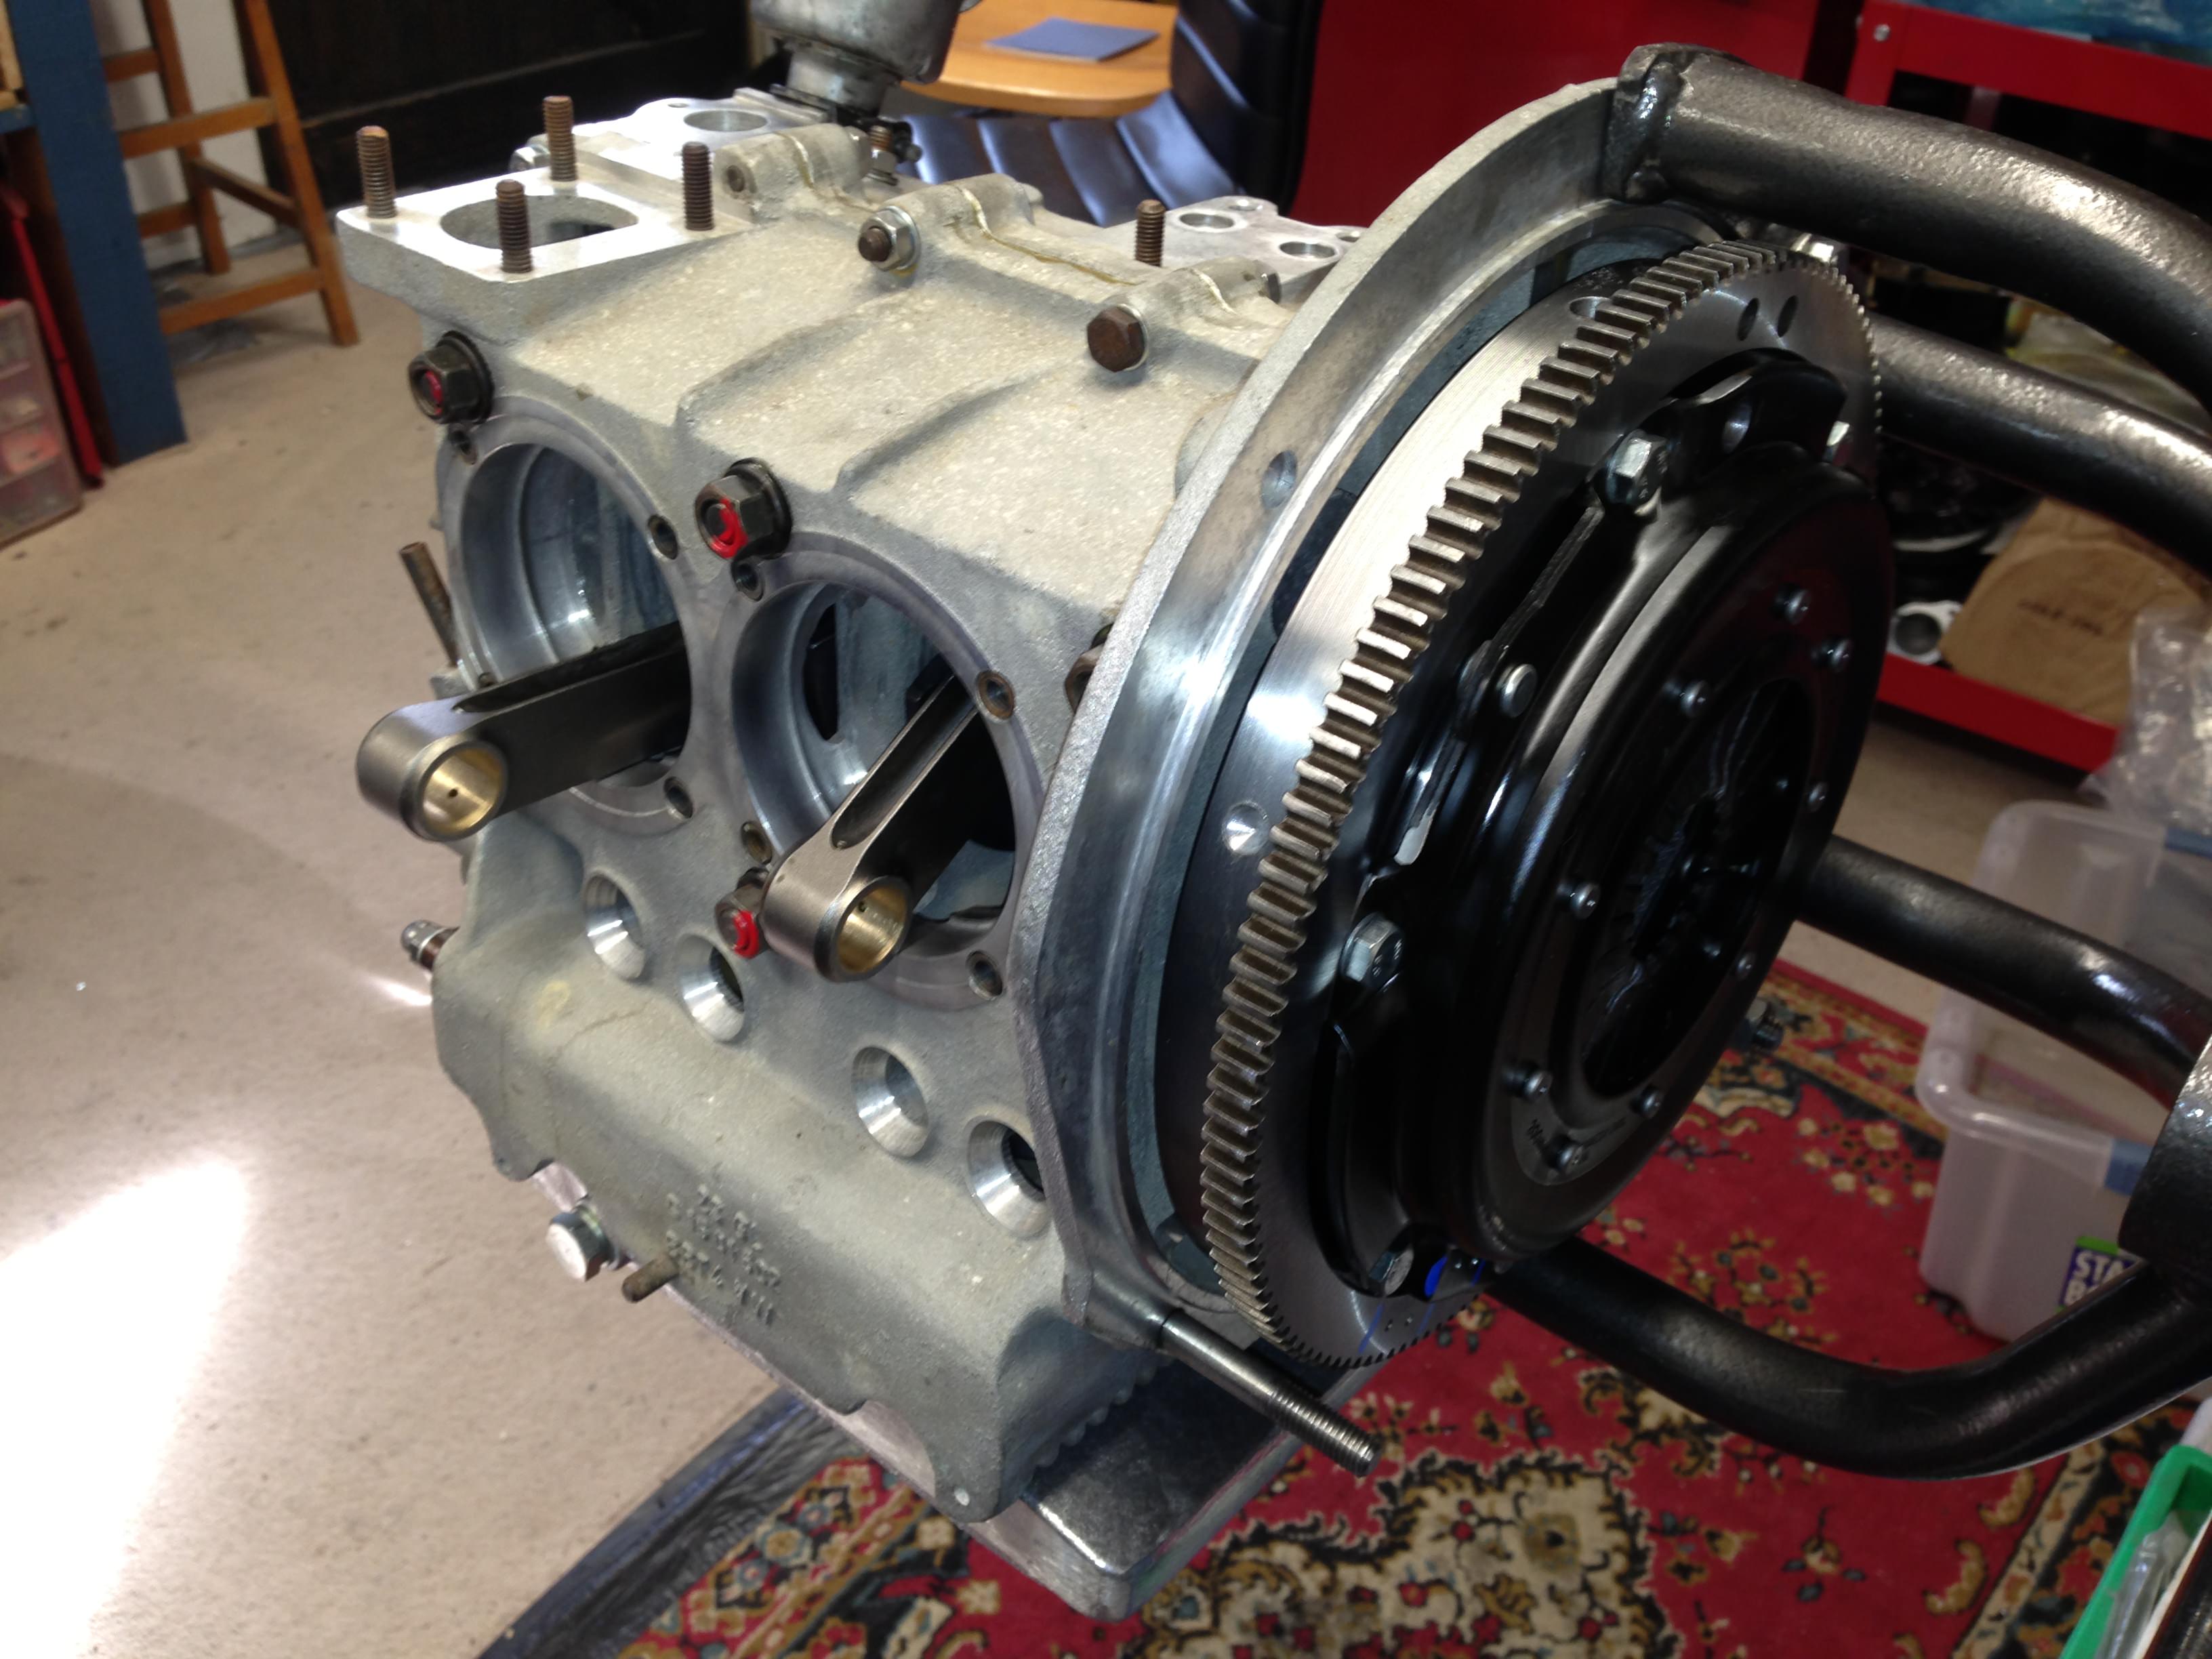
I agonised over capacity for ages, as I was going for new case and crank etc. then a longer stroke seemed to make sense, but did I stick with the standard B&Ps or increase those as well, as I was going to do with the 1776? I read all sorts of info about wall thicknesses and the characteristics of bore vs stroke. There is so much info around, but sometimes too much, and trying to separate one person's point of view from fact ends up sending you a bit crazy. Anyway, although the initial temptation was to go 90.5 x 78 for 2007cc, I decided to reign it in a bit and went for a more subtle 90.5 x 74 for 1903cc, with some reasonable heads and a cam which favoured low-down torque over top end power.

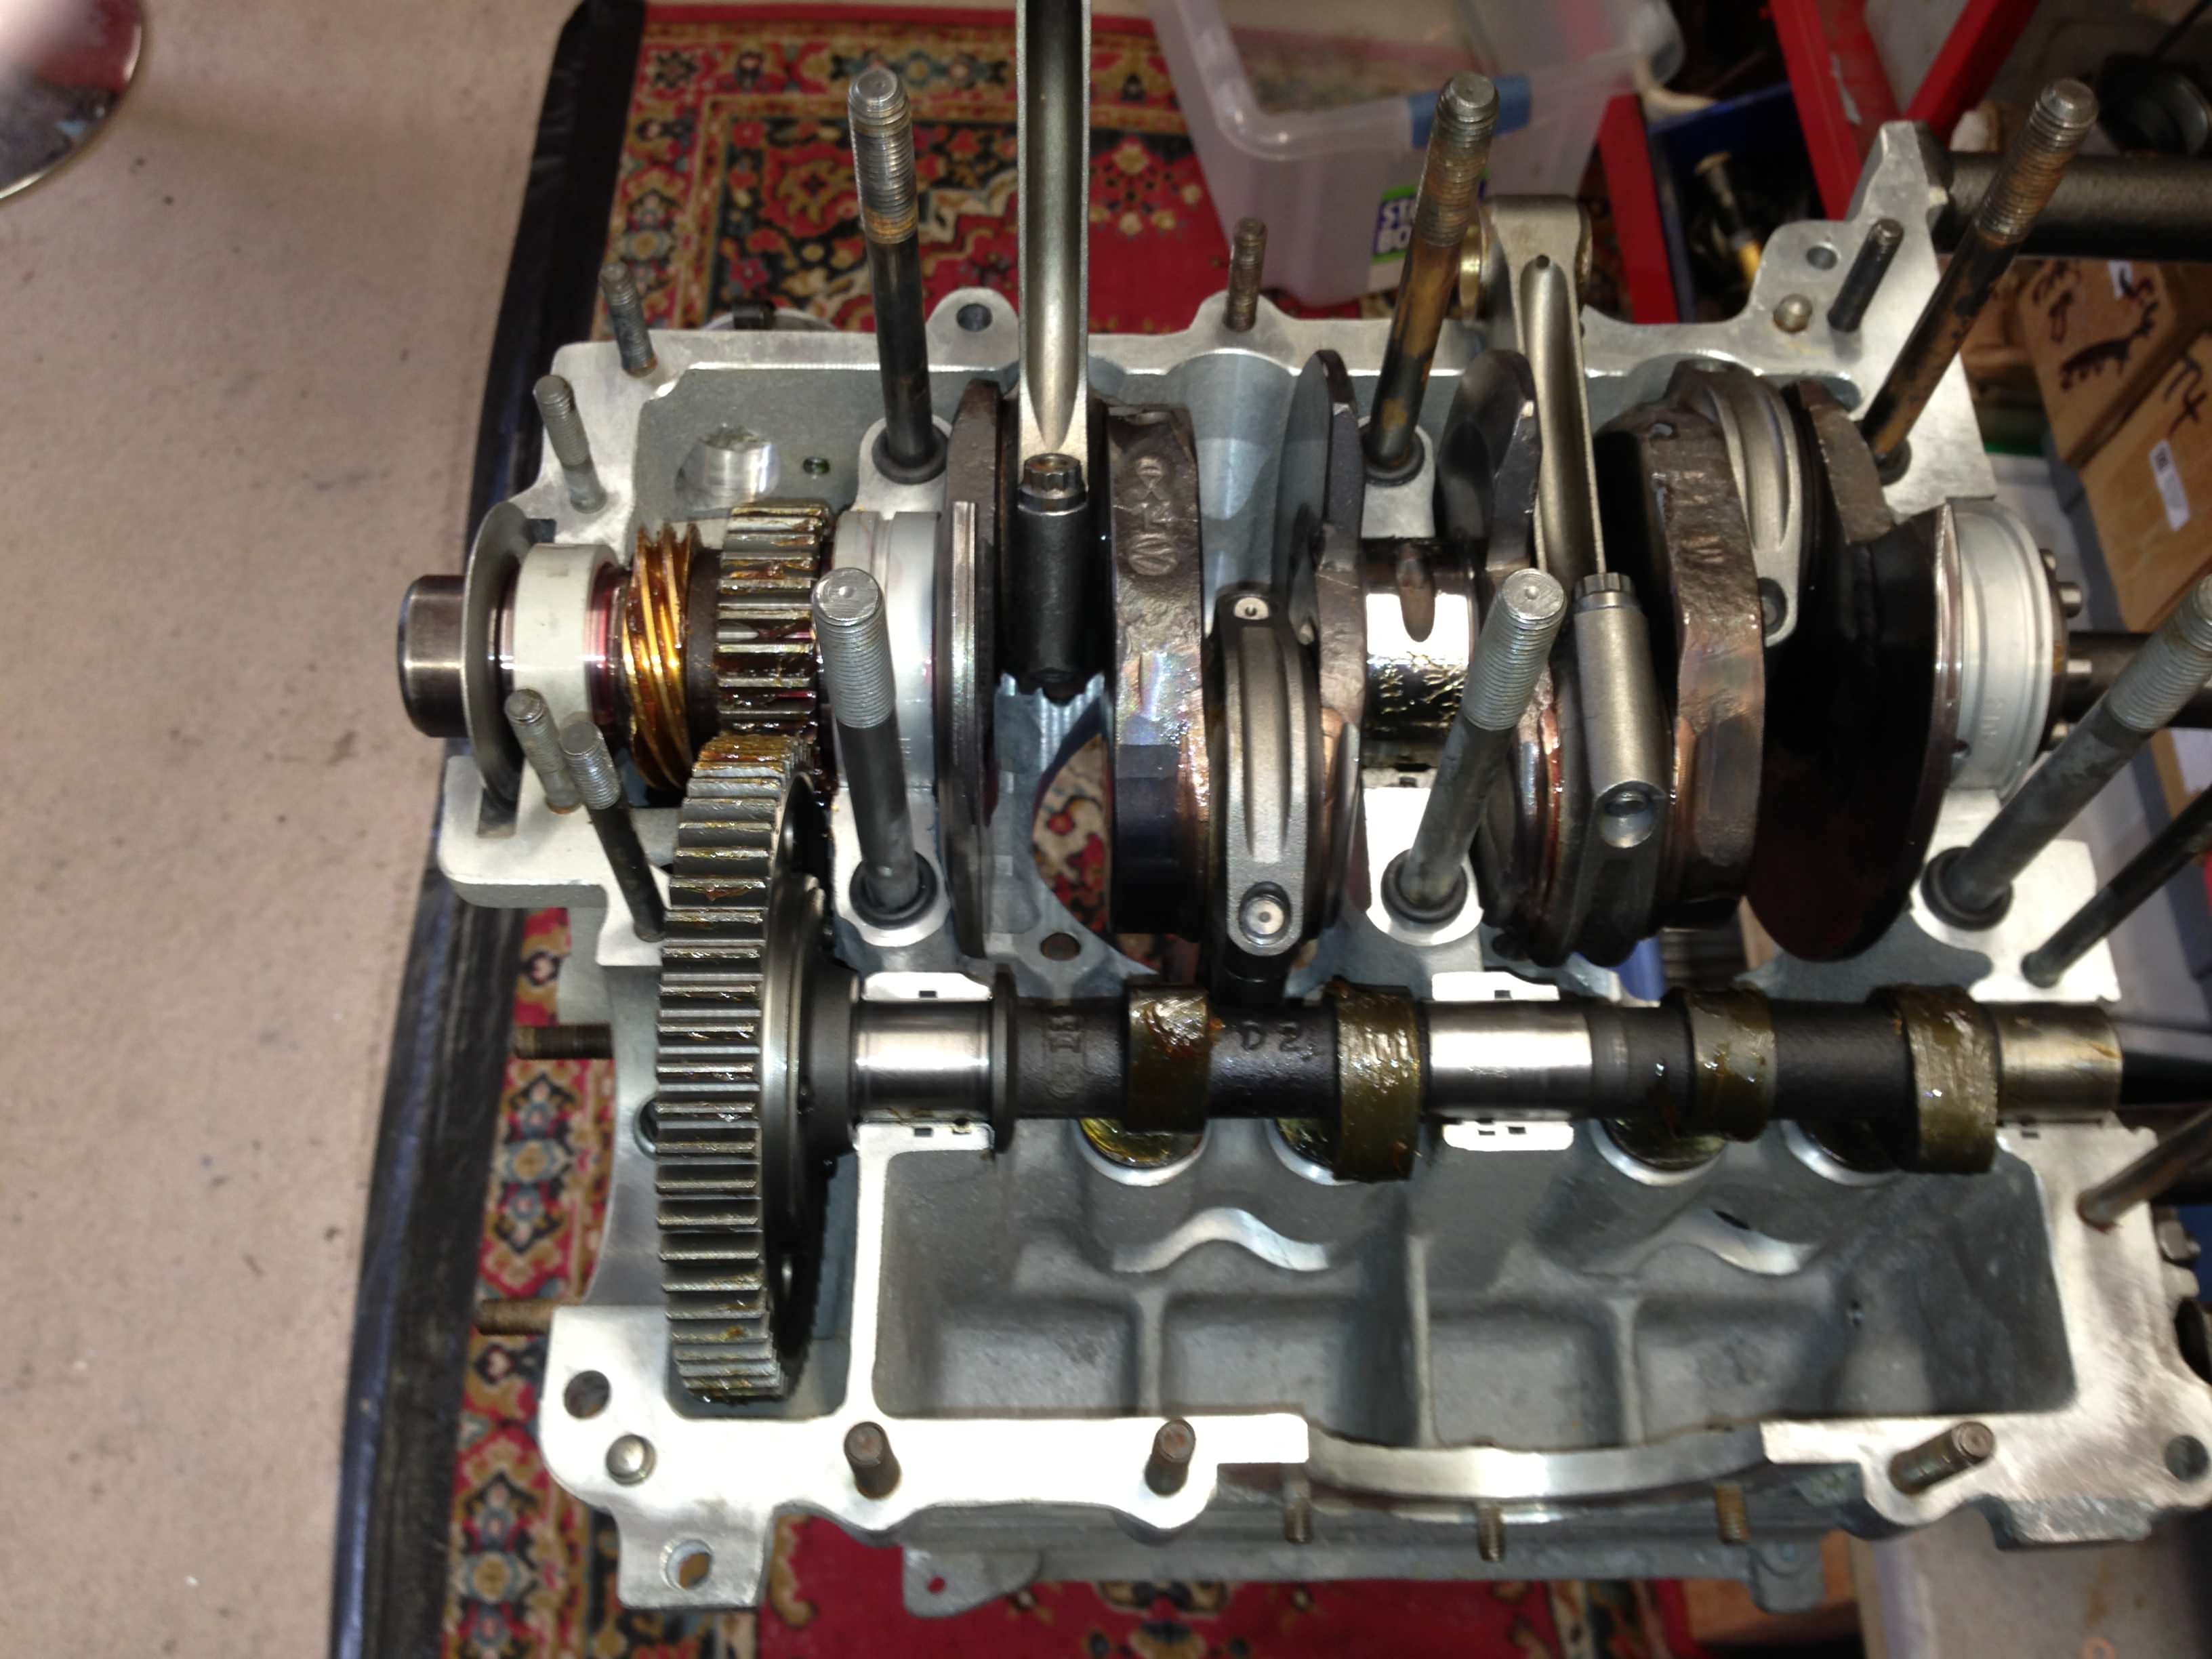
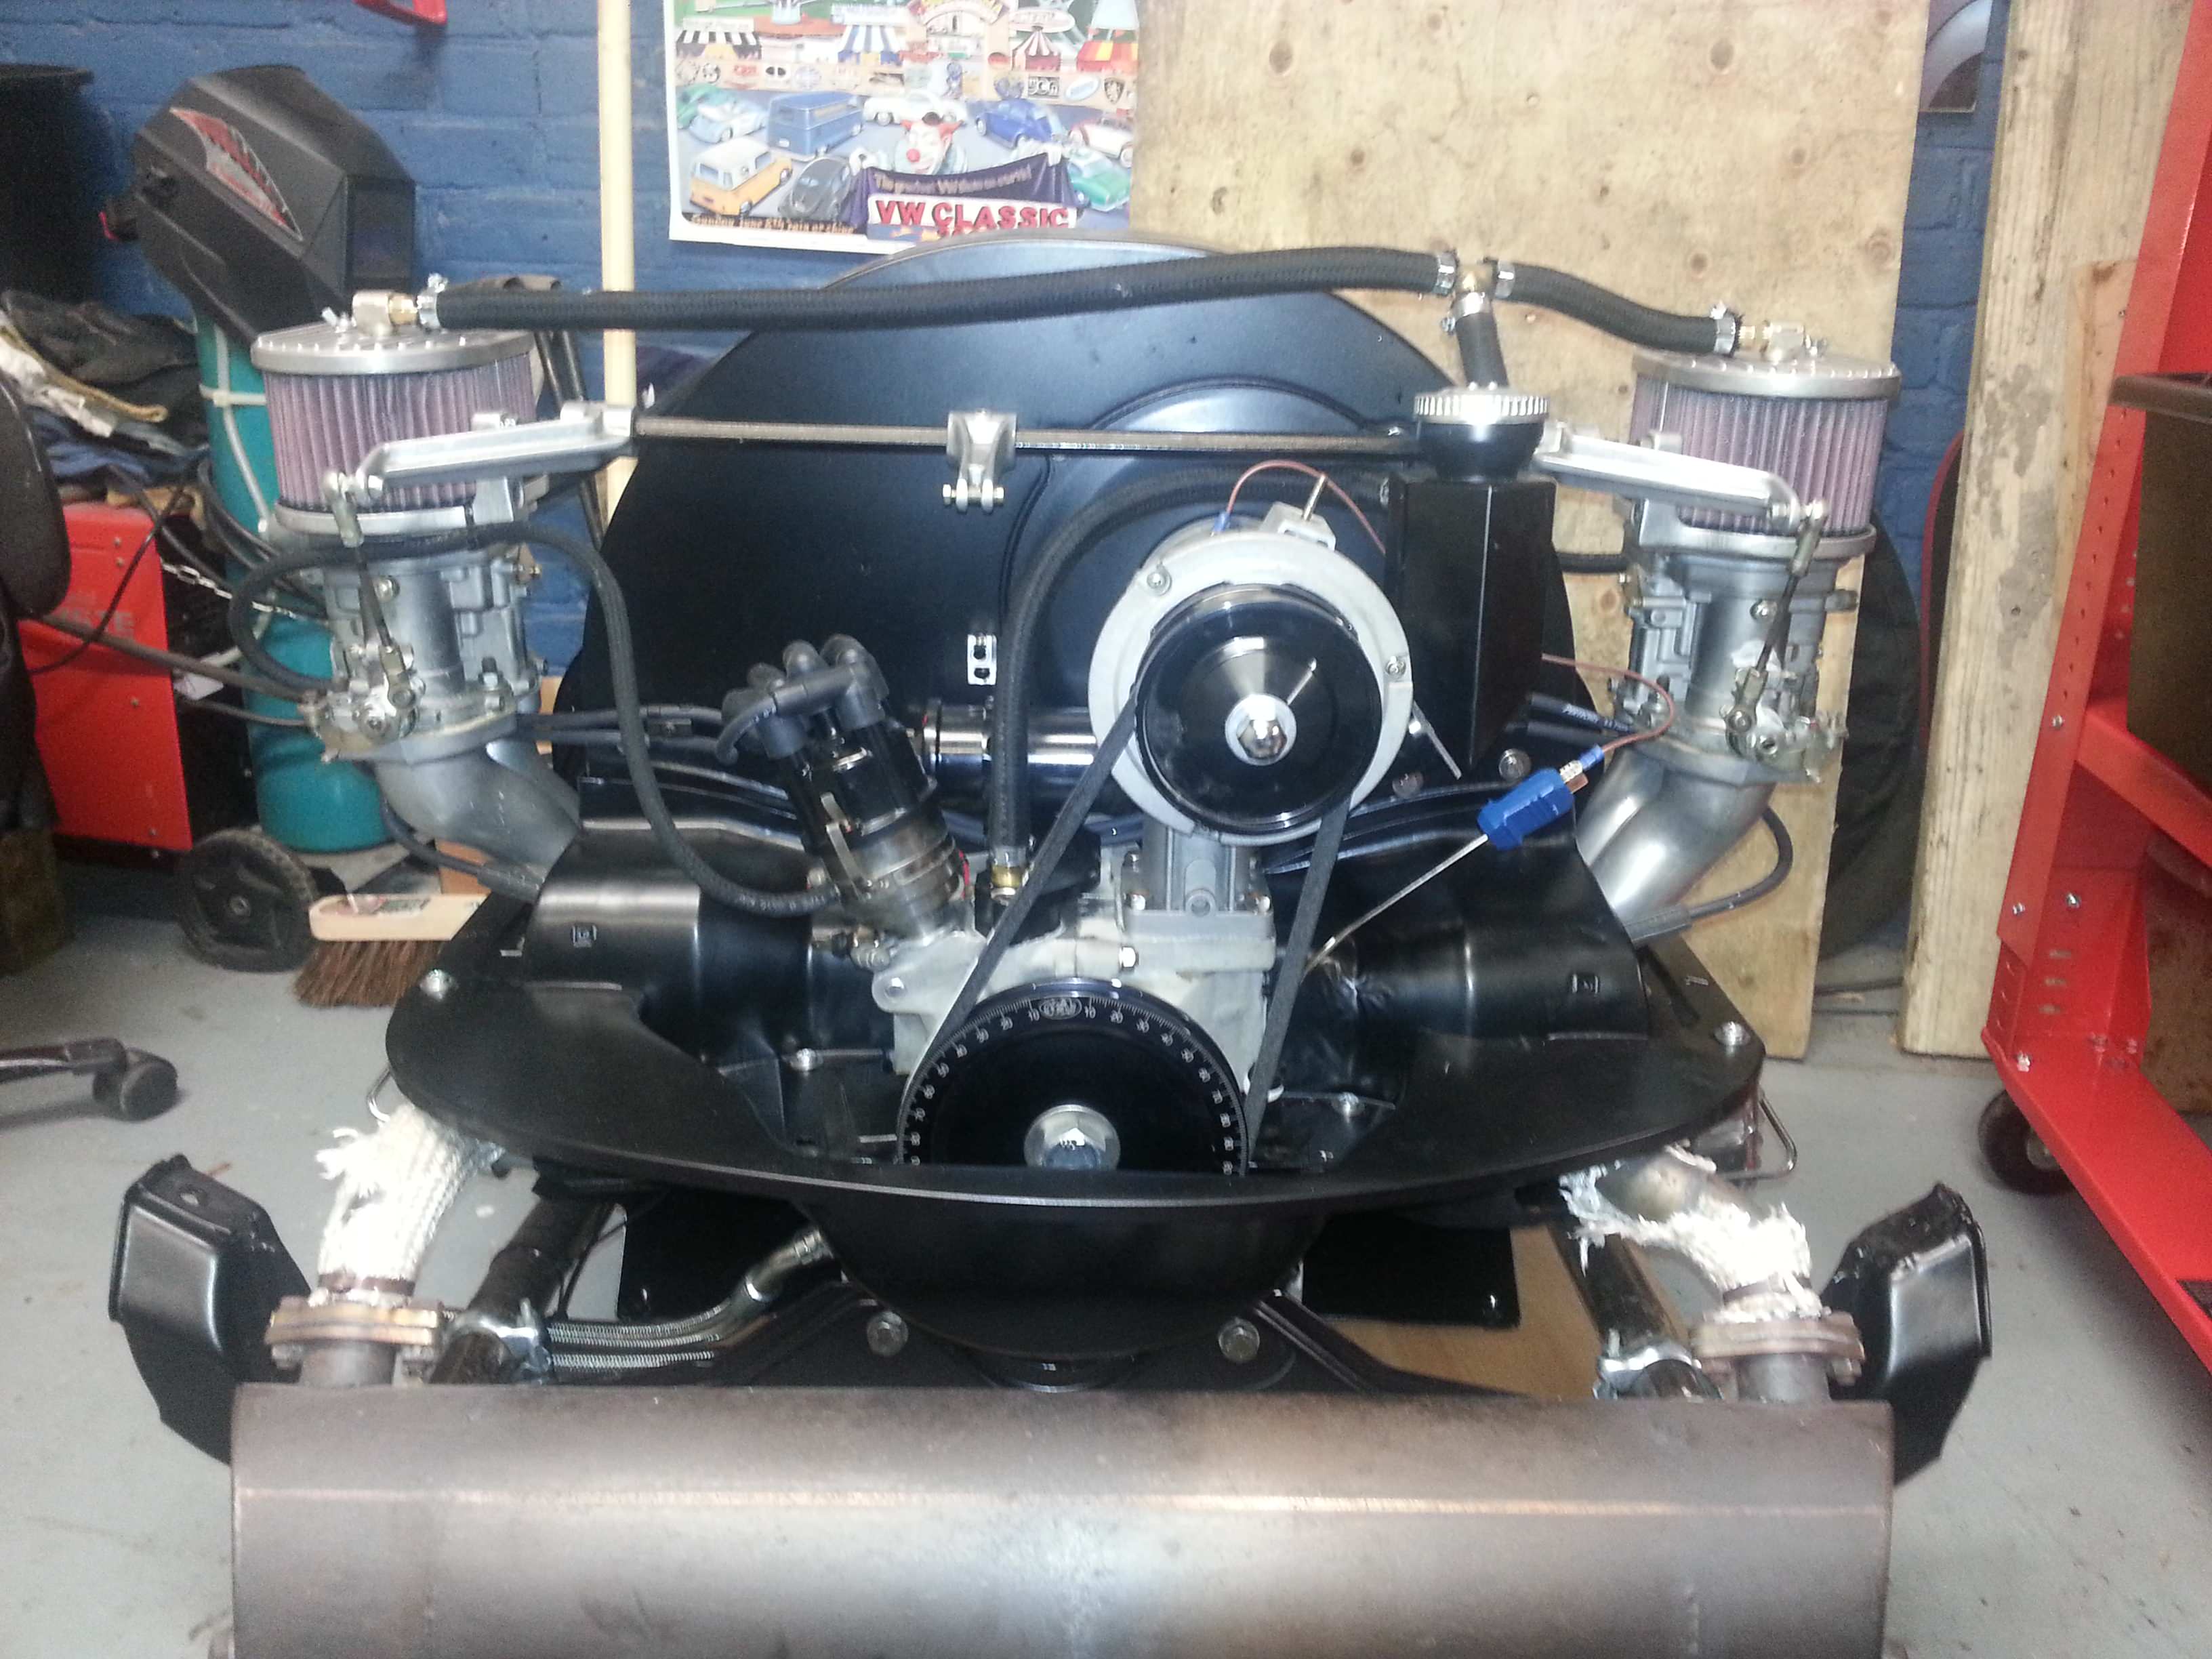
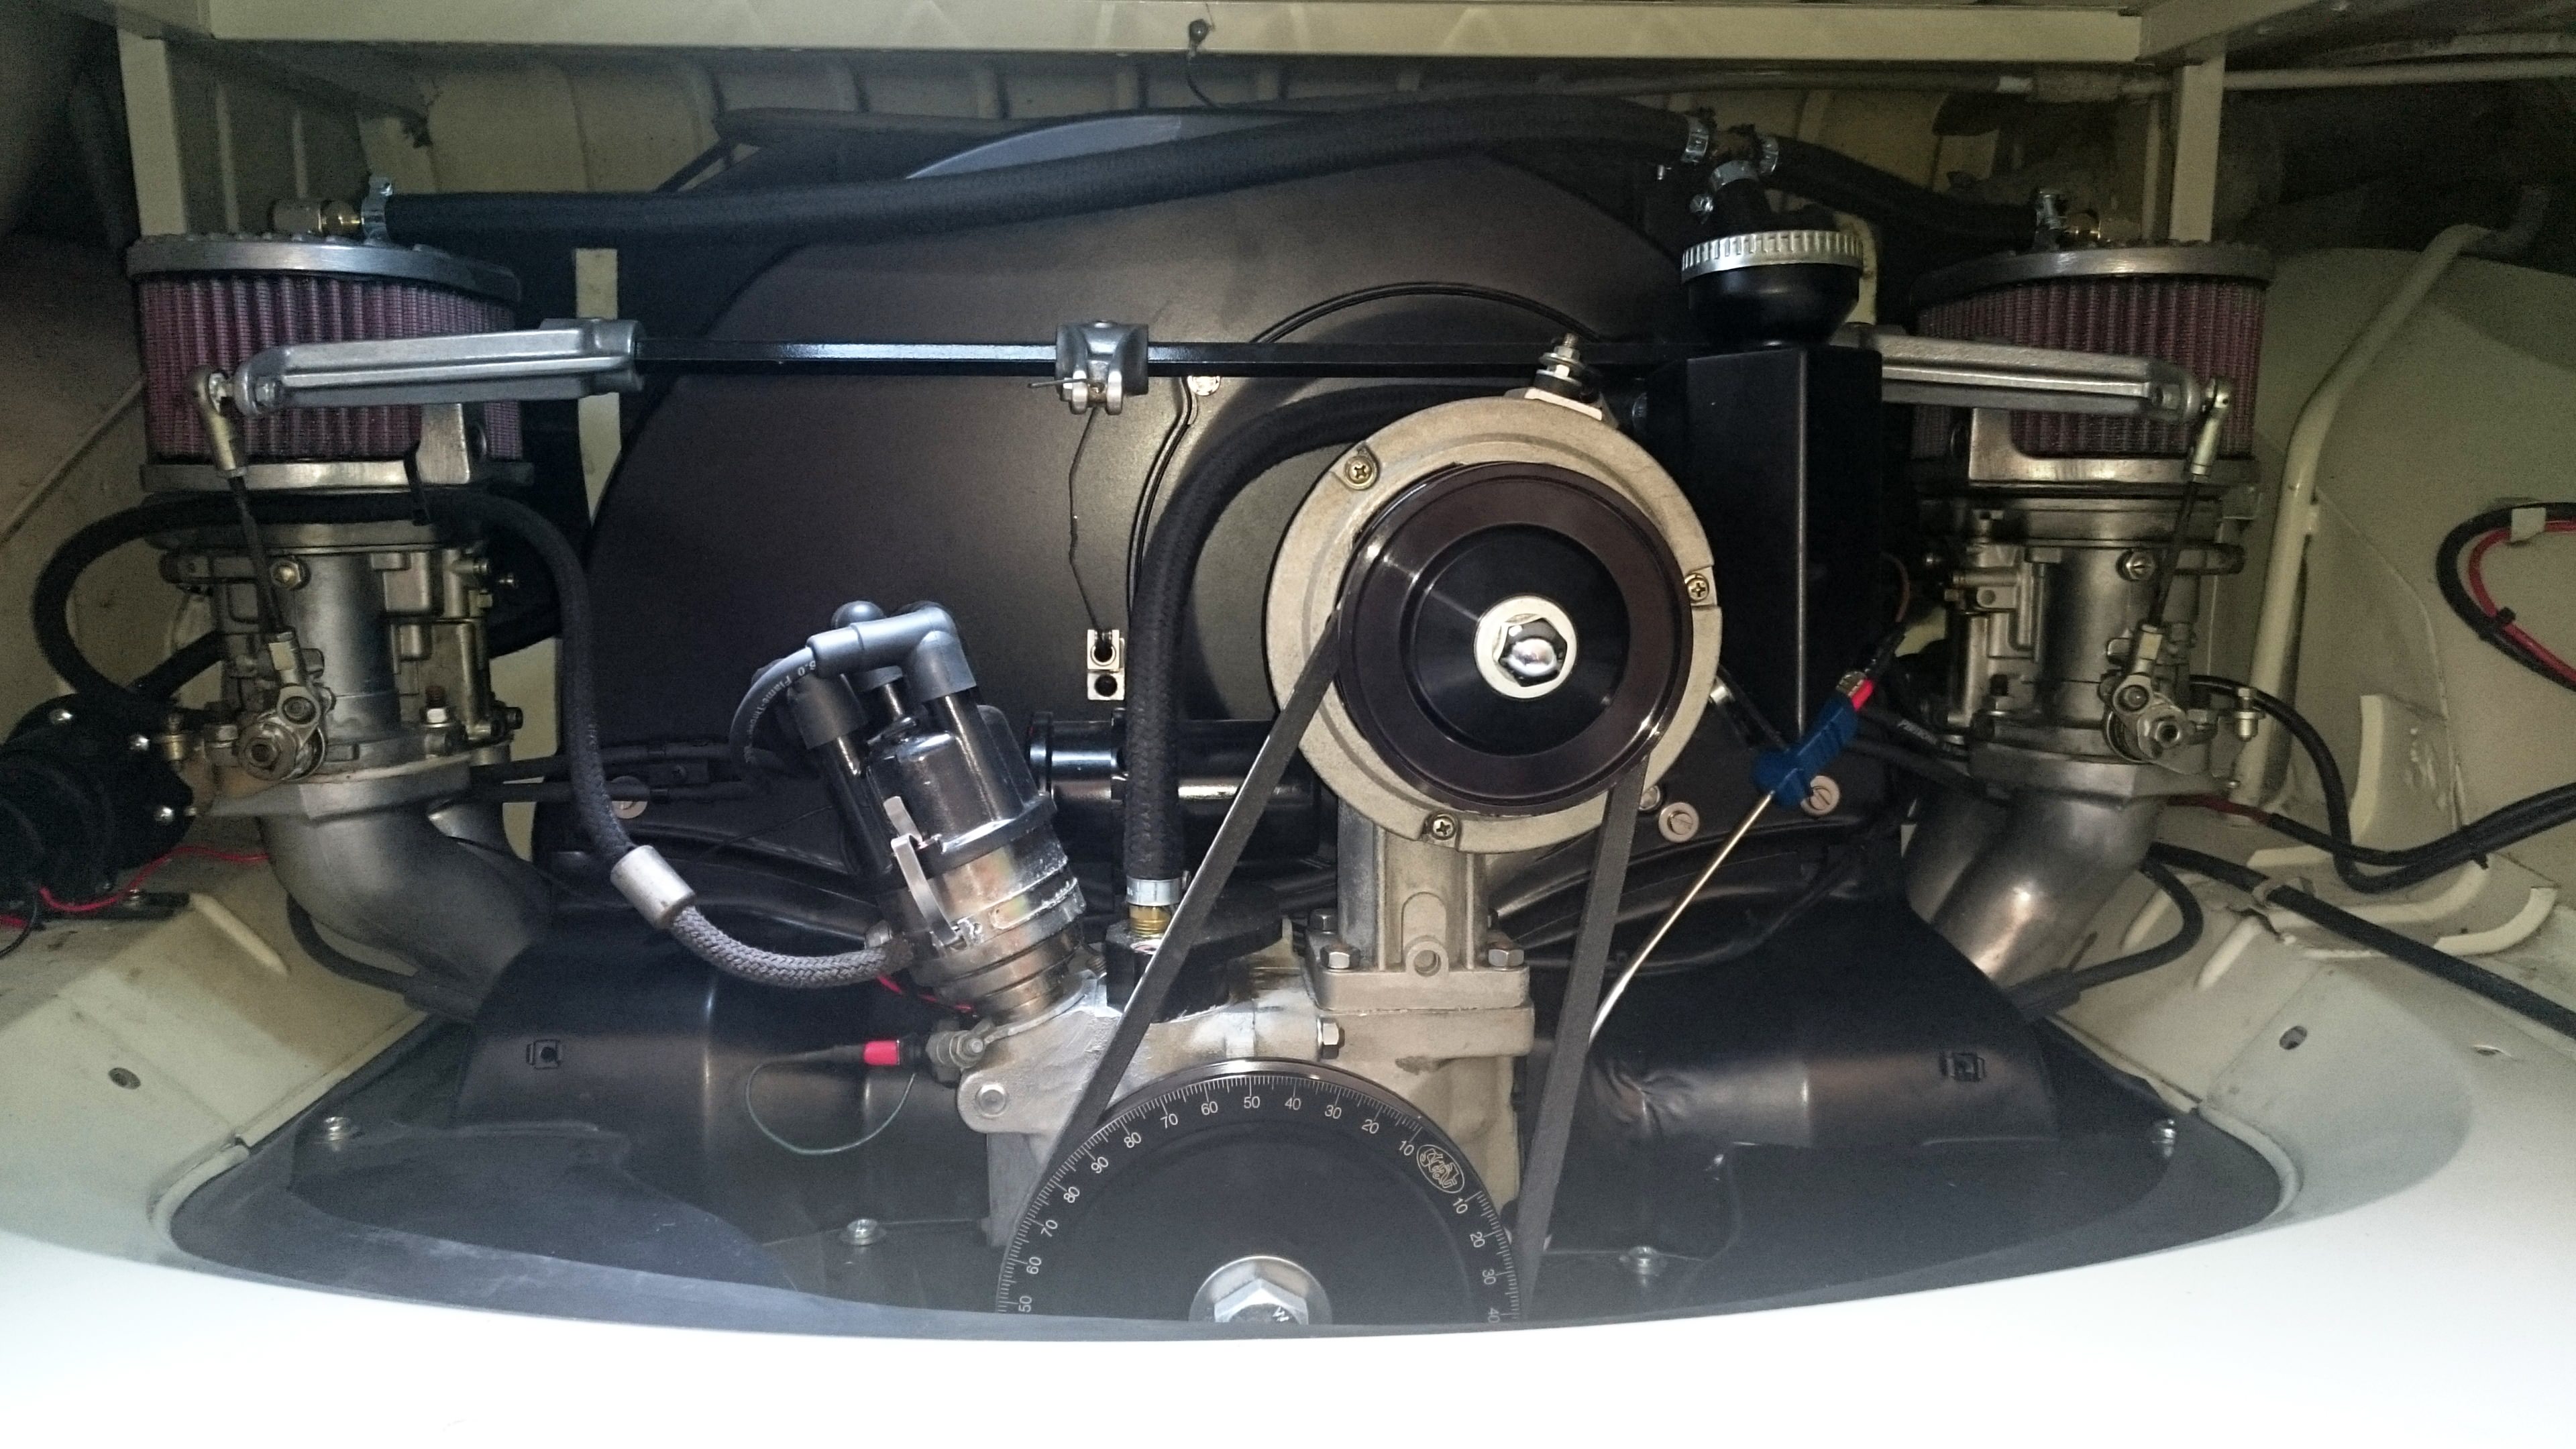
The spec of the engine ended up being:

  • Autolinea SuperCase with full flow
  • CB Performance 1.5L deep sump
  • DPR Counterweighted 74mm Crank
  • Std weight flywheel 8 dowelled
  • Kennedy Stage 1 clutch
  • All dynamically balanced
  • Scat 5.4" H-Beam Rods
  • Mahle 90.5 forged barrels and pistons
  • Engle FK41 cam
  • CB Performance straight cut cam gear
  • Scat Pro Comp 1.4:1 rockers
  • Jaycee sprung Pushrod tubes
  • CB 044 Super Mag CNC ported heads (40x35.5)
  • Gene Berg 26mm Oil pump and cover
  • Gene Berg breather tower
  • Vintage Speed Sport Exhaust
  • Dellorto DRLA 36's
  • CB Performance manifolds match ported
  • 123 Ignition vacuum distributor

Some of these parts were difficult to acquire, the Gene Berg stuff I managed to get delivered to a friend in Florida and picked up whilst on holiday there. A lot of the other stuff came via RJ Volks Performance and VW Performance Imports, whilst the carbs, dissy and exhaust were running on the 1600. The engine was built by the end of the year and come January 2015 was in the back of a borrowed Passat estate heading from Kent back to Dorset.

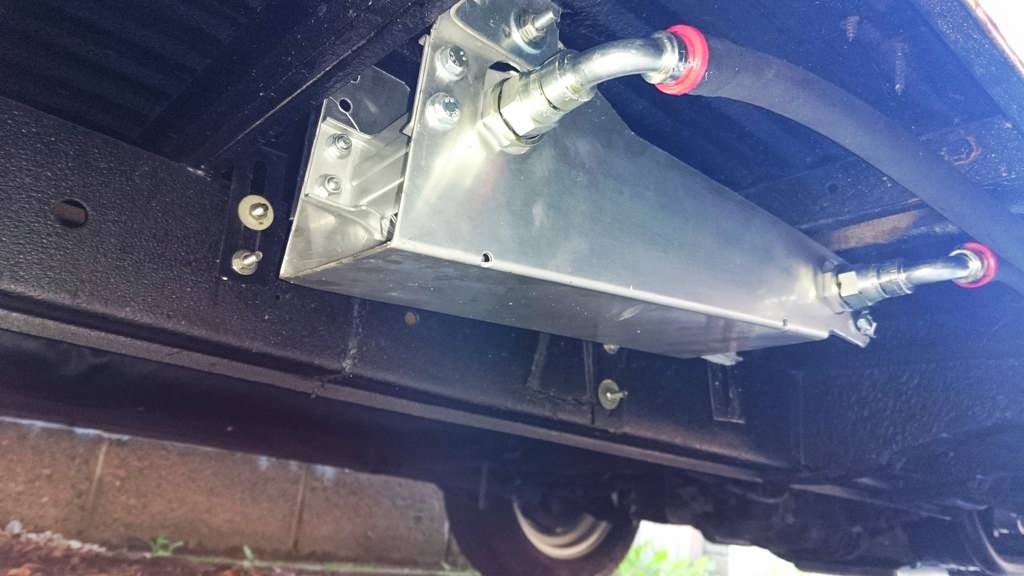
A few pics of the build:

0osdTfe.jpg


LXJs2fh.jpg


pRR3pqt.jpg


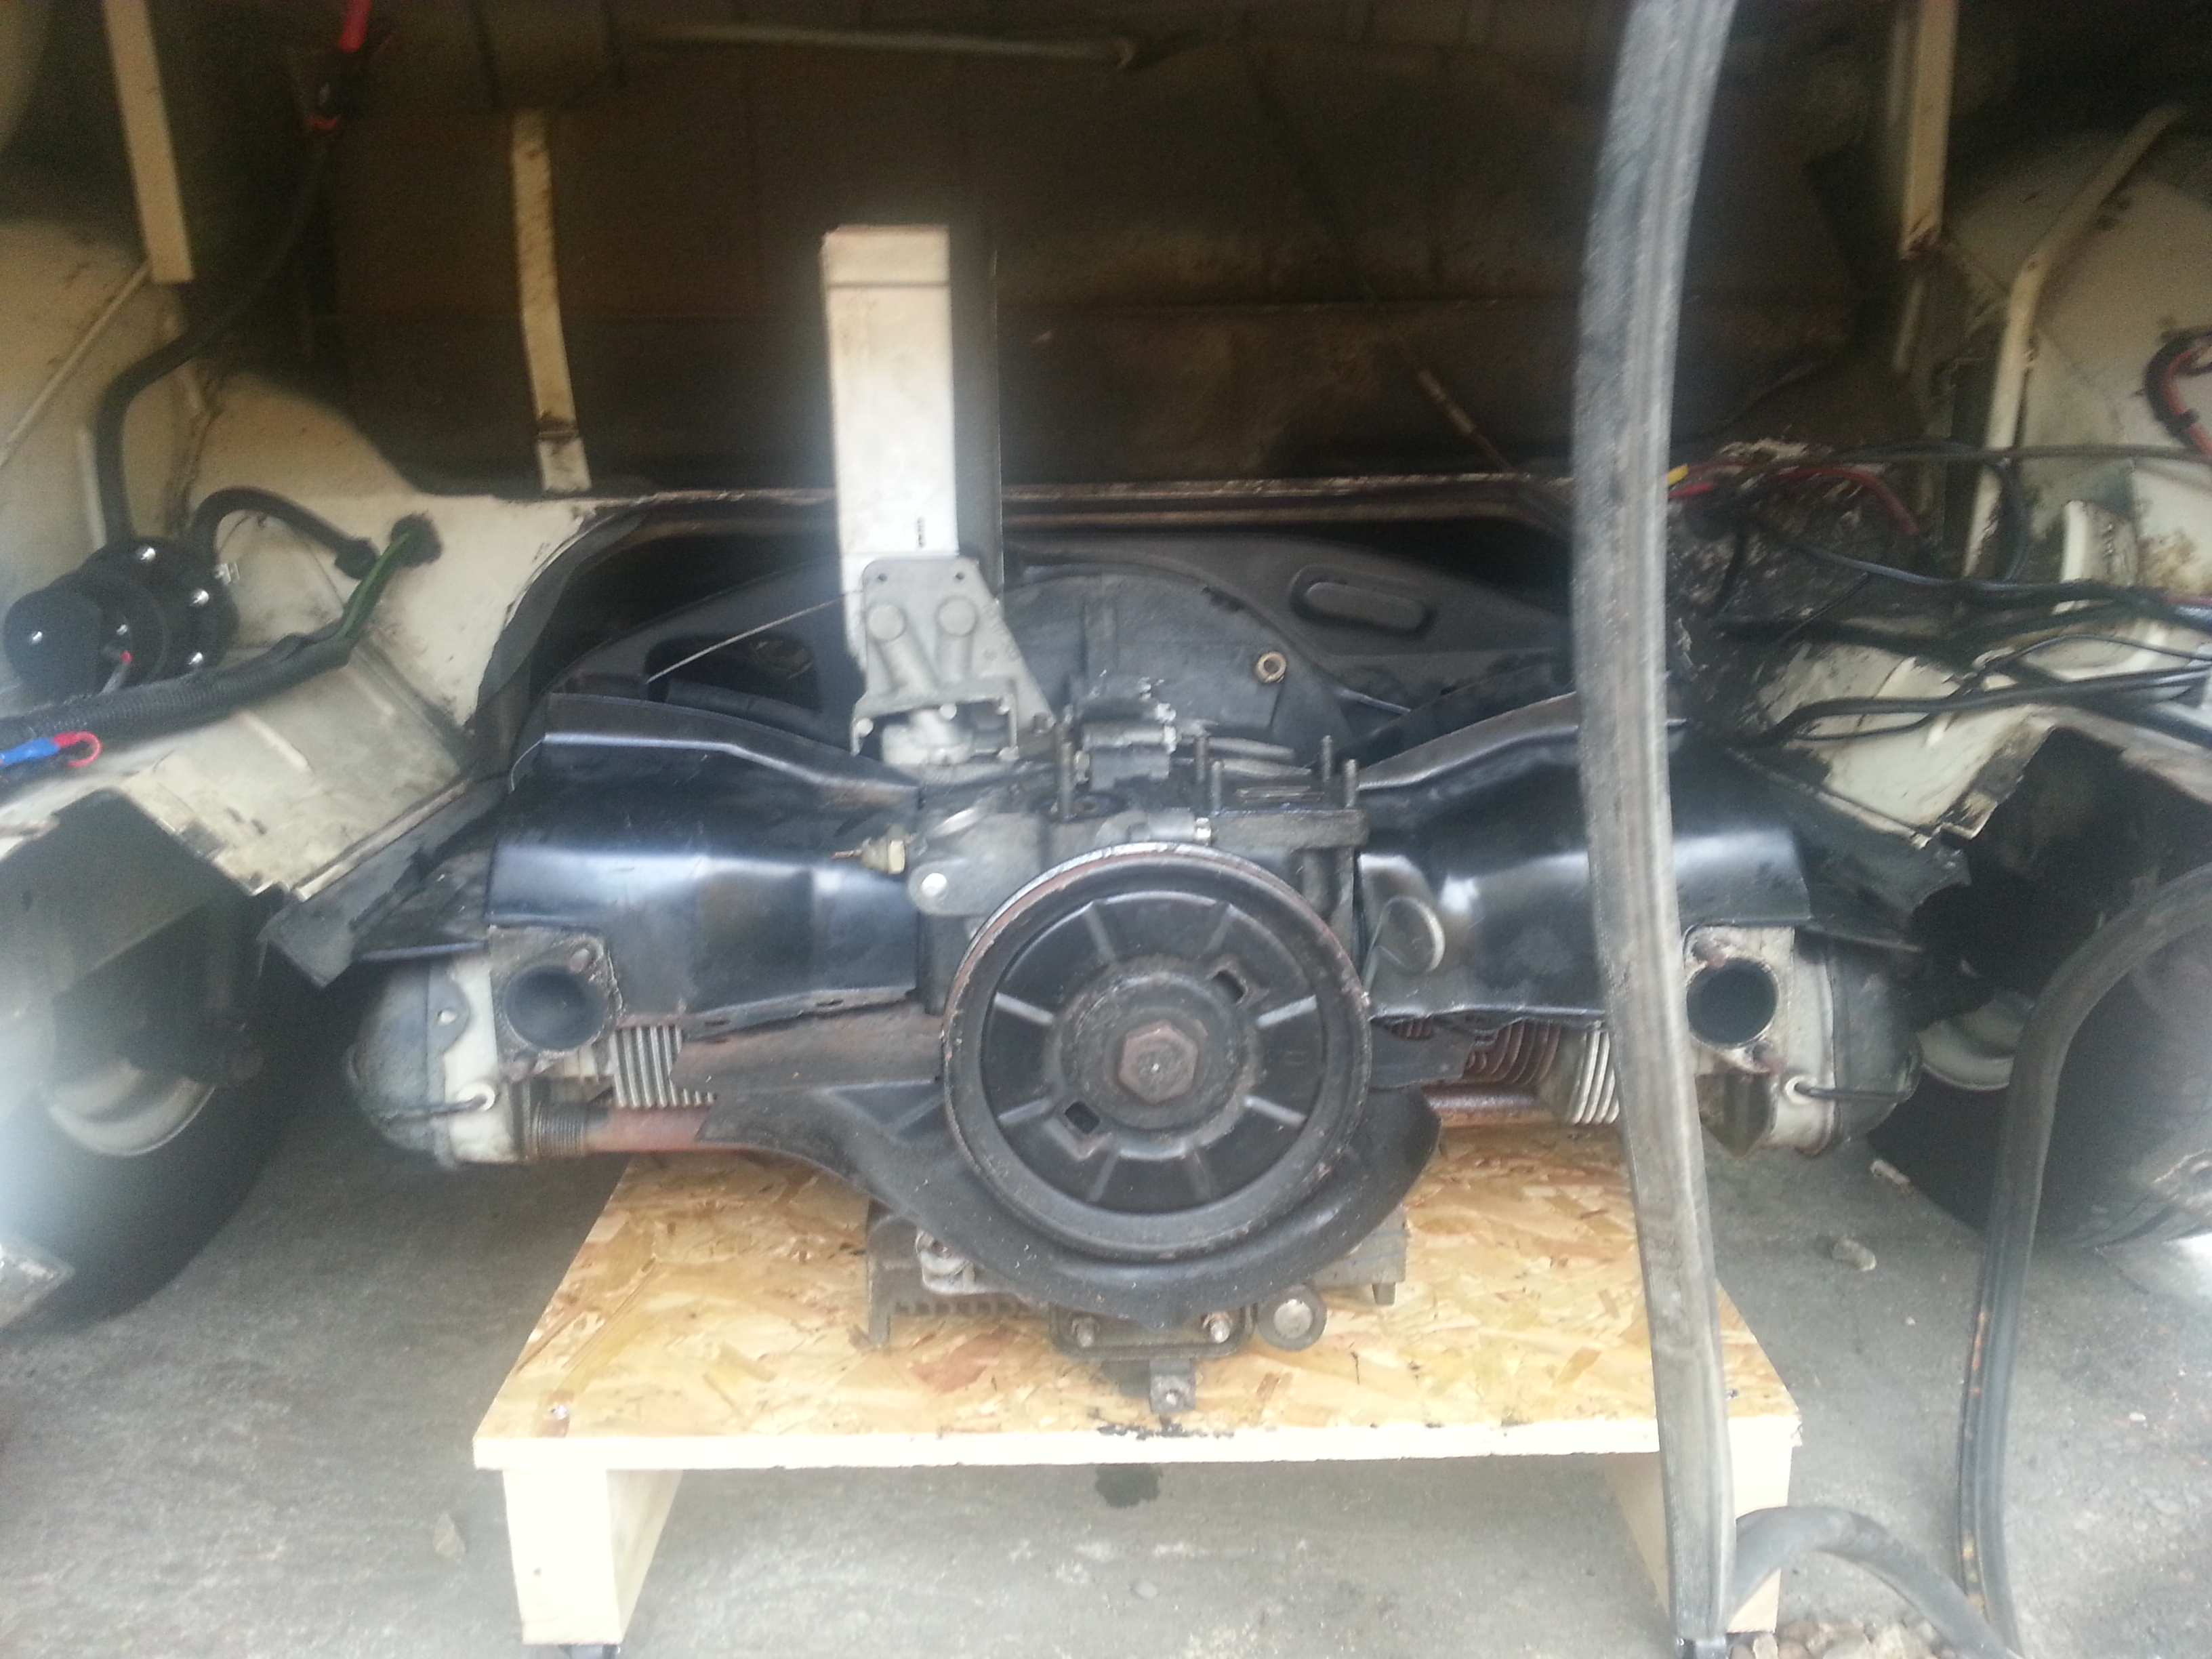
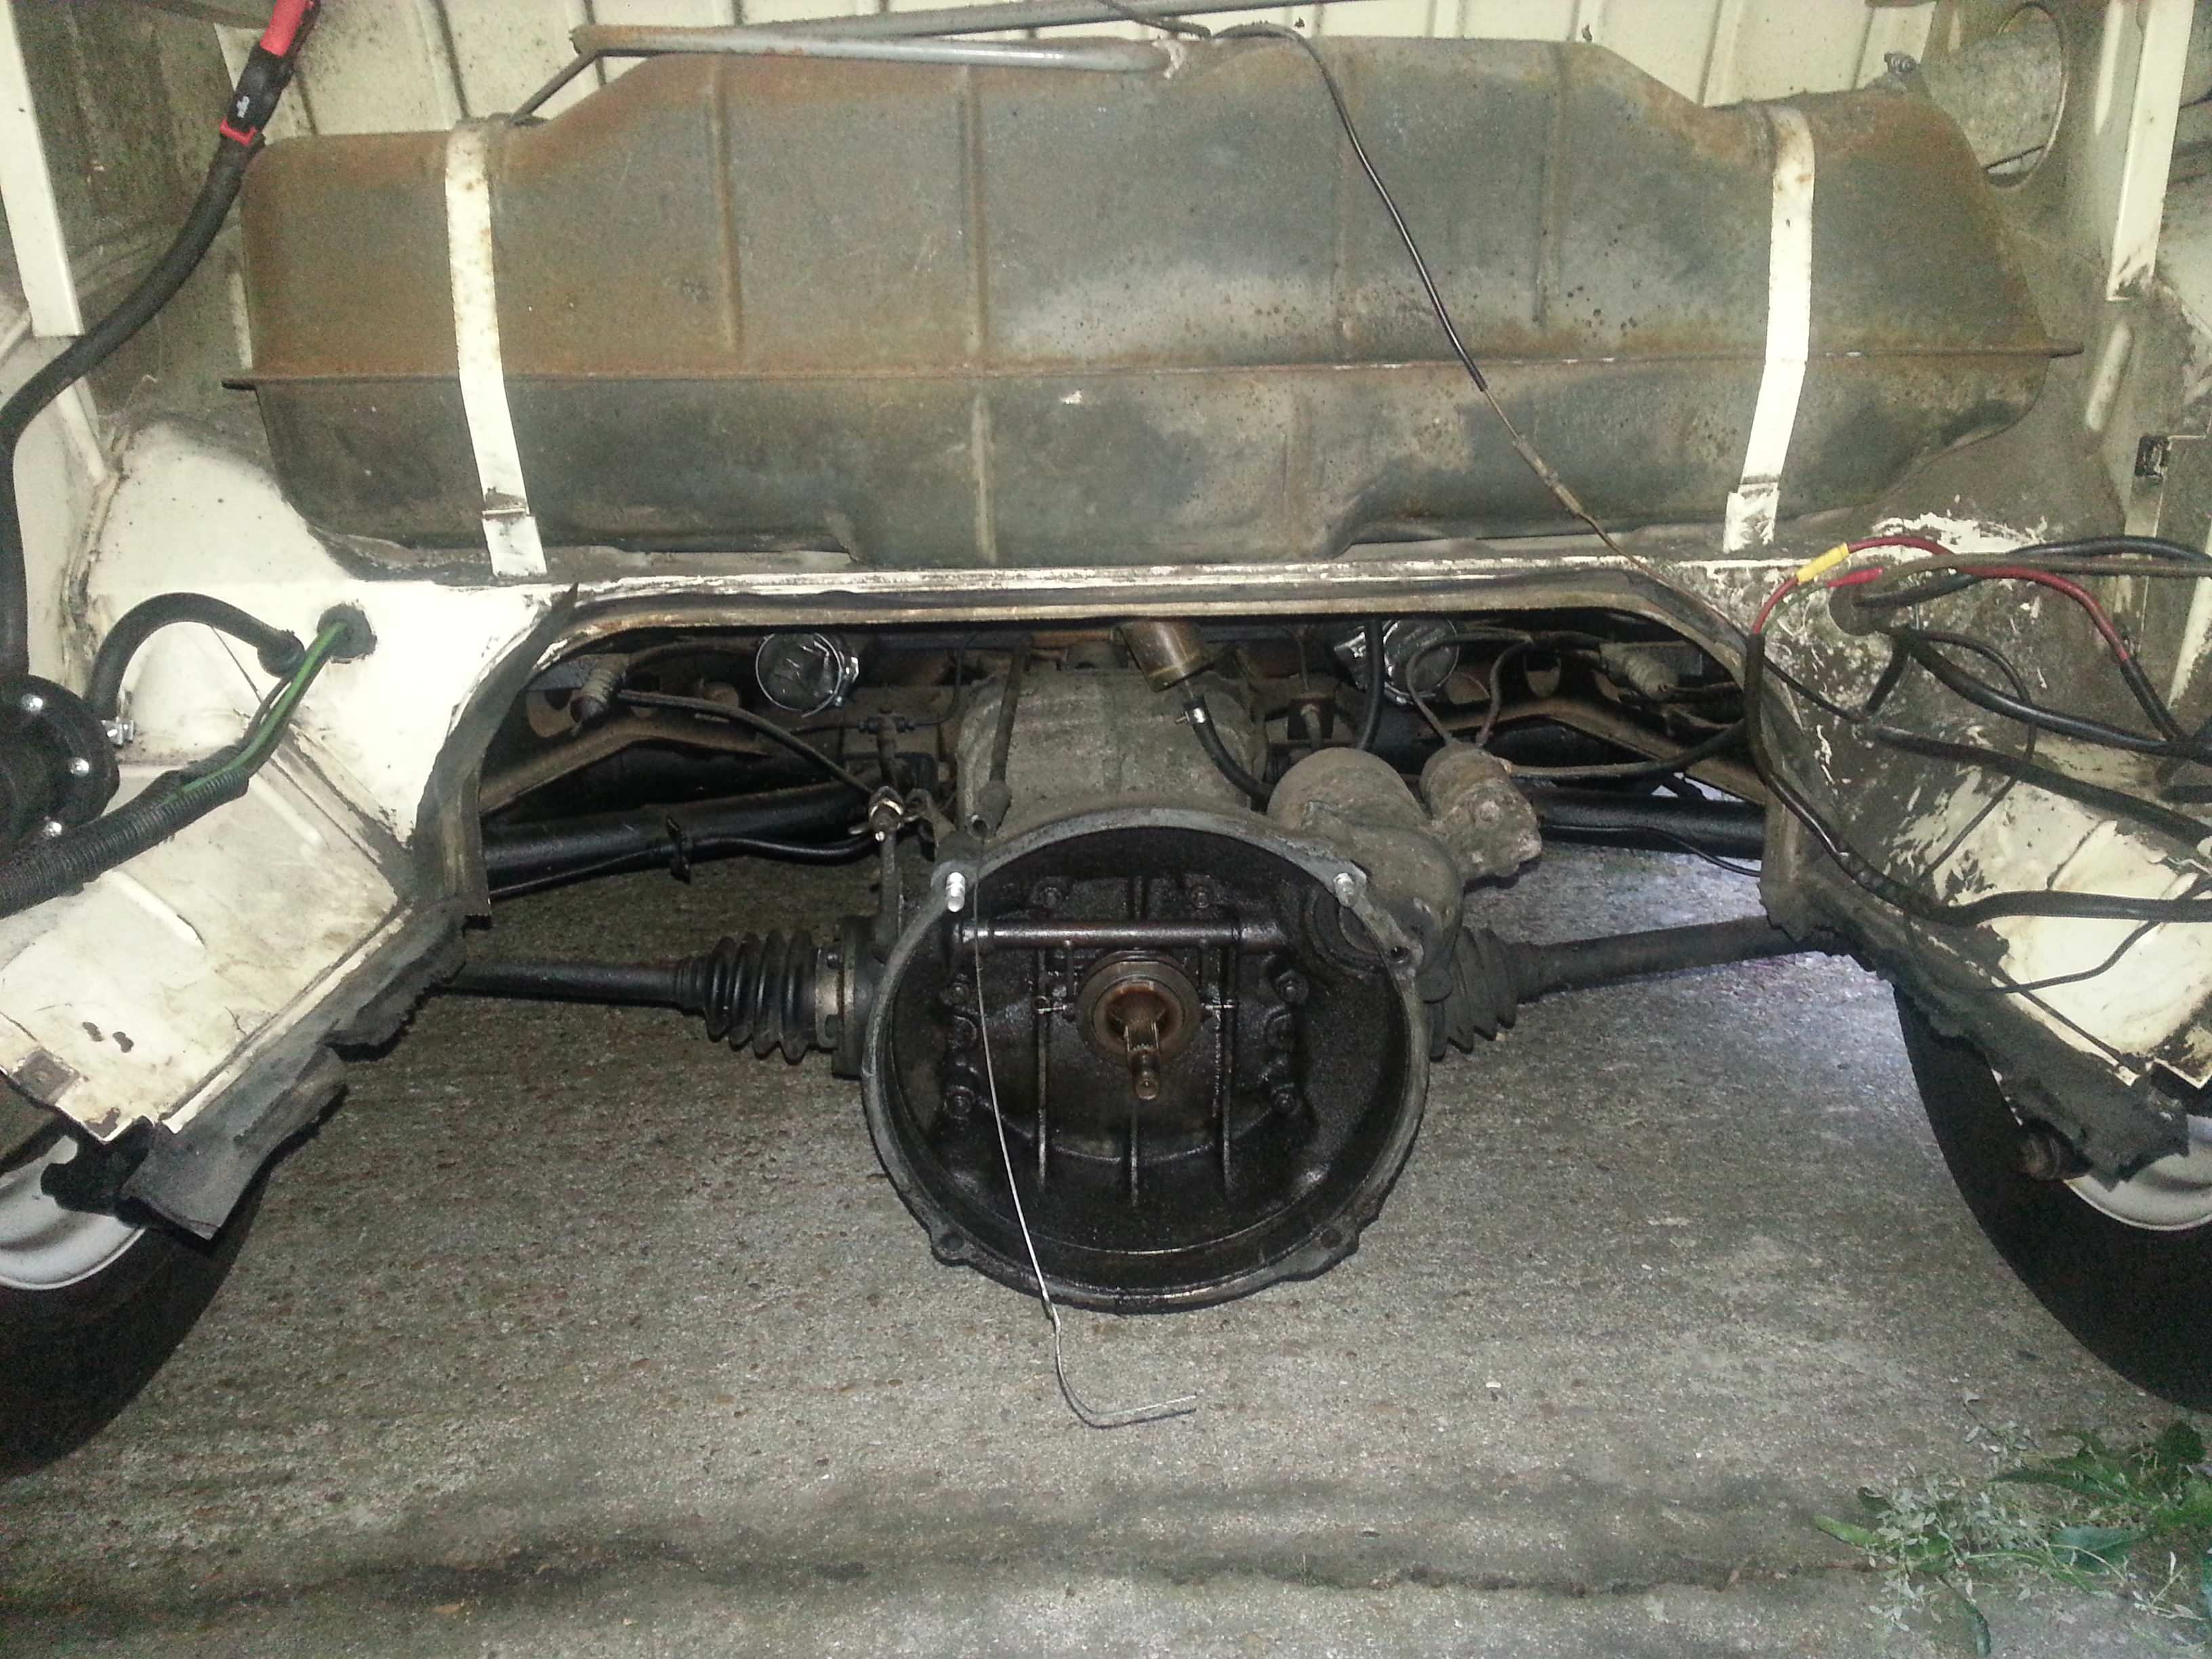
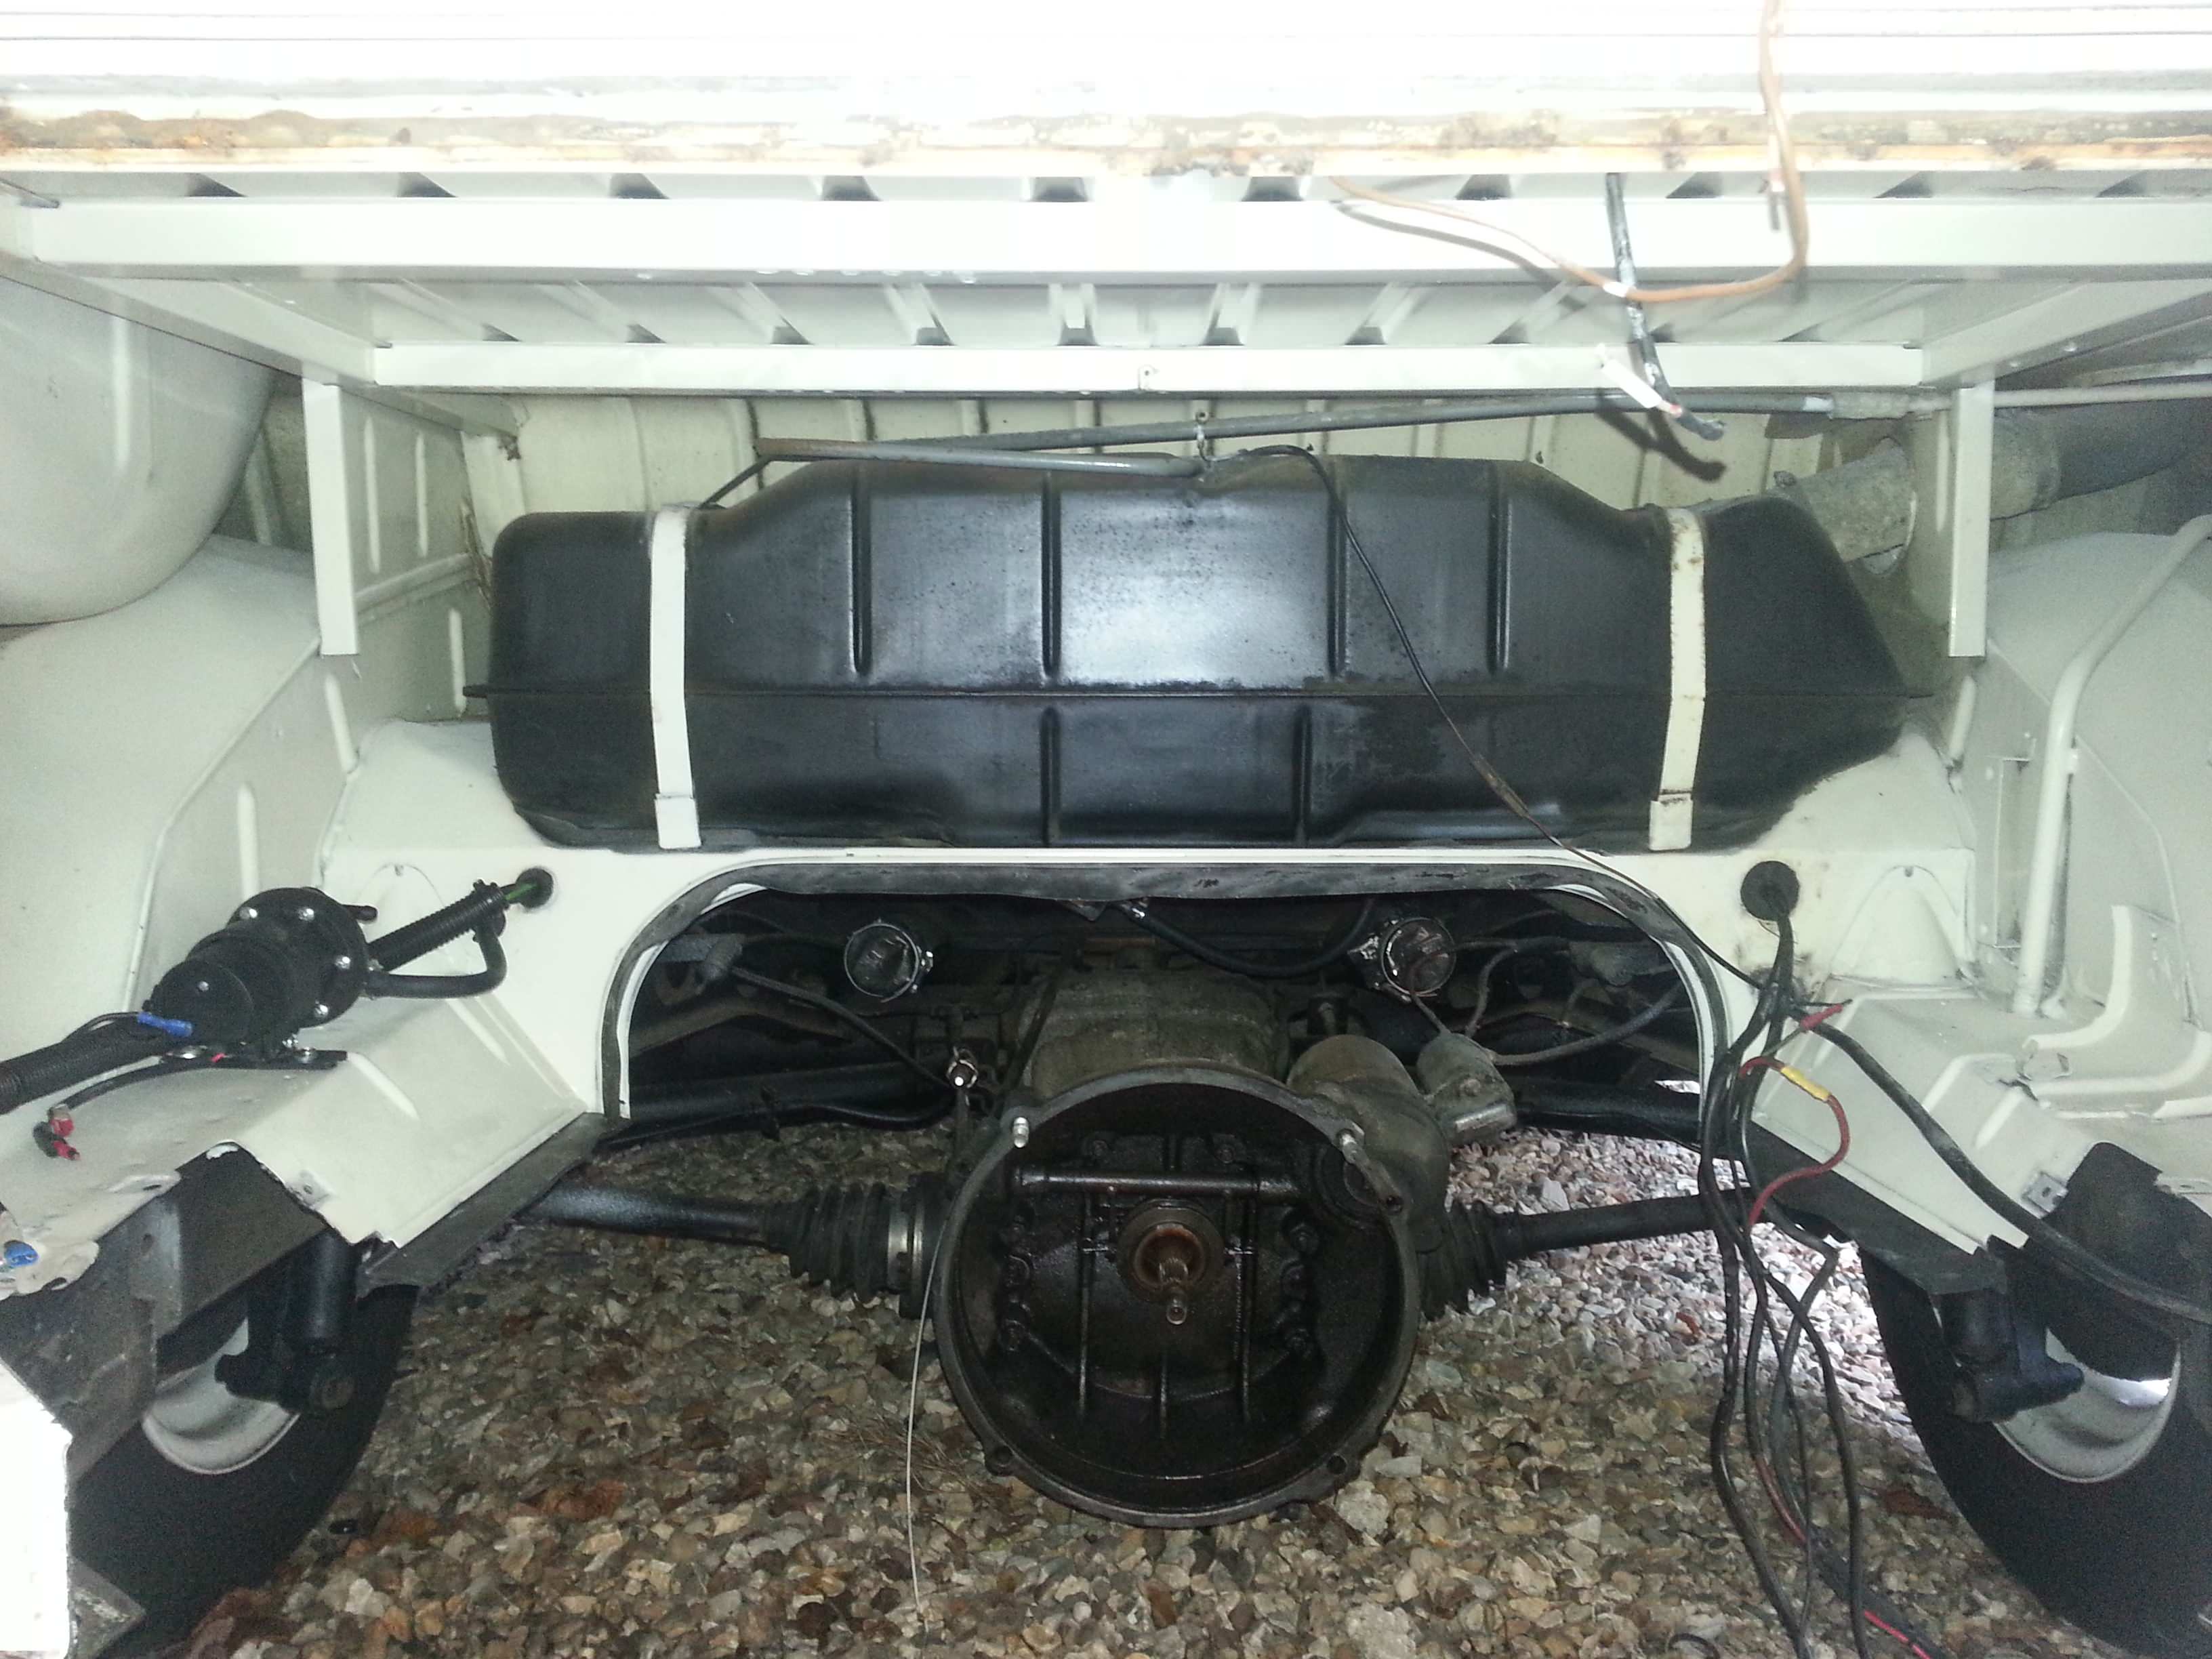
The old engine coming out:

6dNQTVt.jpg
 
StefansBus said:
Love it. Can't wait to see more of it.

Stefan

Thanks :)

Whilst the engine bay was empty I also took the opportunity to give it a bit of clean up and re-paint where required:

From this:

K4sVcCr.jpg


To this:

kqWOu5V.jpg
 
The early part of 2015 saw the initial engine fitting. A problem with the clutch release meant it came out and went back in again, and made me think I may change to the later release at some point. But, not too much trauma, and this is how it looked with the new motor installed :)

EwSoehJ.jpg


Although Dan had been quite happy that there was no need for running in, I did restrain myself from thrashing it too much during the first few hundred miles. It is an absolutely great engine though, it was designed more for torque than top-end, and it drives sooo well. It cruises really easily, pulls well and hills are no concern at all anymore! I did stick in an oil temp gauge for a bit of peace of mind, but didn't want too many of the worry gauges, so left it at that.

I think at some point I will pick up a new (or rebuild the existing) gearbox with slightly taller gearing for more relaxed cruising, but sitting at 60 at around 3500rpm is absolutely fine for now.
 
We spent a week camping around Devon in late June/early July 2015. Everything went well, but on the trip home the weather was particularly hot (for the UK anyway) and the temperature gauge started to stray outside of the recommended max. We stopped a couple of times to let it cool down and there were no real dramas, but something I needed to get sorted.

I was obviously aware that as a new engine, things would still be breaking in and temperatures might be a little bit higher, but as I already had full-flow and an external oil filter, adding an external cooler would be a good move. A little bit of research was done on location and cooler size etc. I decided not to go with a fan-assisted cooler and instead picked up a 13-row cooler with custom air scoop which to my mind provides a bit of protection from the underneath as well as directing some of the airflow towards the cooler. I decided to fit between the chassis rails in front of the rear axle. I also picked up a Mocal 80C stat and some additional oil lines.

The oil cooler after fitting:

MP2yV7E.jpg


I've done quite a few miles since fitting this and the temperatures have been really stable, staying consistently in the 180-200 range, so really happy with it.

I spent a good chunk of the rest of the summer working in Australia, which was obviously a great experience, but did prevent any further camping outings for 2015, apart from the odd evening drives:

FgEkd0T.jpg
 
Top