

My winter project is to attempt to restore my wardrobe / cupboard units in my Westy.
The previous owner thought it would be a good idea to cut a couple of 6x9 speakers into wardrobe which I want to remove and fill - then re-laminate/veneer the unit to hopefully make it look like new.... or at least improve it.
Currently the unit is out of the van sitting in the garage awaiting some motivation from me to get it started.
My plan is;
Remove speakers, cut new wood (thickness matched to unit) to hole size - the only way I can think of fitting these is to have an oversized backboard fixed to the inside of the wardrobe with these fixed to that
Fill around the new wood to leave the surface flush.
Sand the entire wardrobe ready to take a new laminate.
So, my questions are;
1. What would be the best wood to use to fill the holes? Ply / MDF / other?
2. Where can I get Laminate / veneer from? been looking at this http://www.veneersonline.co.uk/Iron-on-veneer-Cherry-p/iocherrysheet.htm" onclick="window.open(this.href);return false; - does anyone have any experience with this? its only 300mm wide so would have to be done it strips, will this be noticeable or can I get sheets large enough to carry out a complete unit in one?
3. Speaker locations - where is best? I was thinking of hiding them away in the units but it would mean having the doors open - or I cut some smaller ones in at better locations - alternatively I could put a couple under the front seats hidden away completely - I only use them while driving after all...
Any advice much appreciated.
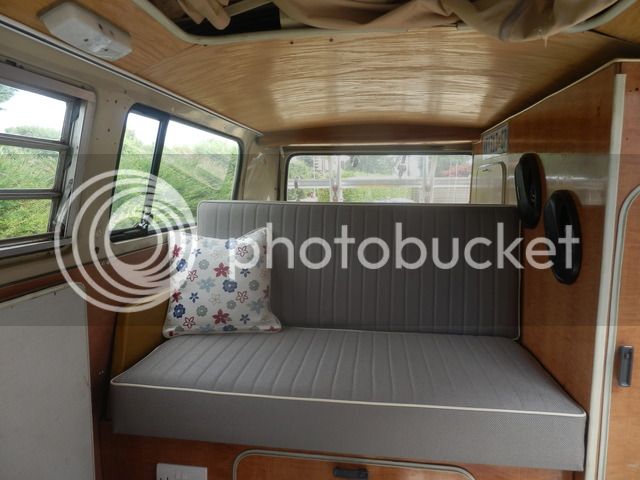
Best picture I could find of the wardrobe in place.
The previous owner thought it would be a good idea to cut a couple of 6x9 speakers into wardrobe which I want to remove and fill - then re-laminate/veneer the unit to hopefully make it look like new.... or at least improve it.
Currently the unit is out of the van sitting in the garage awaiting some motivation from me to get it started.
My plan is;
Remove speakers, cut new wood (thickness matched to unit) to hole size - the only way I can think of fitting these is to have an oversized backboard fixed to the inside of the wardrobe with these fixed to that
Fill around the new wood to leave the surface flush.
Sand the entire wardrobe ready to take a new laminate.
So, my questions are;
1. What would be the best wood to use to fill the holes? Ply / MDF / other?
2. Where can I get Laminate / veneer from? been looking at this http://www.veneersonline.co.uk/Iron-on-veneer-Cherry-p/iocherrysheet.htm" onclick="window.open(this.href);return false; - does anyone have any experience with this? its only 300mm wide so would have to be done it strips, will this be noticeable or can I get sheets large enough to carry out a complete unit in one?
3. Speaker locations - where is best? I was thinking of hiding them away in the units but it would mean having the doors open - or I cut some smaller ones in at better locations - alternatively I could put a couple under the front seats hidden away completely - I only use them while driving after all...
Any advice much appreciated.
Best picture I could find of the wardrobe in place.


